Page 21 of 30 FirstFirst ... 1121 ... LastLast
Results 201 to 210 of 291

Thread: [ysosrs] dc2r k20 turbo

  1. #201
    Junior Member
    Join Date
    Nov 2012
    Posts
    169
    Feedback Score
    0
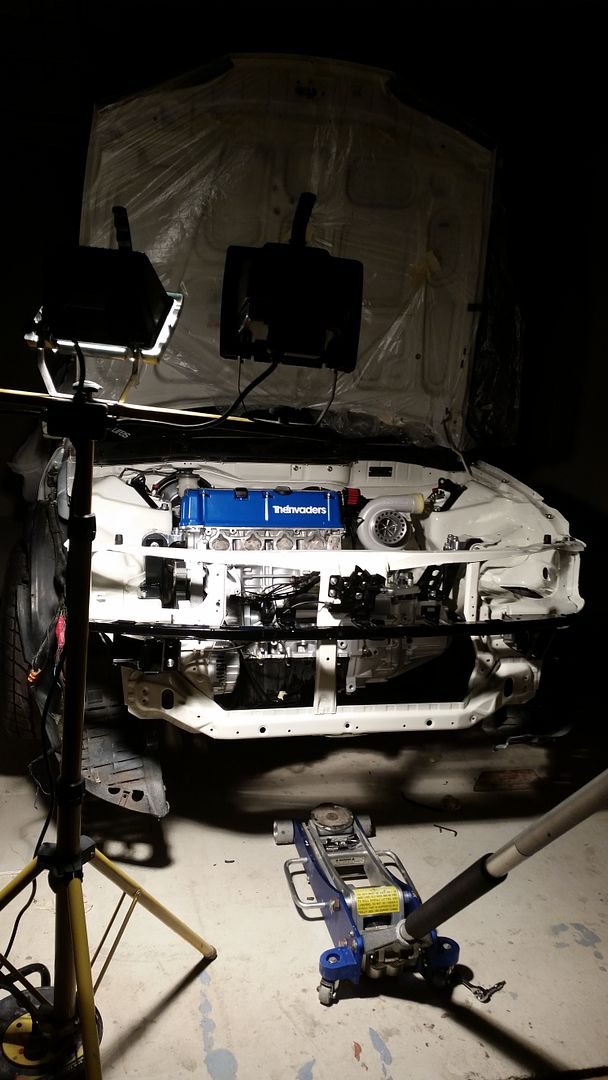
    Another night another small update. I finish work at 10pm so I can usually squeeze in an hour or 2 if I can be bothered with the weather.


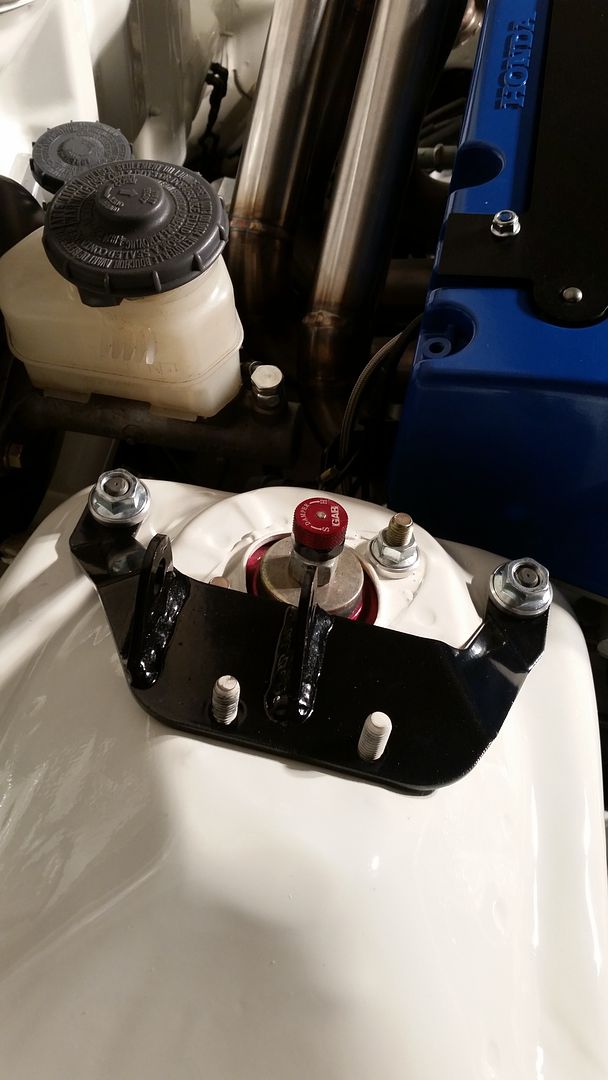
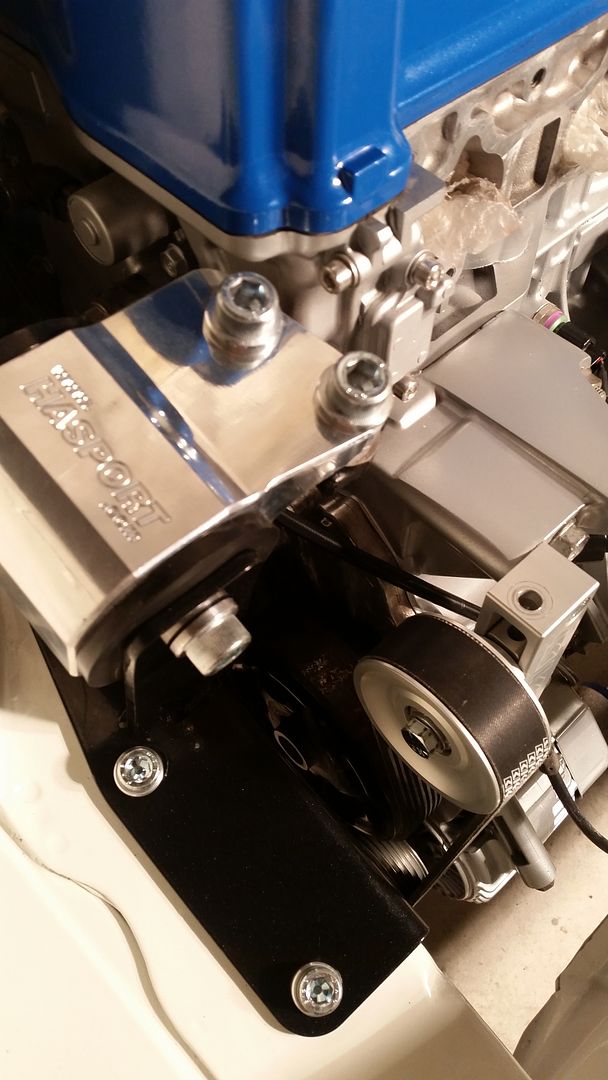
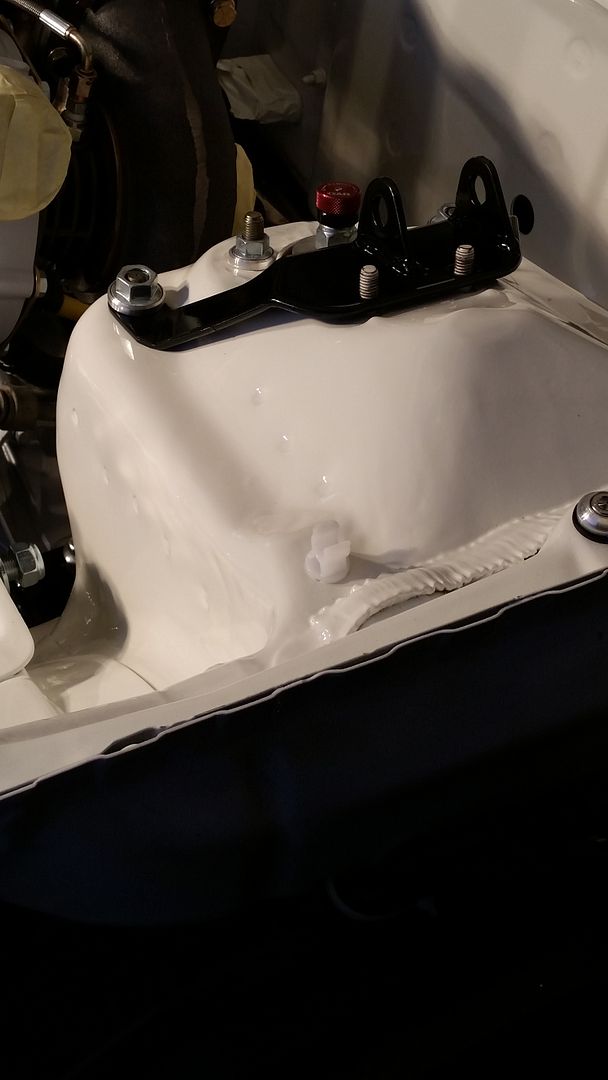
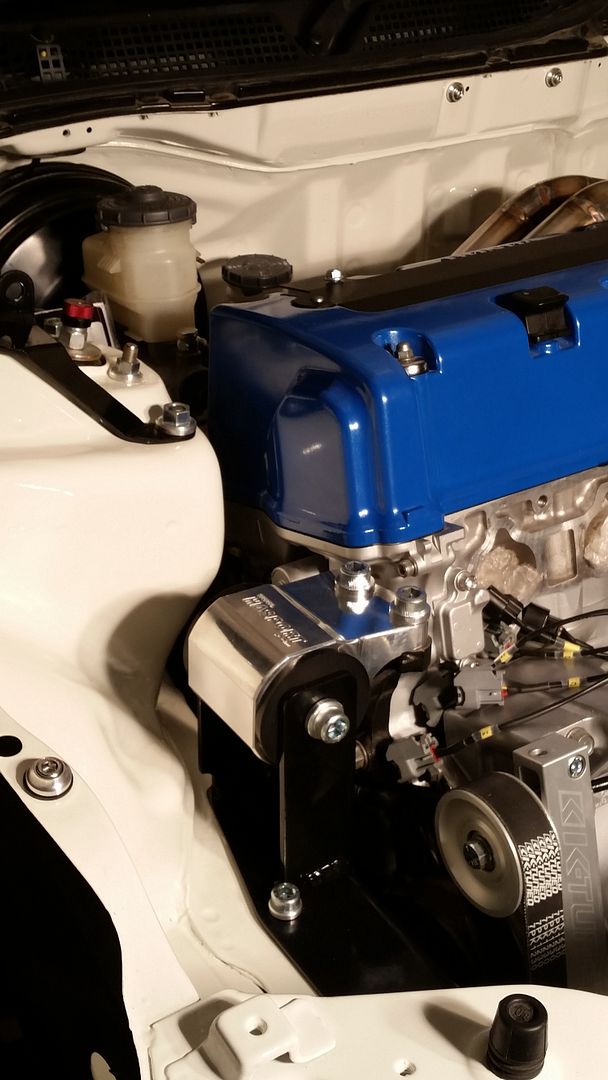
    Put on the 3 point Edelbrock tower brace brackets and really loving the design. It may not be a fully rigid design but having something is better than nothing, well.. in some cases anyways.


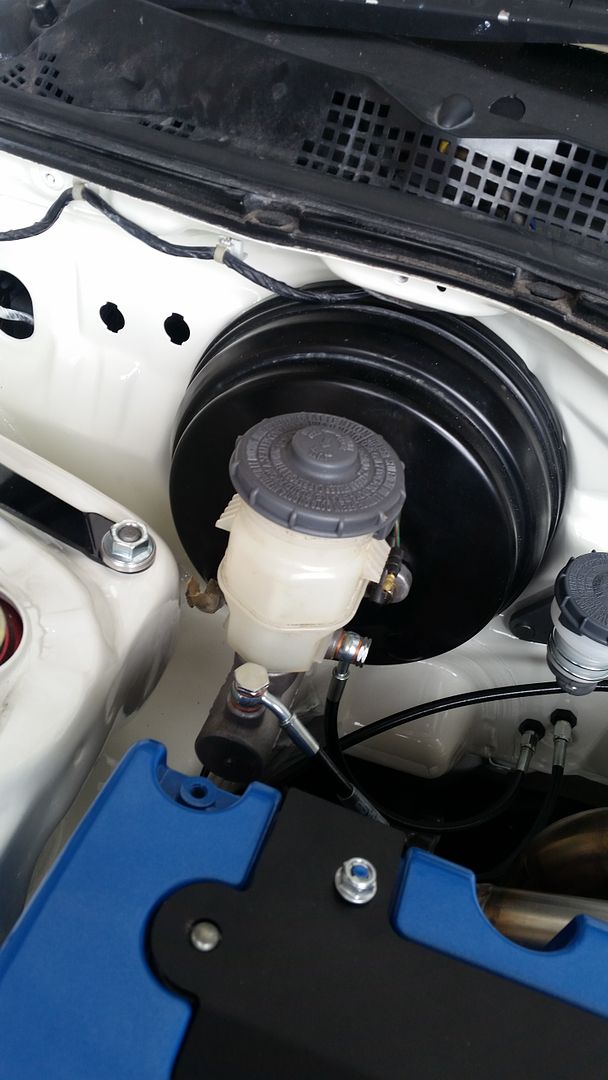
    Forgot the mention I had the brake booster turned upside down, this puts the vacuum port on the bottom left rather than the top right. What does that mean? The vacuum line is more hidden = free mod to clean up the bay further hehe.


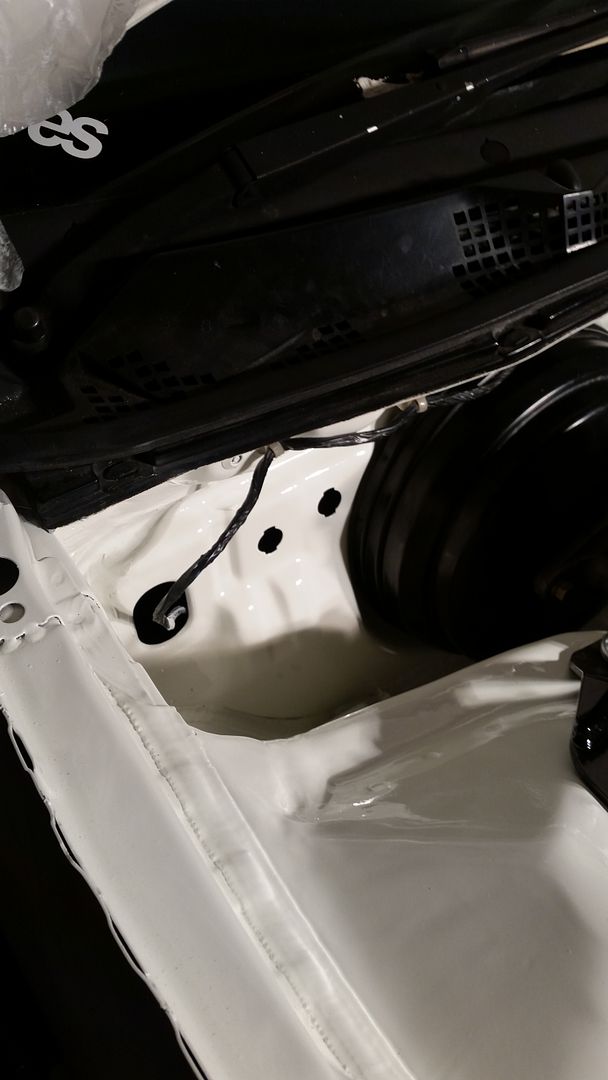
    The wiper motor line is really giving me the shits, will drill a hole under the wiper cowl and feed it through the cabin when the dash is off.


    Cluth line is fed through here, cleanest spot I can think of? feel free to give me some opinions.


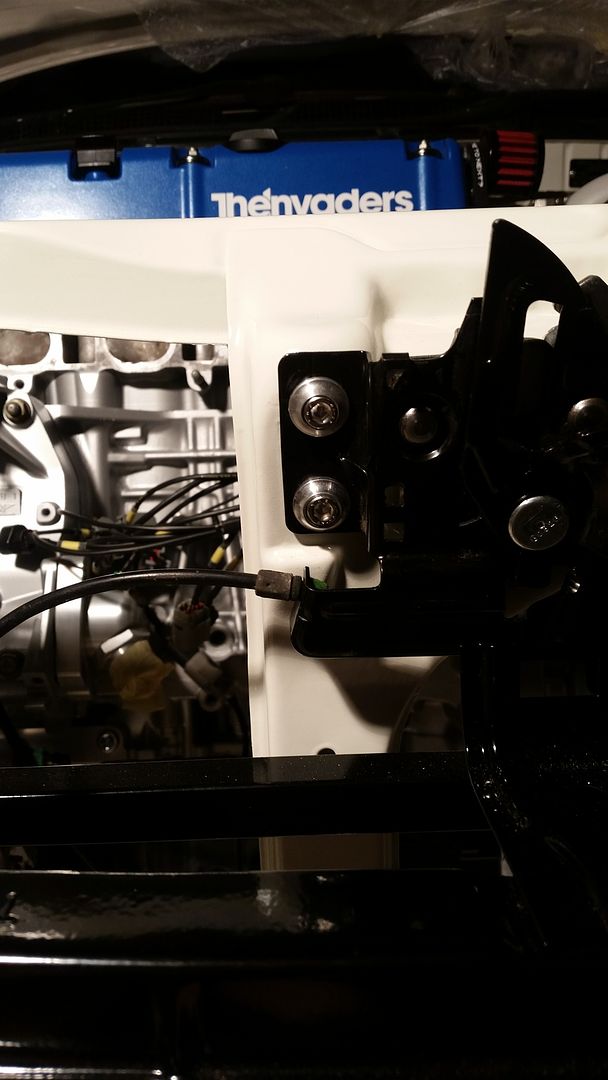
    Forgot the connect the bonnet latch cable, always forgetting the smaller things that count.


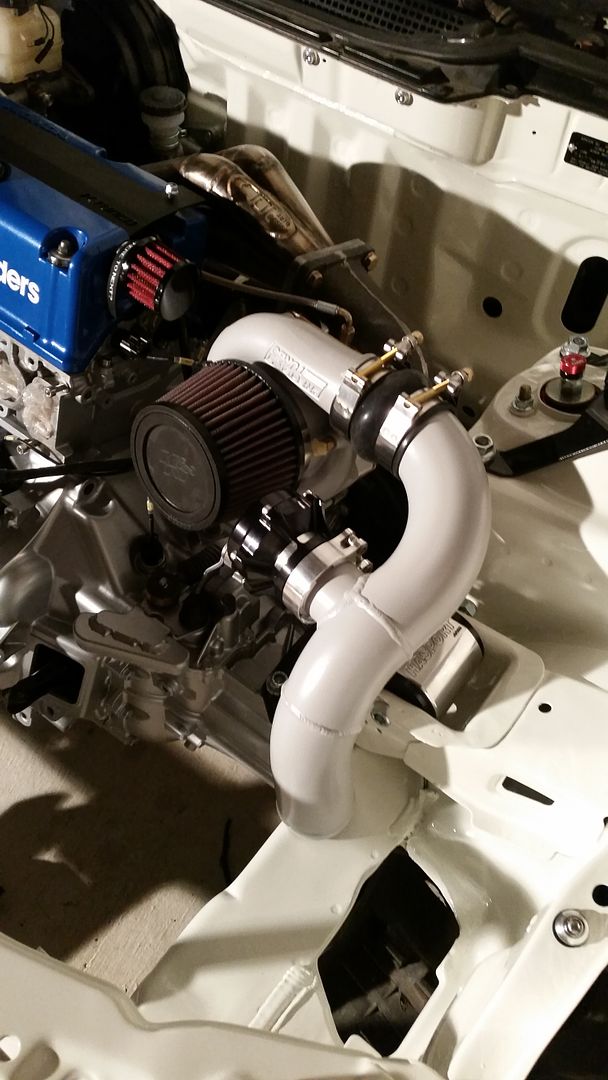
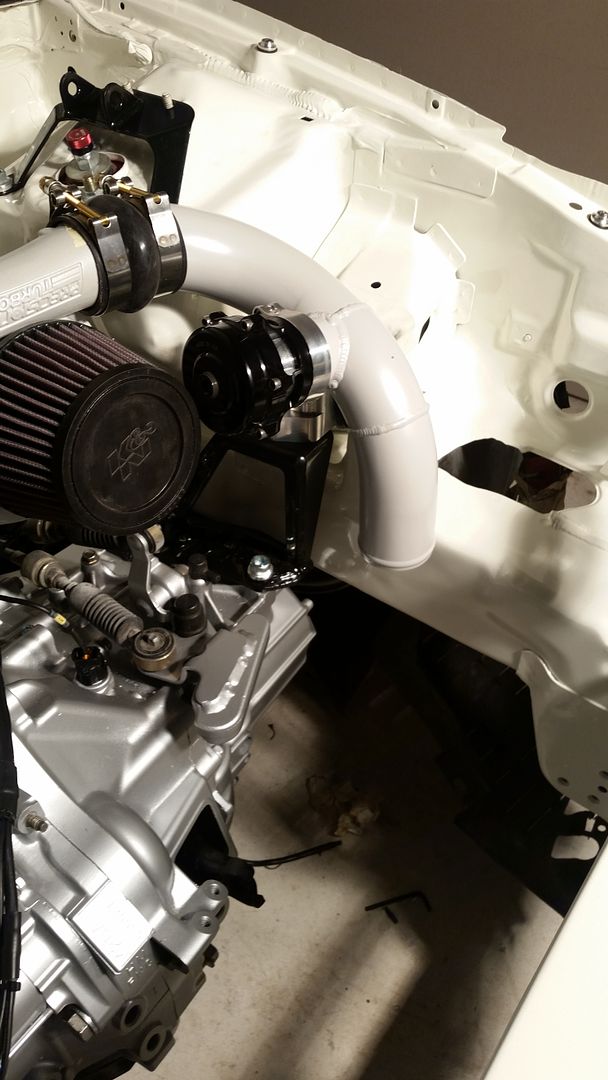
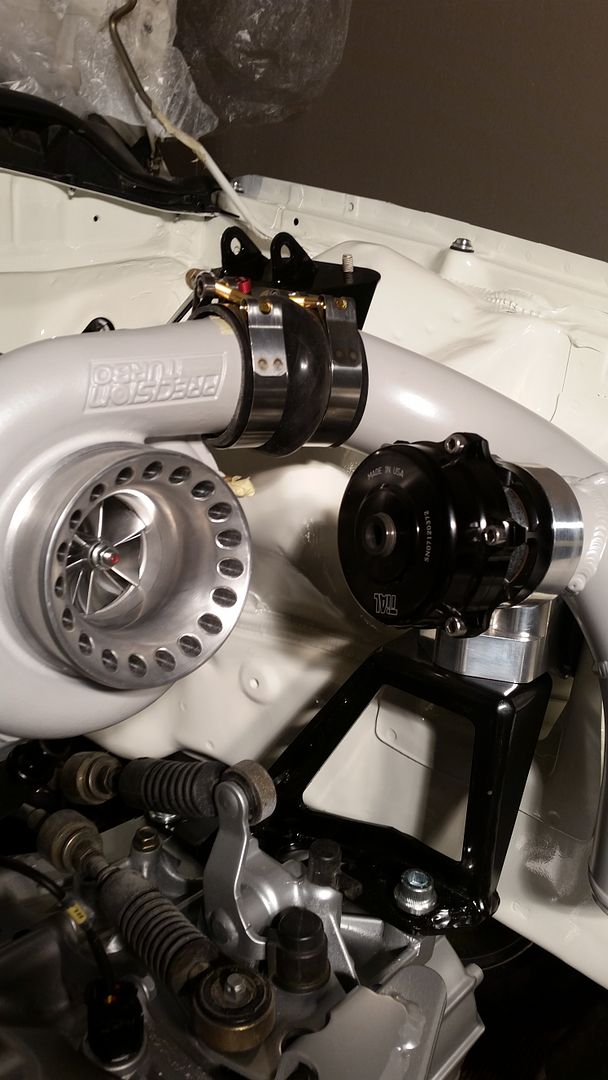
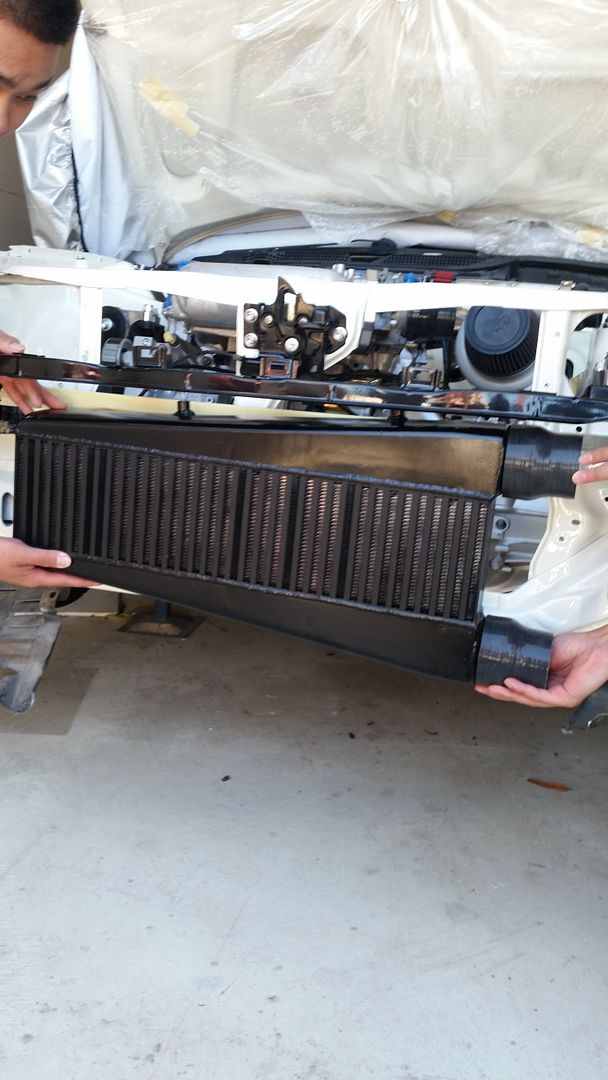
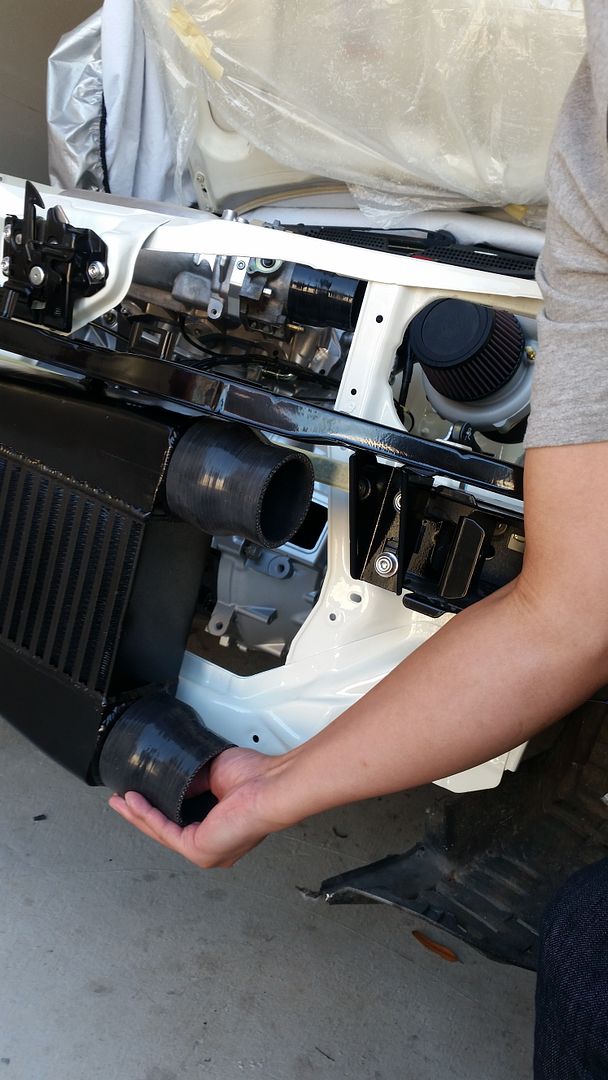
    Test fitted a section of the intercooler piping. Both the hot and cold side will be going underneath the same chassis rail.


    That precision and tial combo though.


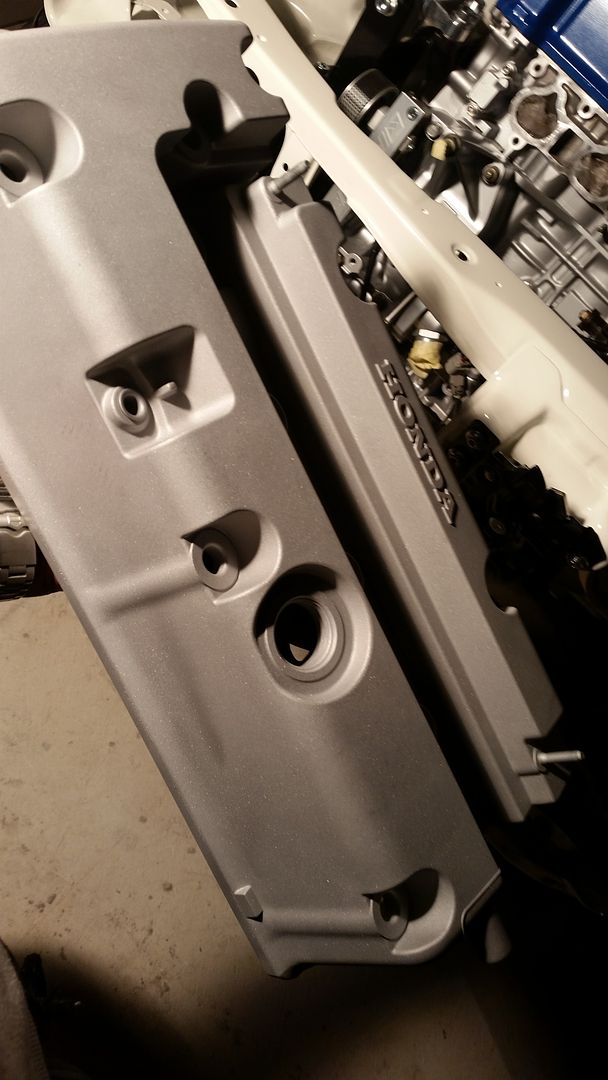
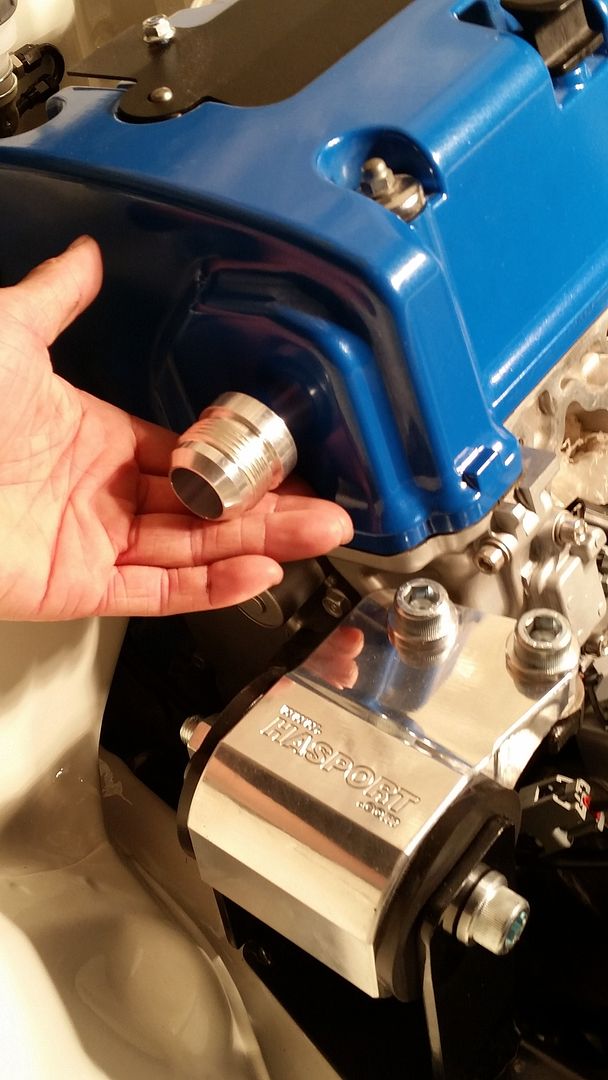
    I got another rocker cover sand blasted and will be welding a single 16an fitting for the catch can, will also be shaving off the factory breather port.

    Getting this coated metallic gloss black, same colour as my engine mount brackets and tower brace. Keeping it nice and simple.


  2. #202
    Junior Member
    Join Date
    Nov 2012
    Posts
    169
    Feedback Score
    0
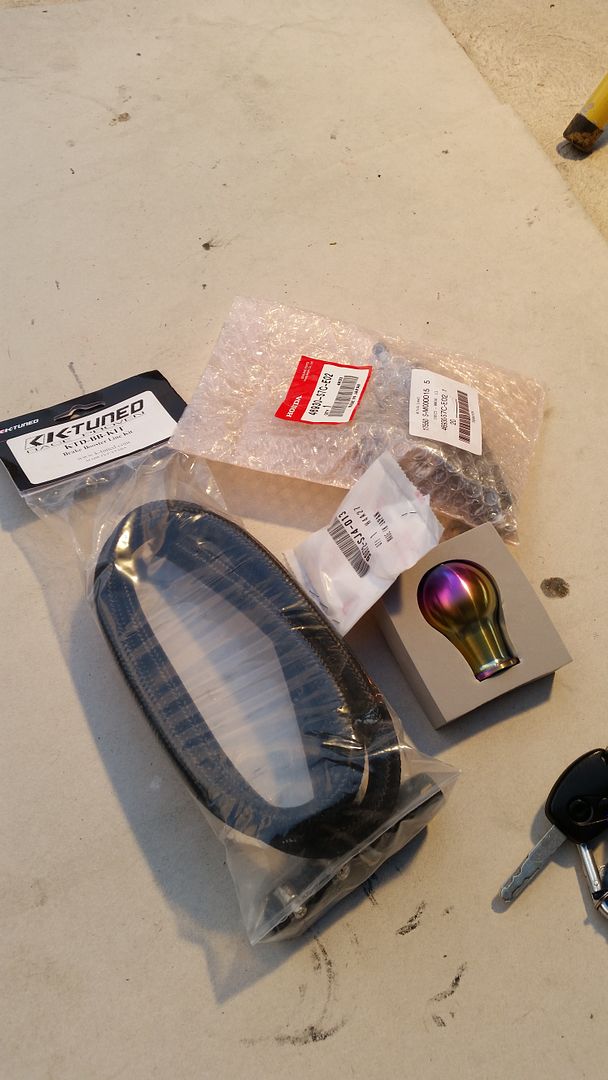
    Few things to add to the car

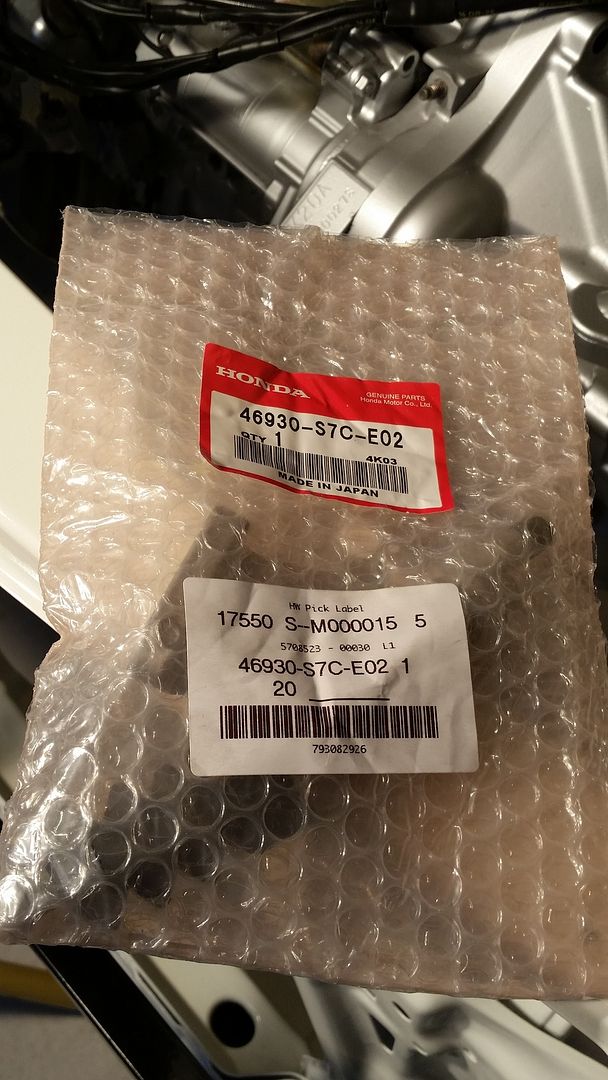
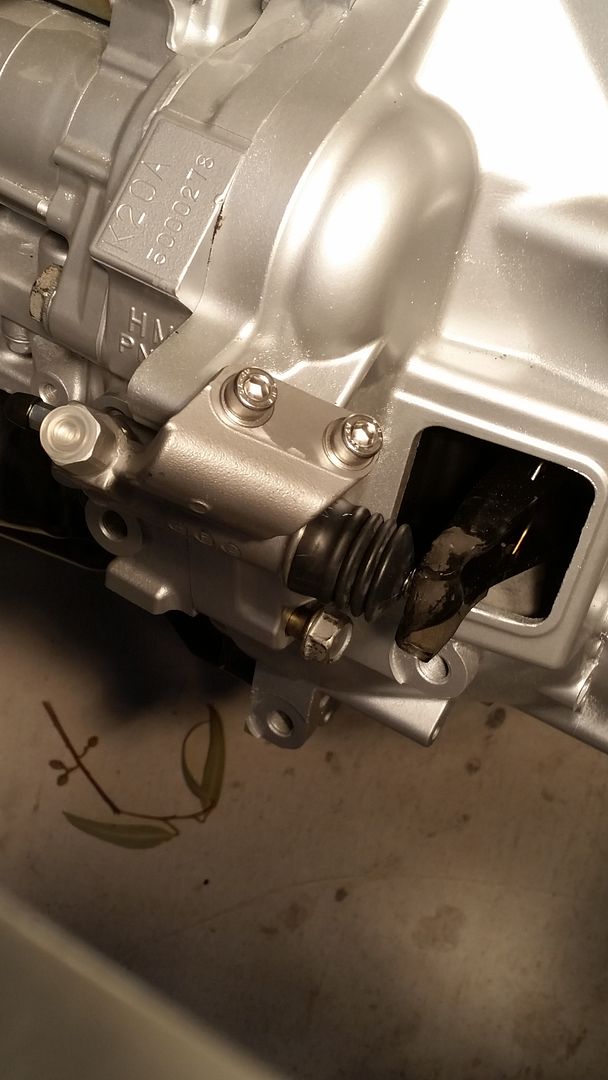
    * New Oem clutch slave
    * New Oem bonnet rod clip
    * K-tuned brake booster line kit
    * Buddy Club shift knob


    Bonnet rod clip, known to break with wear and tear.


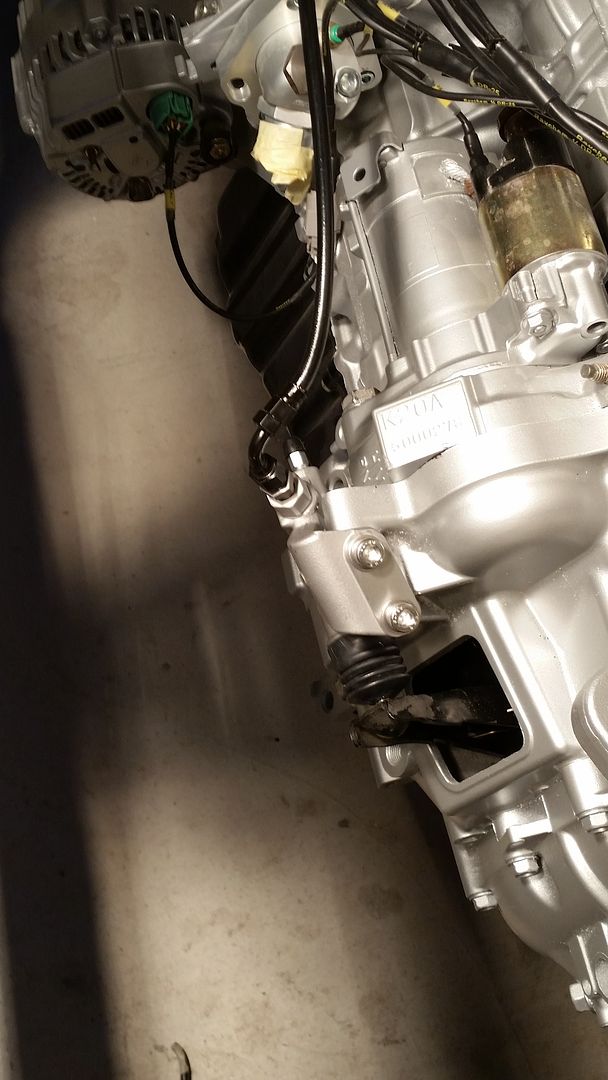
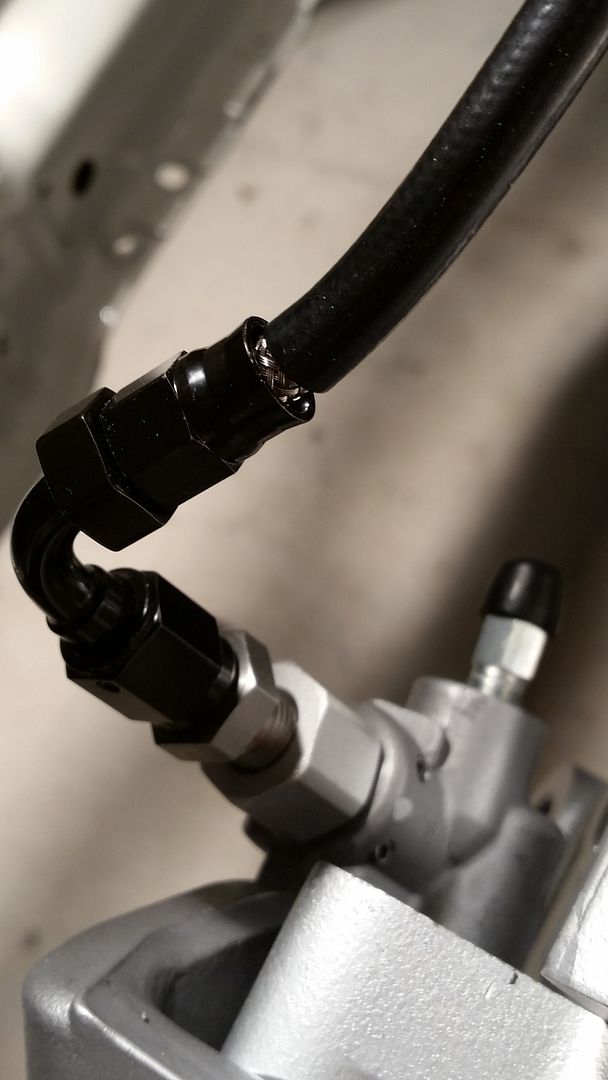
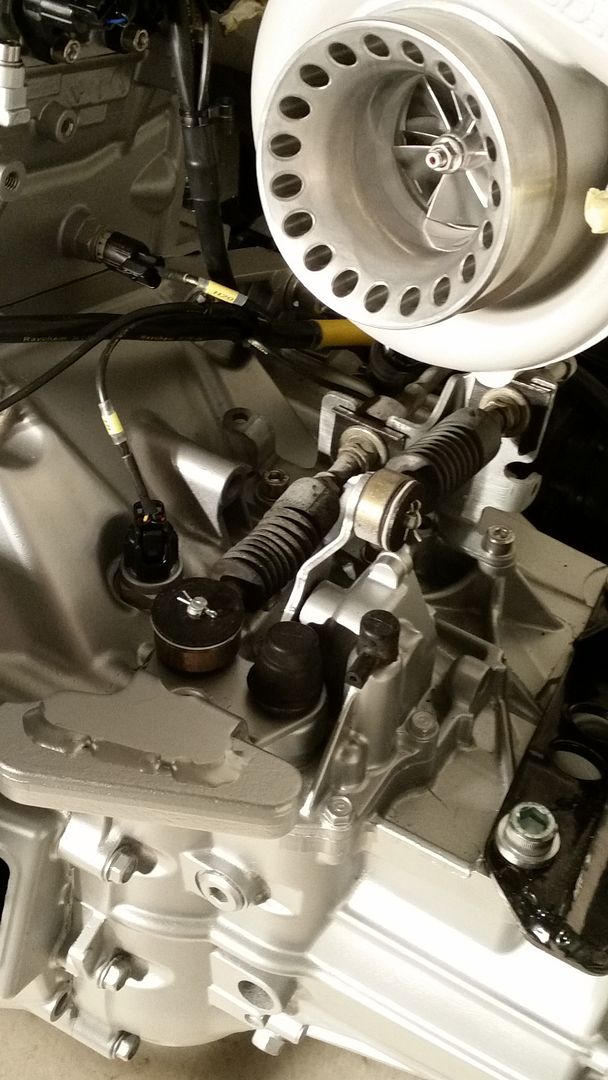
    Oem clutch slave on and clutch line connected. I couldn't re route the clutch line under the motor due to the length, too many hot parts to avoid in the rear which left no room to route the clutch line under.


    Shifter cables, brackets and pins installed. Not happy about the over spray on the shifter cable from the previous spray job =[

    I plan to spray the shifter mechanism satin black, looks tacky silver imo. Anyone know how to remove the shifter bushings? I have the K-tuned billet ones to be installed.


    Will be welding on a single -16an bung for the catch can on the timing chain side of the rocker cover.

    I will then need to design my own catch can and send the dimensions to Speedfactory for them to make me a one off catch can.


    Brake booster line and shift knob will be for another night, started getting real windy out here.

  3. #203
    BoostedK20.com Founder

    BoostedK20's Avatar
    Join Date
    Mar 2011
    Posts
    1,025
    Feedback Score
    1 (100%)
    Great updates, as always! Love the progress. As for the cable bushings, there are a few options. 2 different pipe sizes (one for bushing and one for the surround of the shifter cable) and a portable mini vice. You can use a good ol' hammer too, just make sure you don't kind the shifter cable. And I forget another method I used once. But those two will do the trick.

    Catch can sounds fun! Any ideas for mounting places and can dimensions yet?


    Need parts for your k-series setup? Check out our eShop! Click Here

    For all your eShop support needs:BoostedK20.com eShop Support Forum

  4. #204
    Premium Member boosted_teg's Avatar
    Join Date
    Apr 2011
    Location
    nb, canada
    Posts
    729
    Feedback Score
    0
    awesome looking bay! love the attention to detail
    2001 Boosted Built k20a2 Billet BB 6766BB

    2013=579whp 406trq @ 24 psi c16
    10.87@137mph

    2014= 510whp 370trq @ 18psi pump gas


    2015= 7xx @ 30psi??

  5. #205
    Junior Member
    Join Date
    Nov 2012
    Posts
    169
    Feedback Score
    0
    Unfortunately I have some bad news.

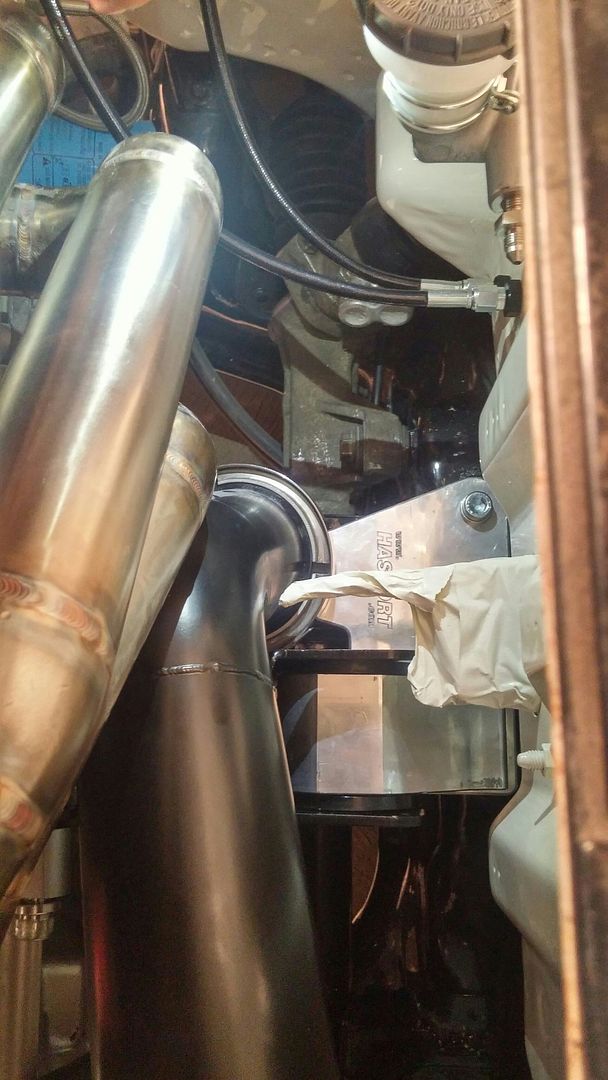
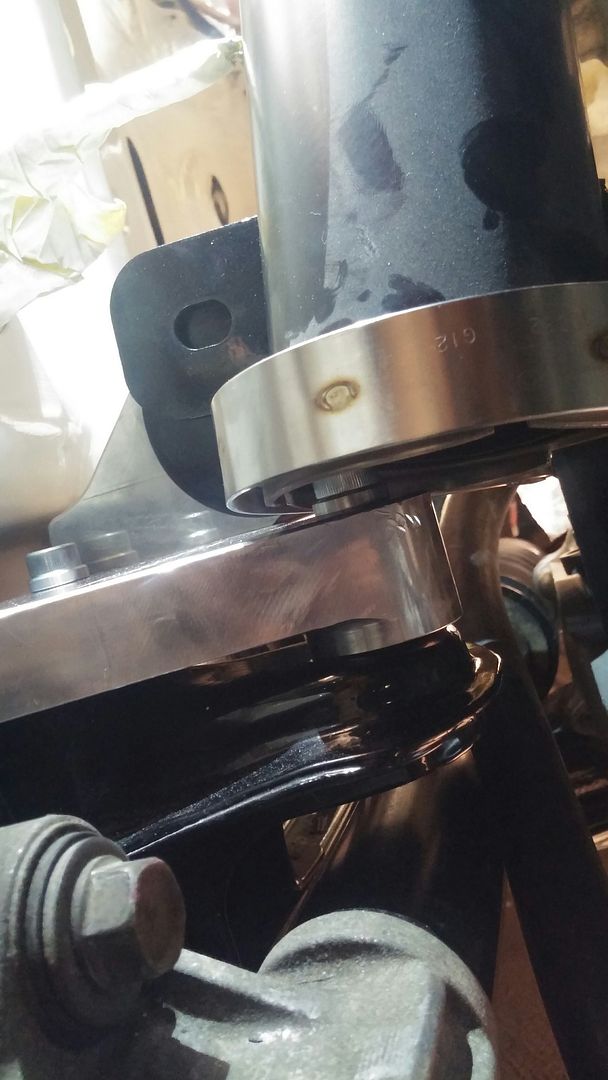
    all the cooler pipings and down pipe does not fit my car.

    -2 piece down pipe (looks like it will clear ep3/rsx)
    -dump tube
    -intercooler pipings
    -intercooler inlets.

    Got quoted locally $620 for cooler piping and $250 for down pipe + dump tube.

    Why didn't I email JDLautodesign to fix the problem? They are fucking hiding and ignoring me, that's why.

    At first they did reply, but stopped replying to the last few emails which is a little over a month now.

    Any advice on how I should approach this? I live in Australia so that is just bullshit.


    I sent photos etc as proof at the time of emailing.

  6. #206
    Formerly "Adm_rsx"


    PetefromtheStreets's Avatar
    Join Date
    Apr 2011
    Posts
    4,590
    Feedback Score
    1 (100%)
    Quote Originally Posted by mnc1408 View Post
    Unfortunately I have some bad news.

    all the cooler pipings and down pipe does not fit my car.

    -2 piece down pipe (looks like it will clear ep3/rsx)
    -dump tube
    -intercooler pipings
    -intercooler inlets.

    Got quoted locally $620 for cooler piping and $250 for down pipe + dump tube.

    Why didn't I email JDLautodesign to fix the problem? They are fucking hiding and ignoring me, that's why.

    At first they did reply, but stopped replying to the last few emails which is a little over a month now.

    Any advice on how I should approach this? I live in Australia so that is just bullshit.


    I sent photos etc as proof at the time of emailing.
    Do you have a facebook? If you do. Loik me up. I'll repost the issue A's all my friends to do the same. Ive got about 1400 friends all involved with cars. Someone from JDL should see it
    Tire slayer
    Breaking everything since 2011

  7. #207
    Junior Member
    Join Date
    Nov 2012
    Posts
    169
    Feedback Score
    0
    I do!

    Michael Huy Nguyen.

    I sent emails to both Ronnie and Jesse.

    Really fustrating that after spending 5.2k for the kit, you get treated like this.

    I even went the distance and got everything powder coated etc, what a massive loss.


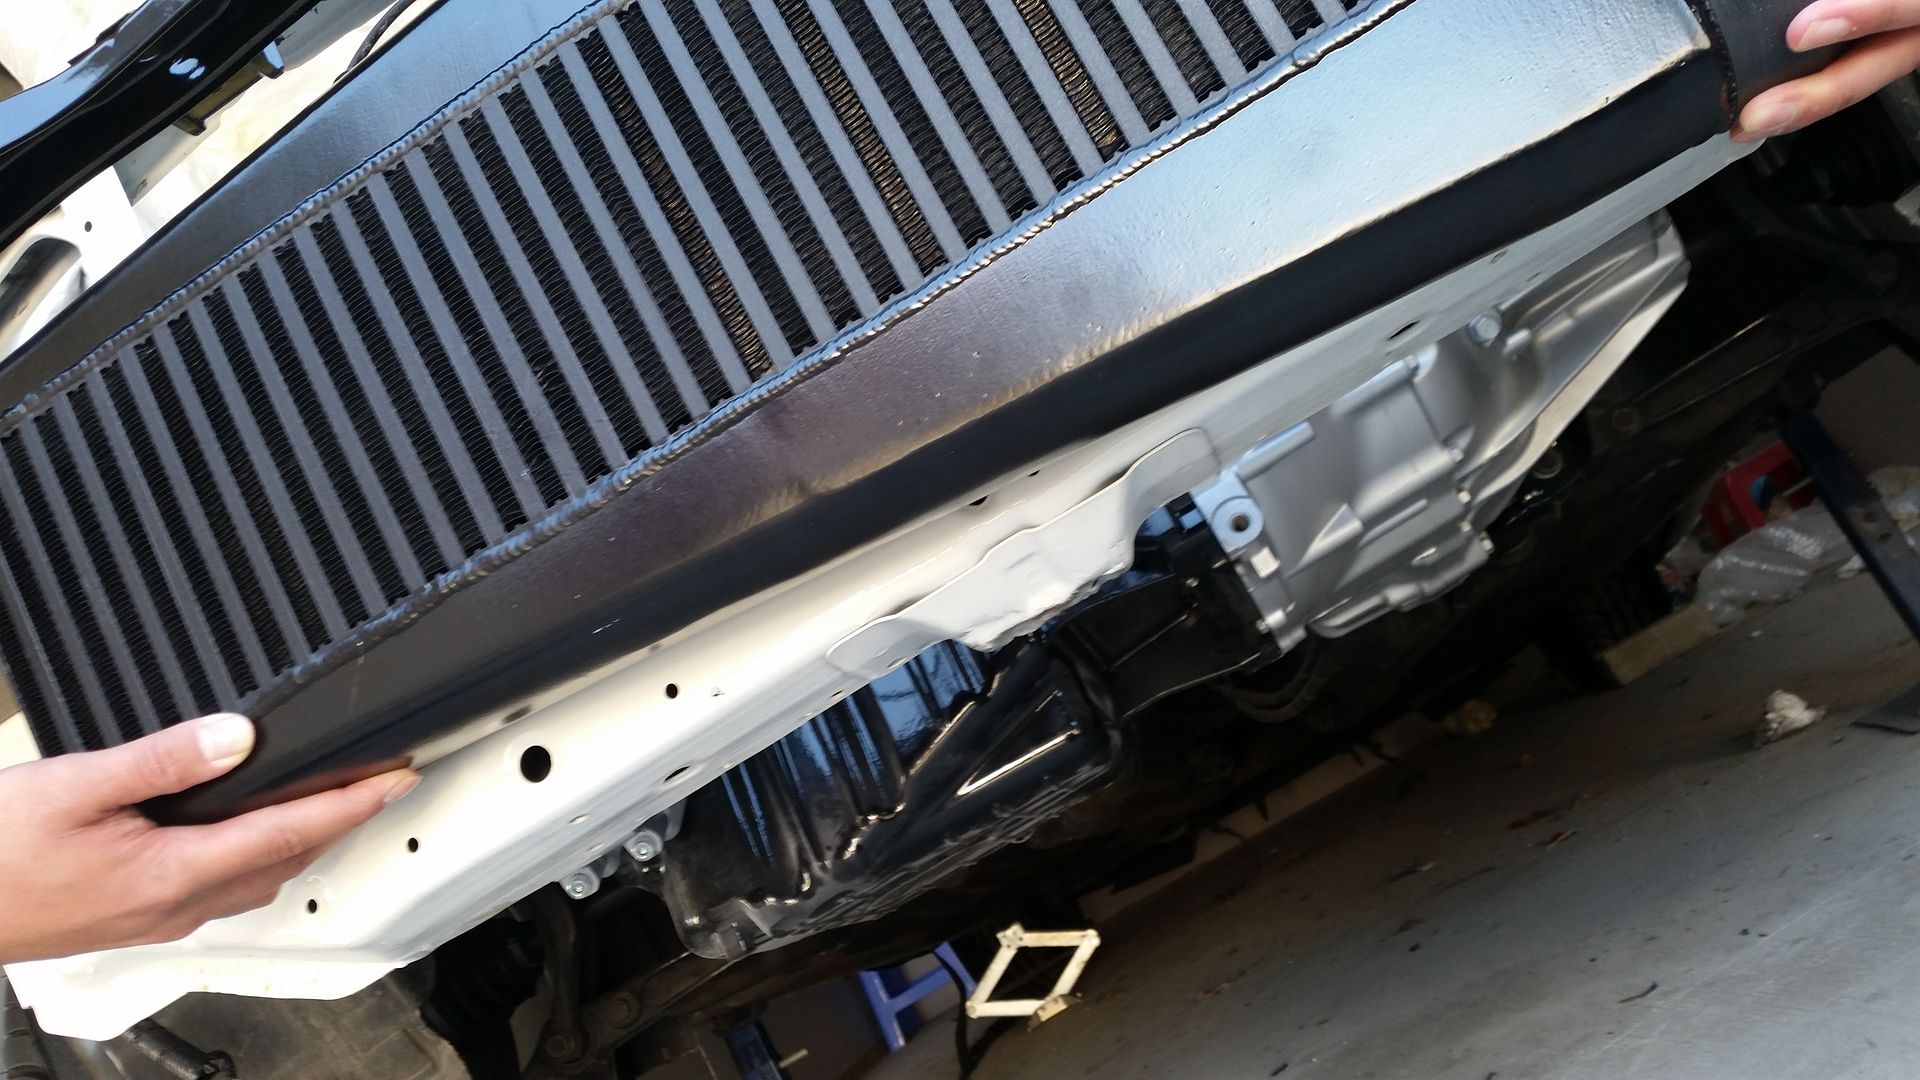
    This is where the intercooler should sit. Any lower and it will be below the rad support.


    [URL=http://s858.photobucket.com/user/mnc1408/media/20150403_150402.jpg.html][/URL


    As you can see, the top inlet has nowhere to go, no piping will get to that. Only way is to mod the inlet and weld on 2x 45 degree


  8. #208
    Junior Member
    Join Date
    Nov 2012
    Posts
    169
    Feedback Score
    0
    down pipe fitment issues, if down pipe doesn't fit, dump tube wont fit either.


  9. #209
    Boostaholic
    monjarassi's Avatar
    Join Date
    Apr 2011
    Location
    Houston TX
    Posts
    2,665
    Feedback Score
    2 (100%)
    Ouch that's depressive
    Using promo code "SPOOLBUS" @ checkout when shopping in the eshop will save you money!!

  10. #210
    Junior Member
    Join Date
    Nov 2012
    Posts
    169
    Feedback Score
    0
    Long story short, To make cooler piping out of alloy will set me back double stainless.

    I was wondering in regards to the IAT where I could place it in my setup? My adapter is alloy so I have no idea where to place it now since all my piping work will be stainless.

    is the intake manifold plenum an option?

Page 21 of 30 FirstFirst ... 1121 ... LastLast

Bookmarks

Posting Permissions

  • You may not post new threads
  • You may not post replies
  • You may not post attachments
  • You may not edit your posts
  •