


Alright so I'm heading to a car show this weekend that is indoors and they require you to kill the battery... trouble is my battery is located in my bumper and not easily accessible to just kill it... So I decided to install this kill switch.
*NOTE* This is only for a show and if you are doing this for track you must follow NHRA rules. Most people instal these on the outside of the car or on the inside. . . This is just a guide line and the way I did it for my own car which is not track approved lol
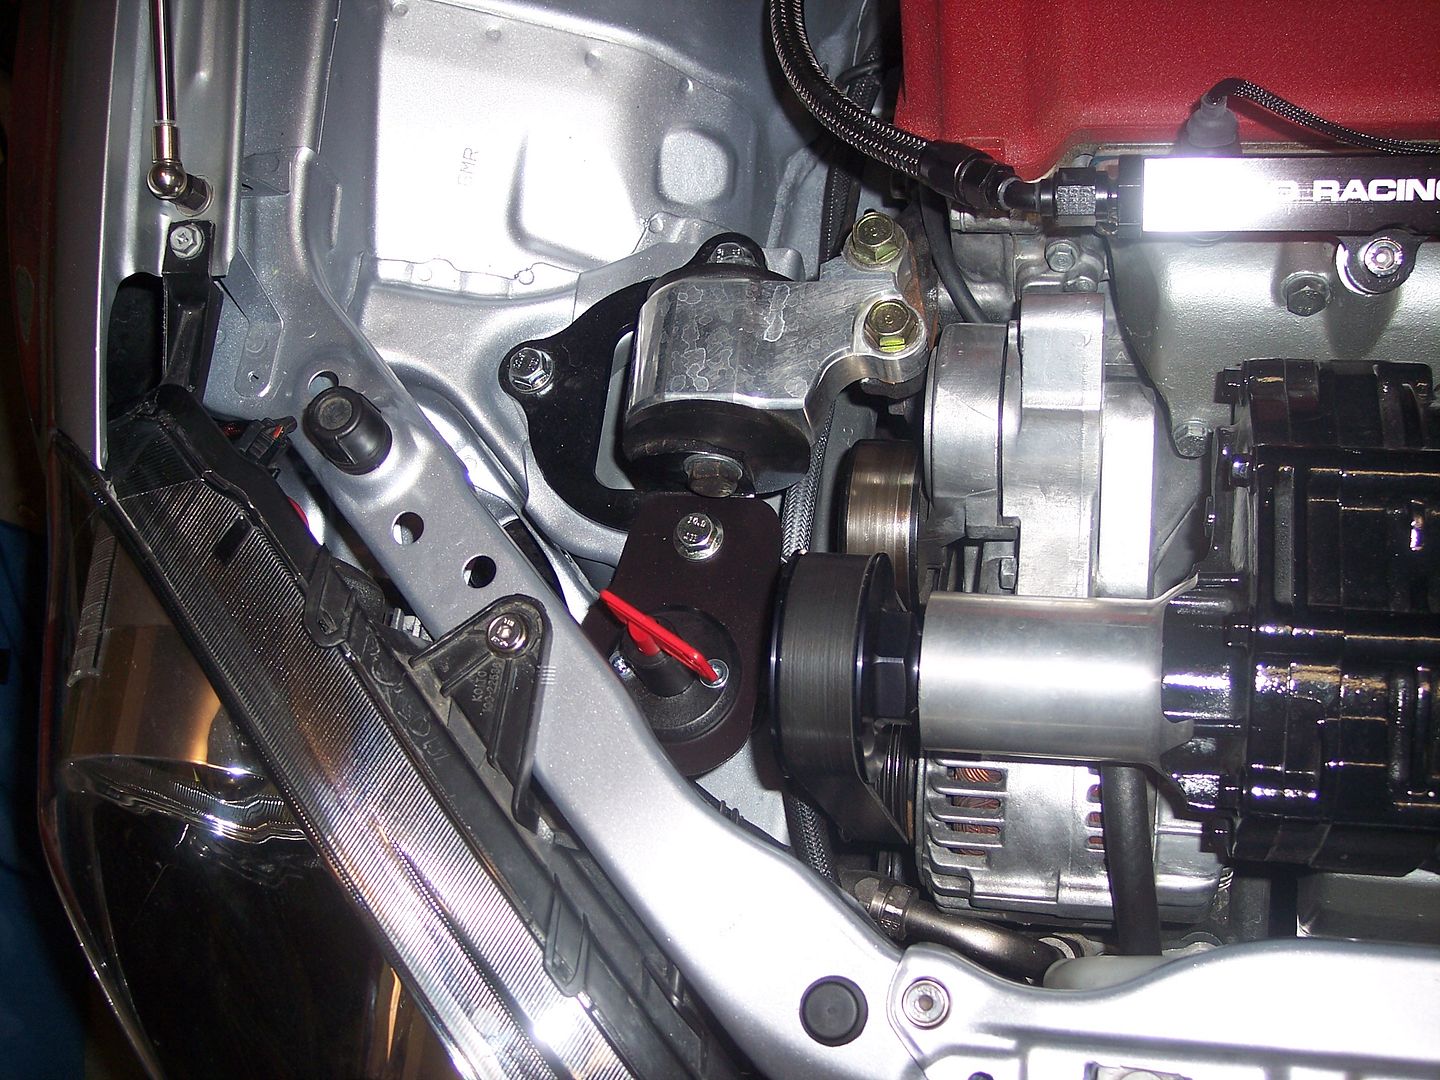
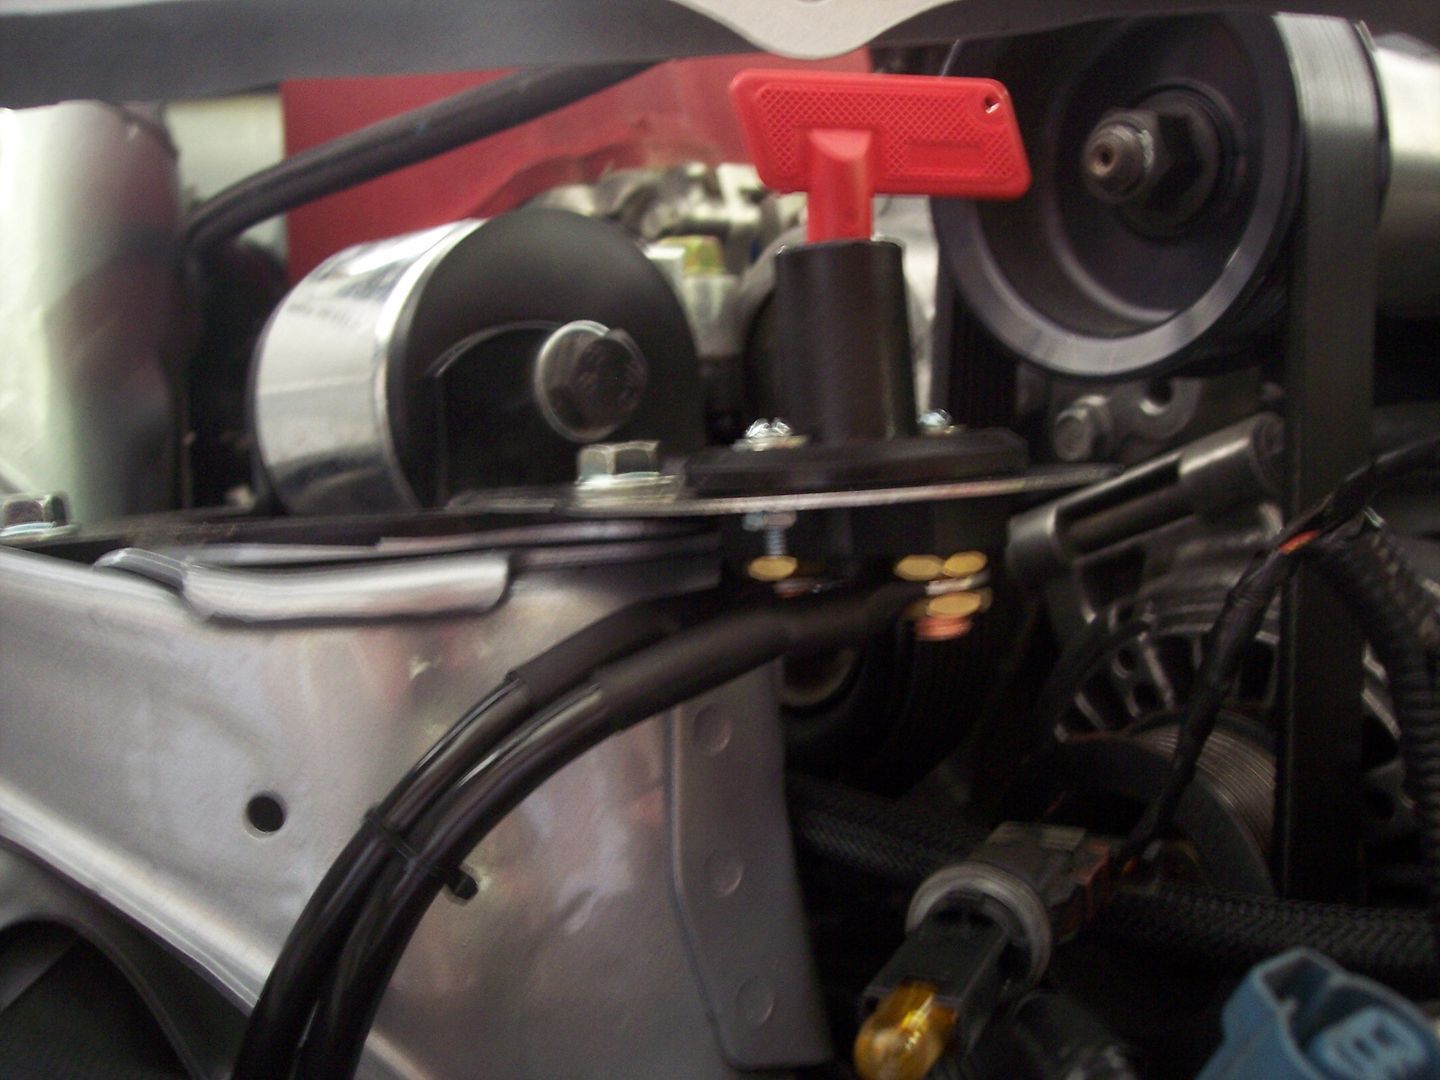
Here is the finished product
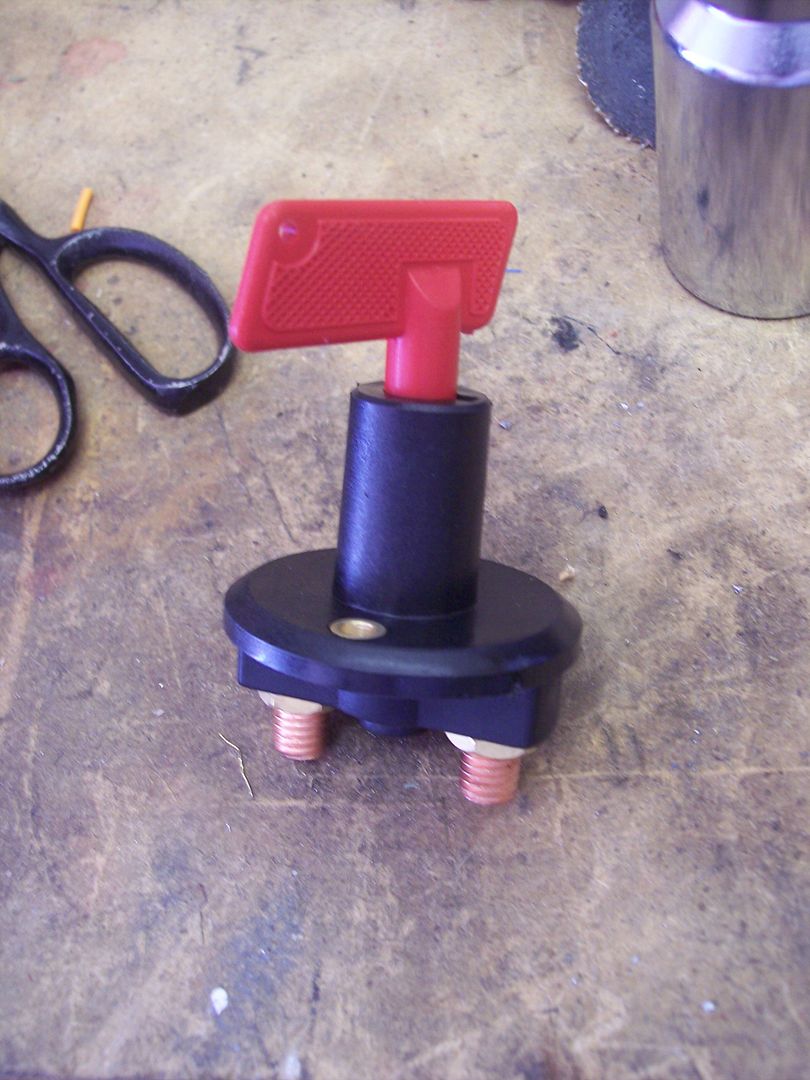
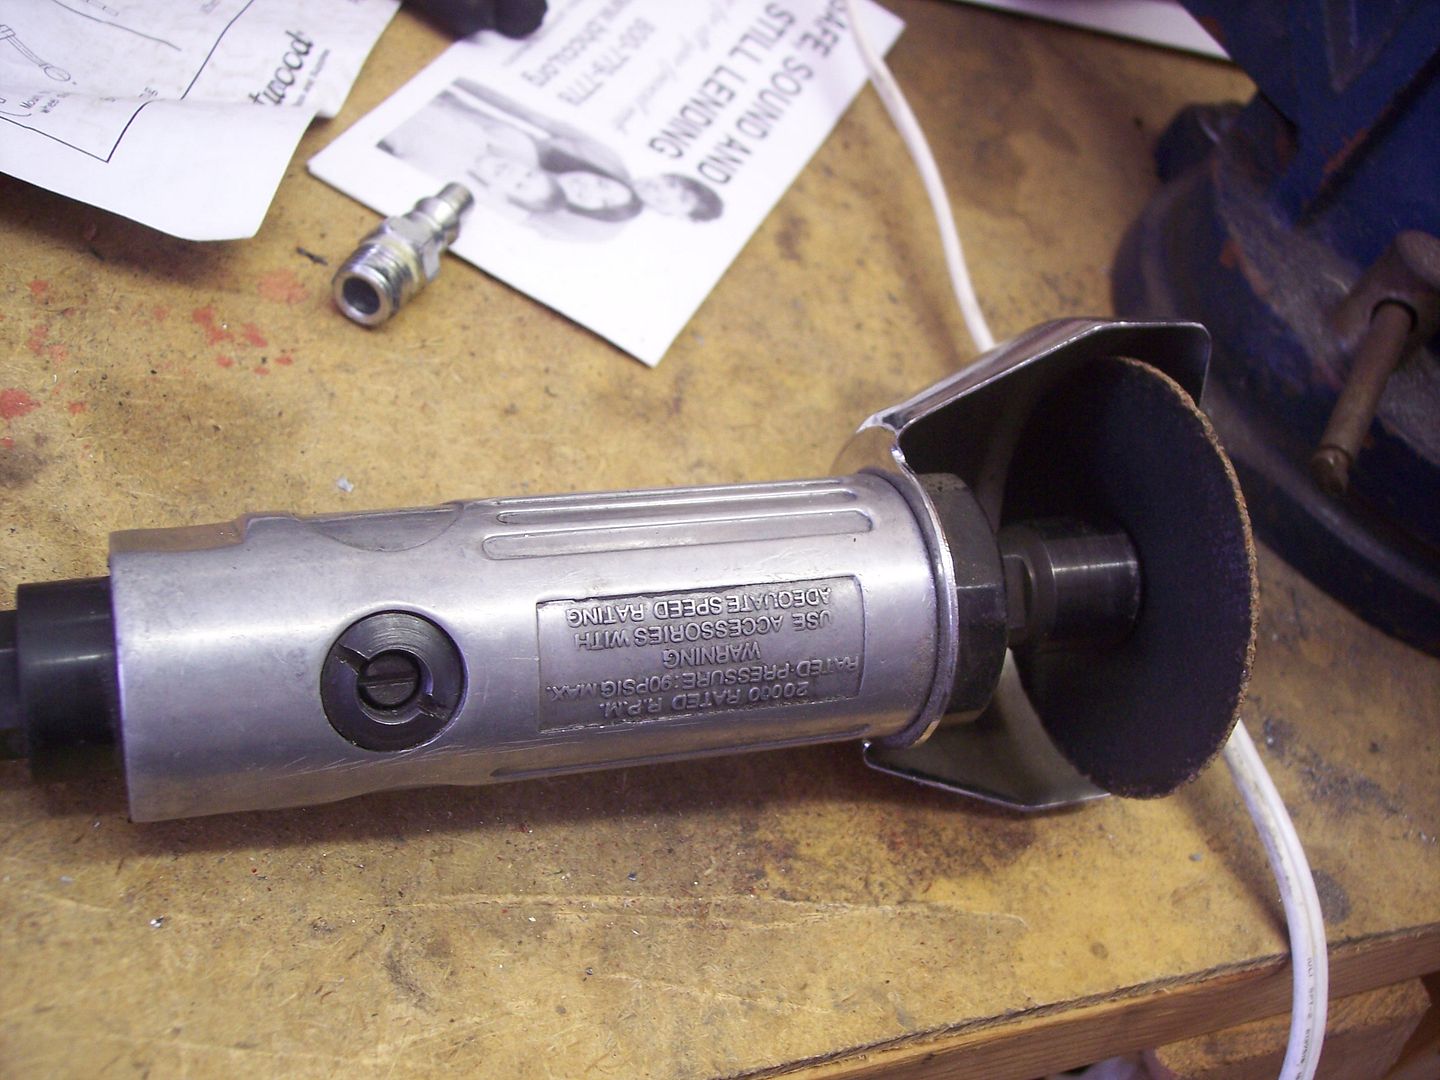
First here is the switch we will be installing...
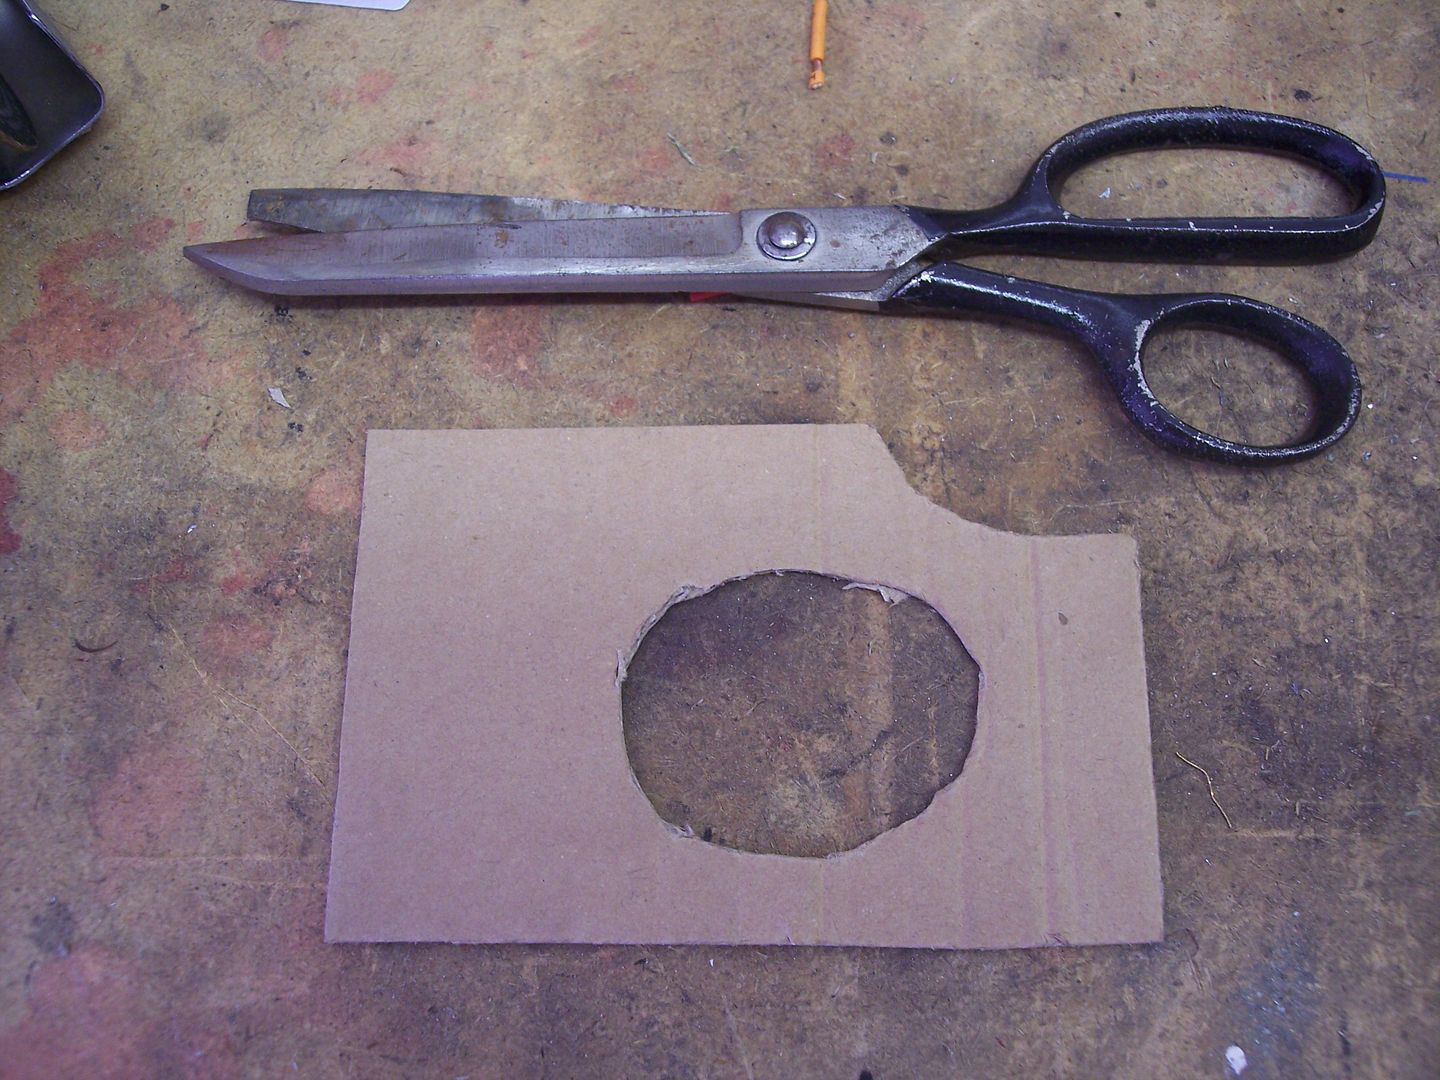
I purchased it from O'Riley auto parts. I then got out the cardboard and the scissors and started making up a template and brainstorming where I would be installing this switch
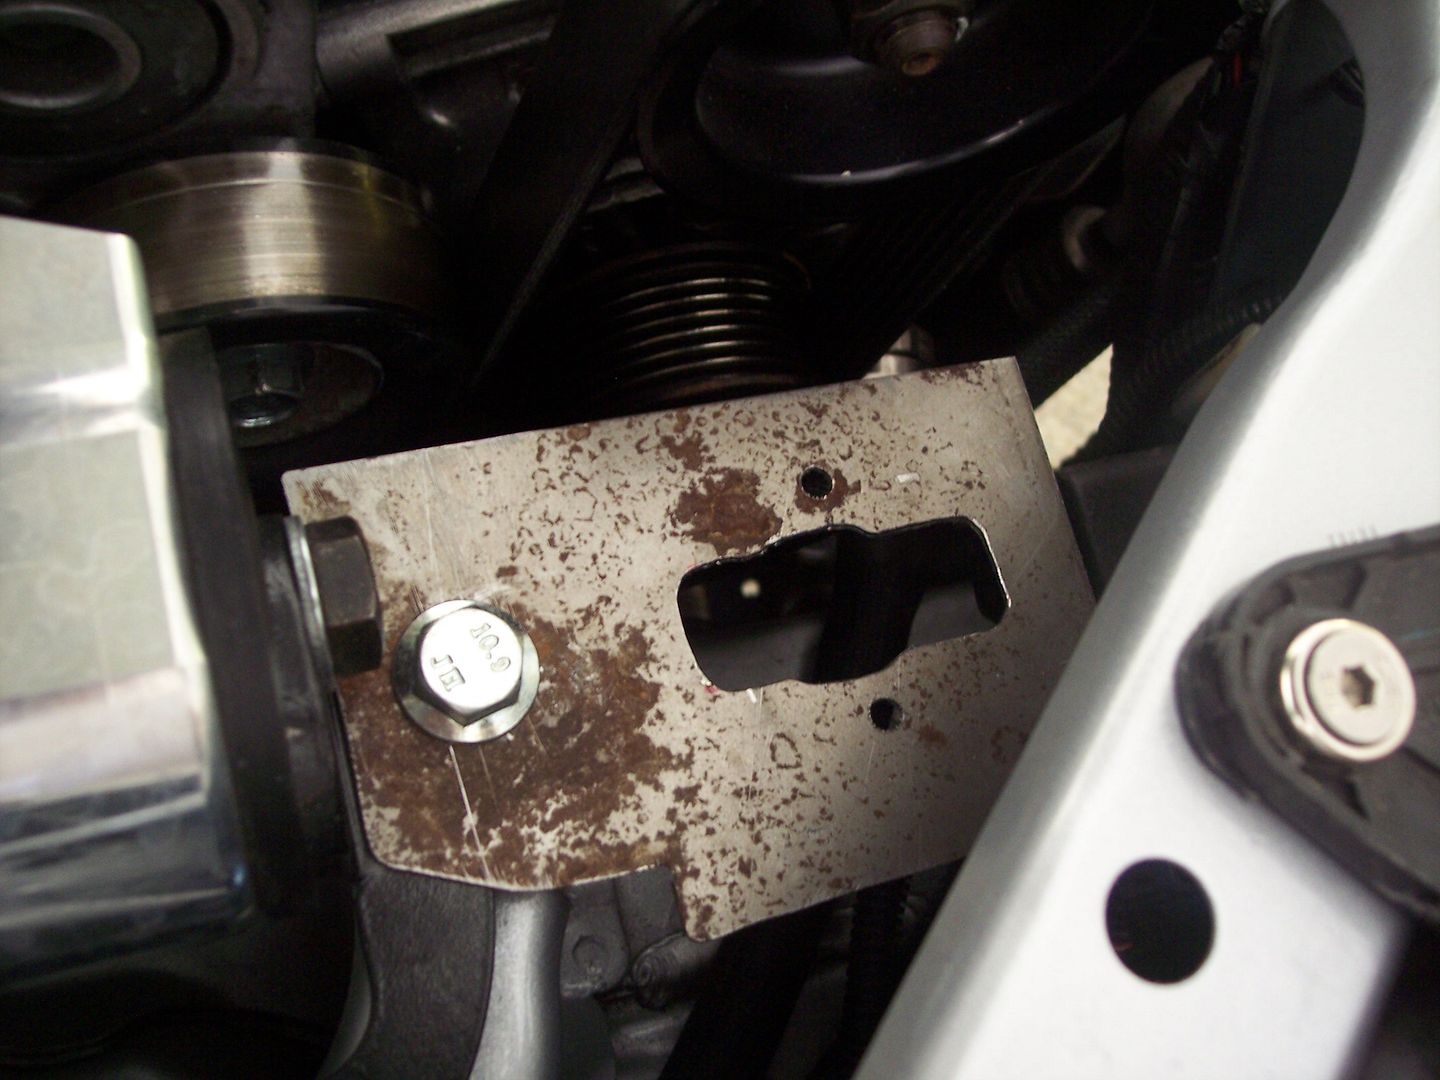
I decided it will connect to my motor mount bolt and face the headlight. Cleanest easiest place to put it. So before we begin to make things easier pull off your front bumper and your driver side headlight if you want to make yours like mine.
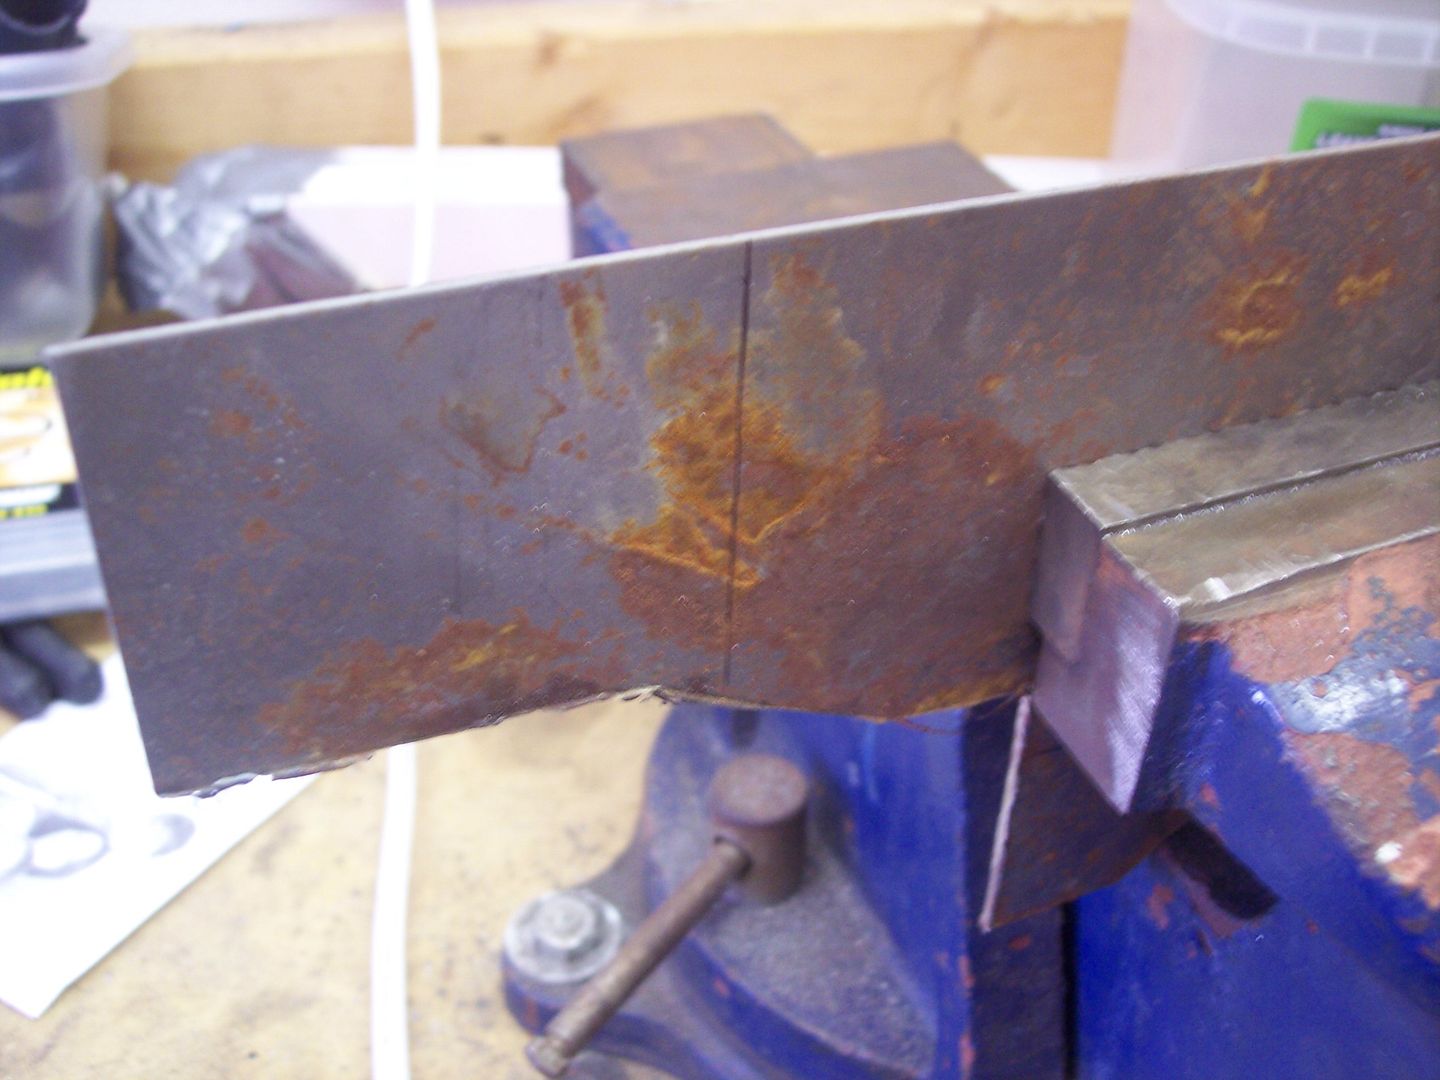
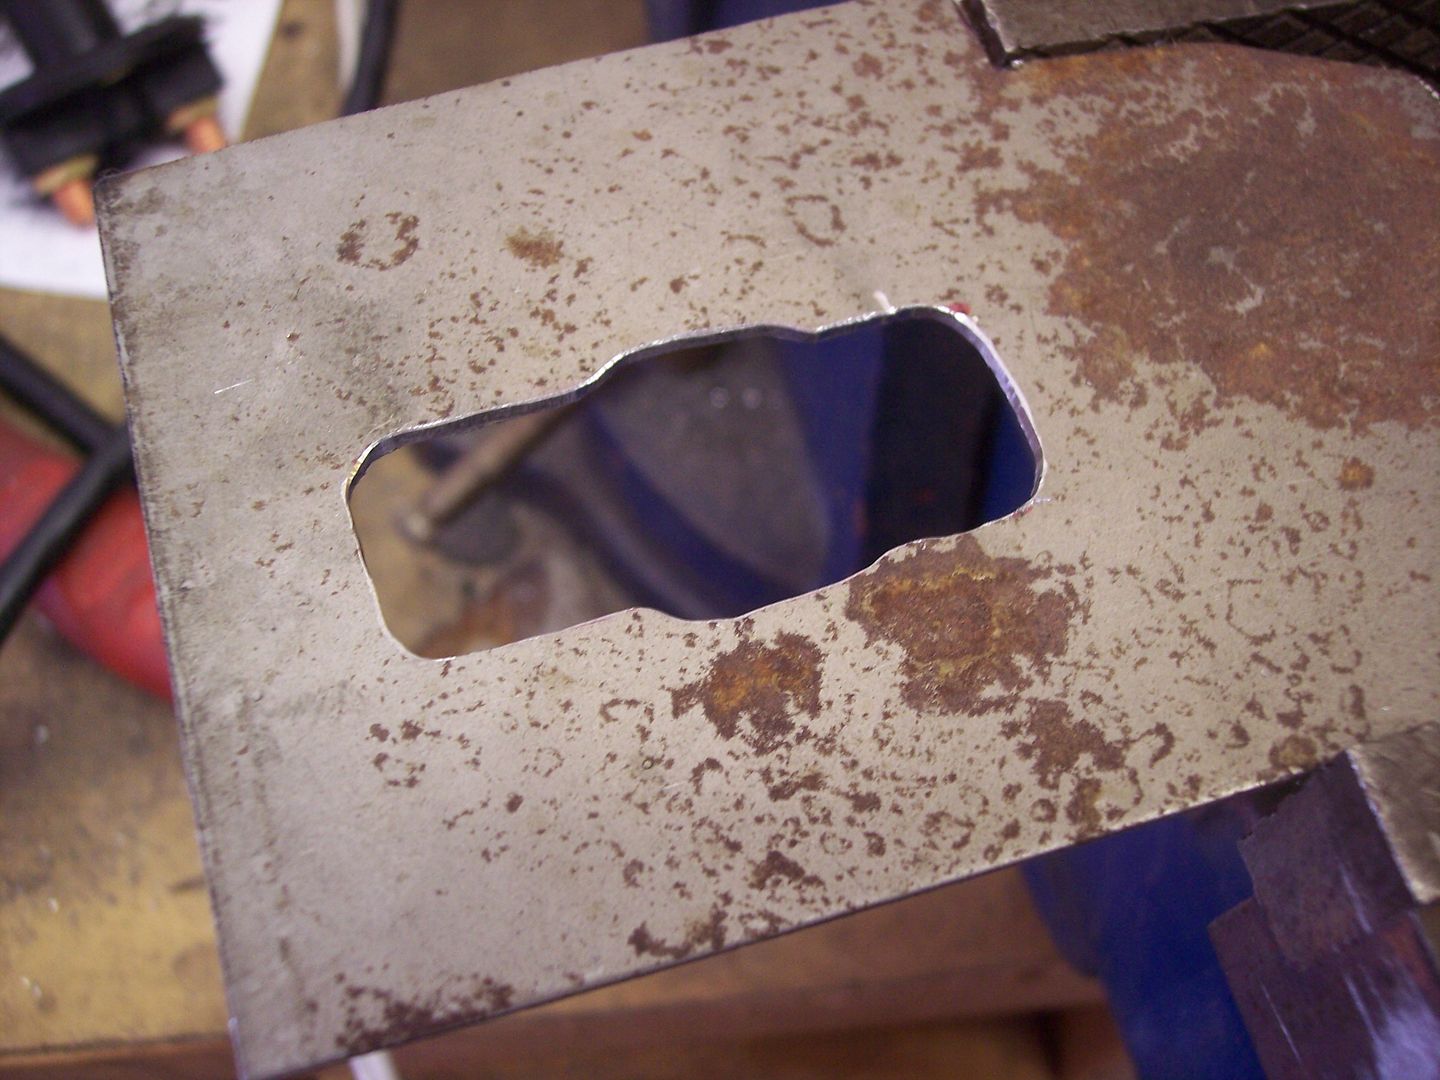
After messing with my template I traced it onto sheet metal I had lying around.
and started cutting.
made sure switch fit snug
then mocked up my hole
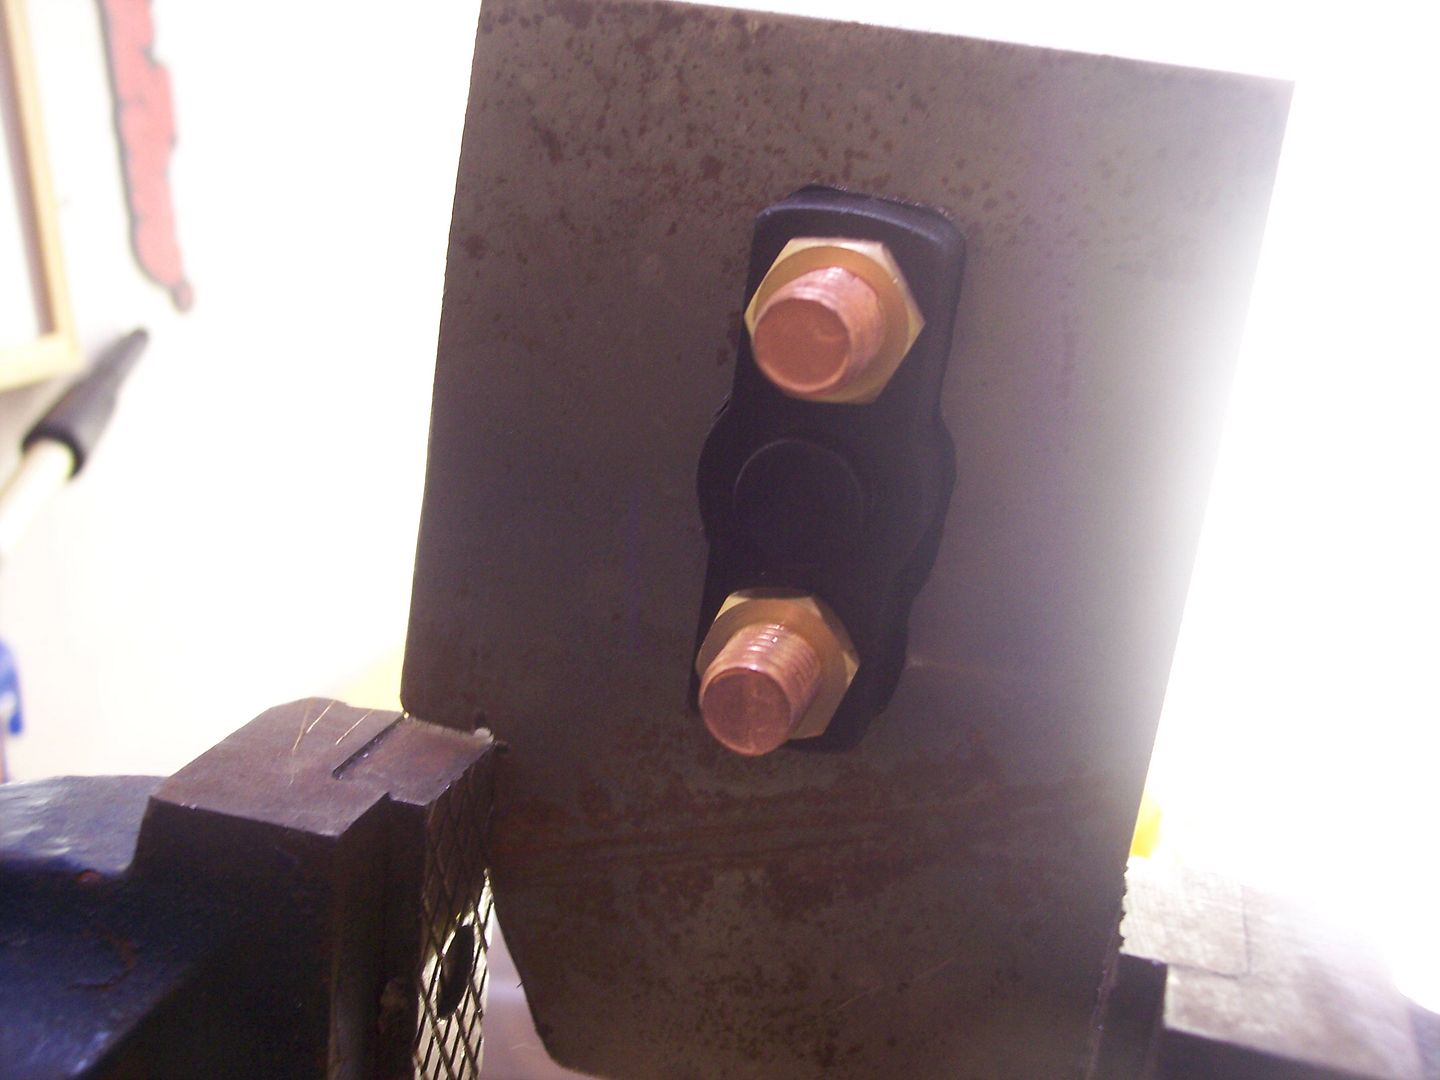
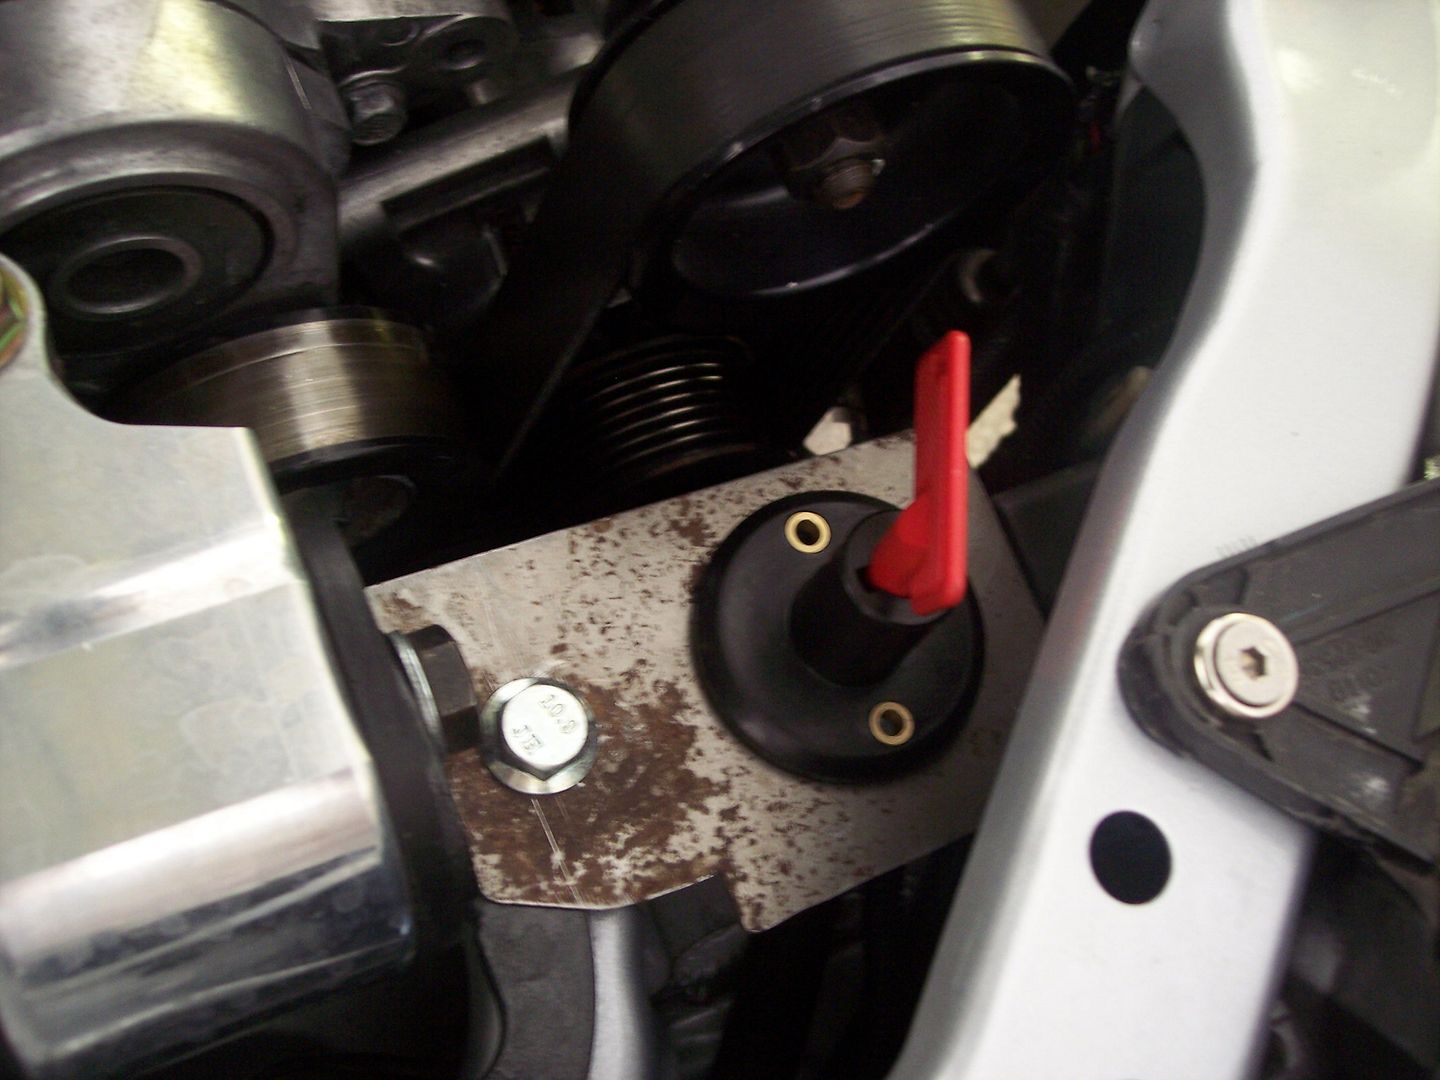
Now lets test fit it...
and with the switch in place
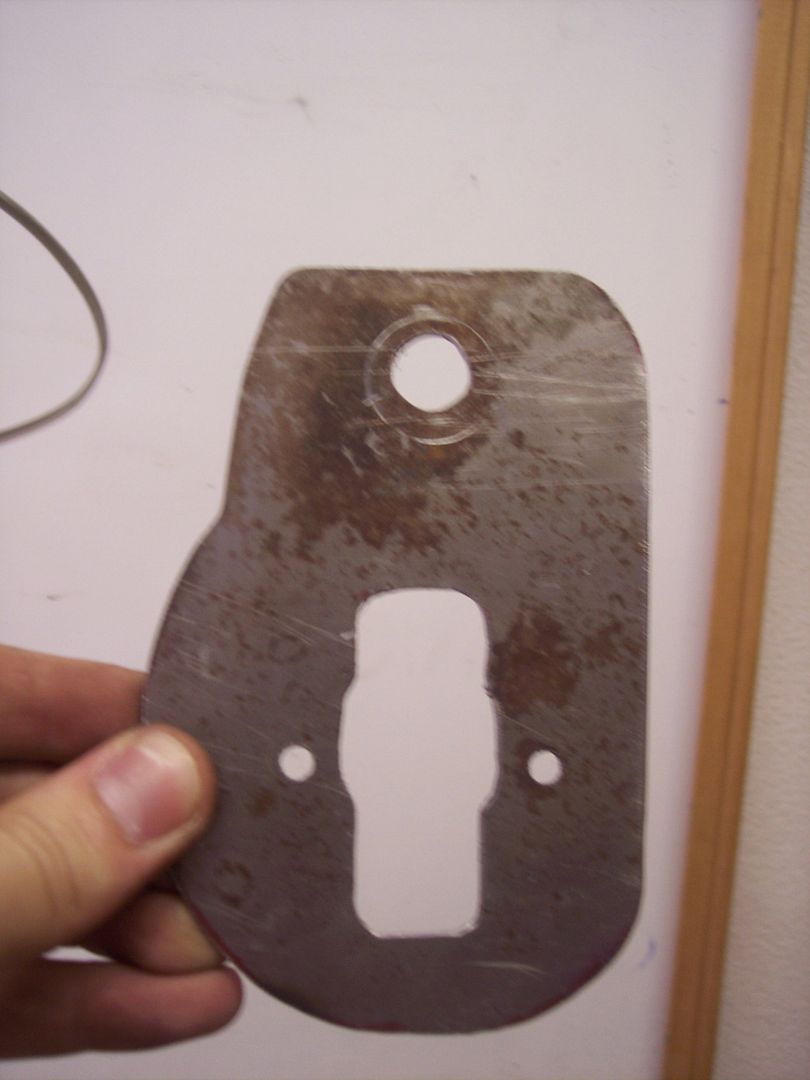
boy is that ugly lol But it fits. So now lets start cleaning it up! I started rounding edges and following the switch lines
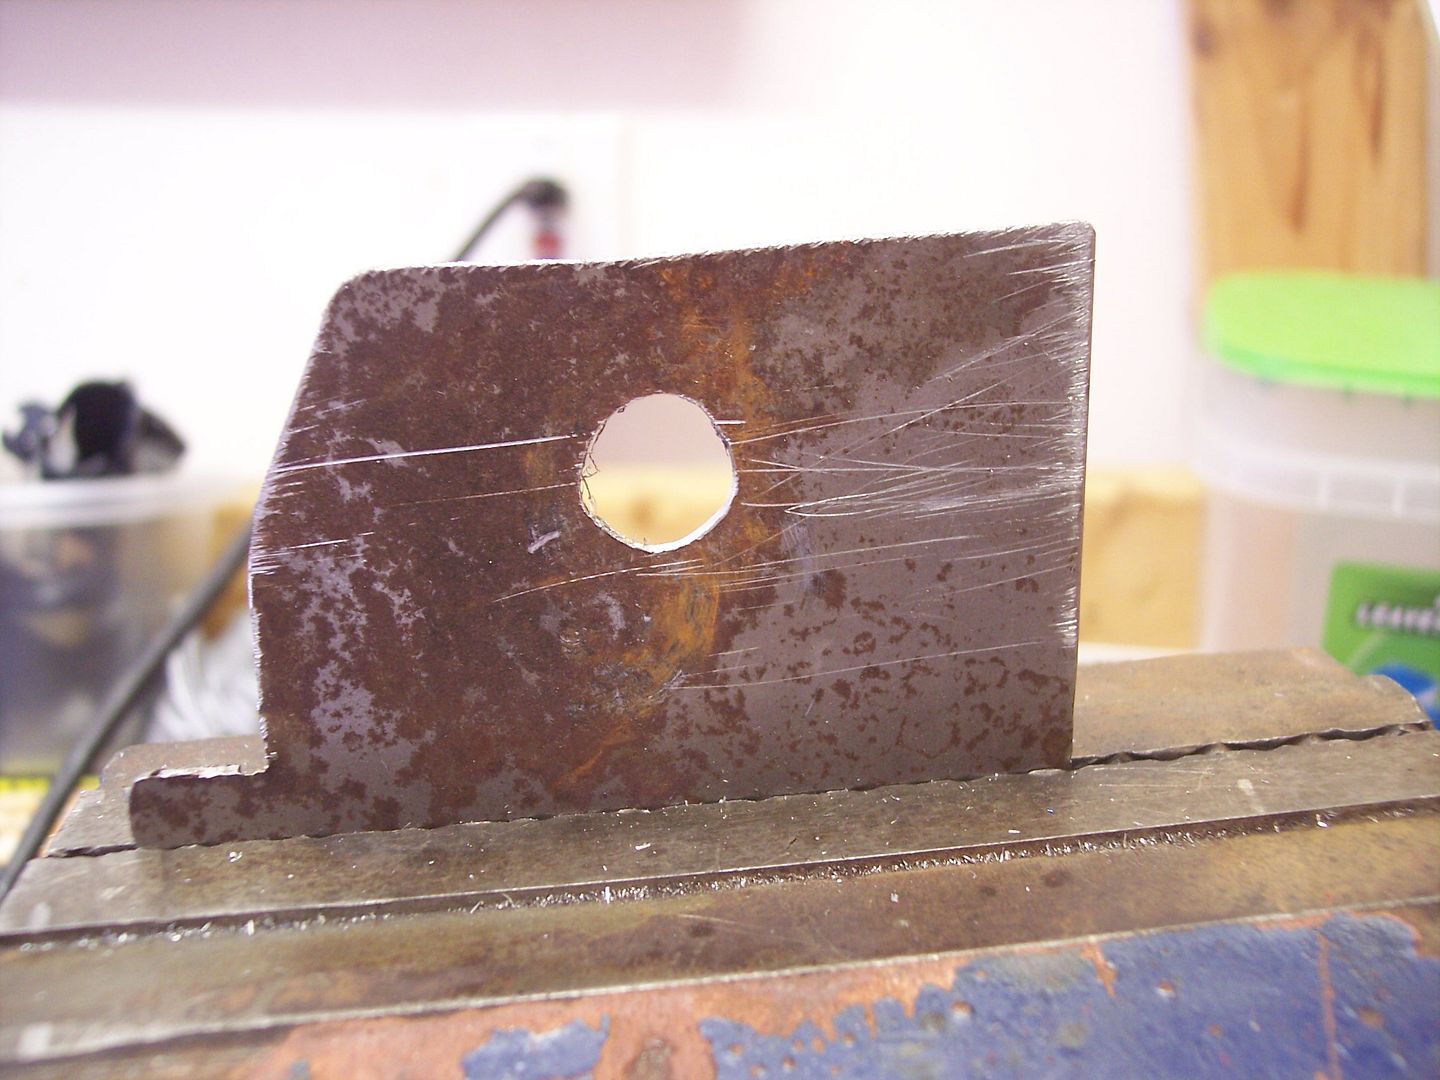
Ok now my bracket is done... time to go to the wiring...
Basically we are going to redirect the grounds from the battery post to a splitter. From the splitter to the switch then from the switch to the battery....
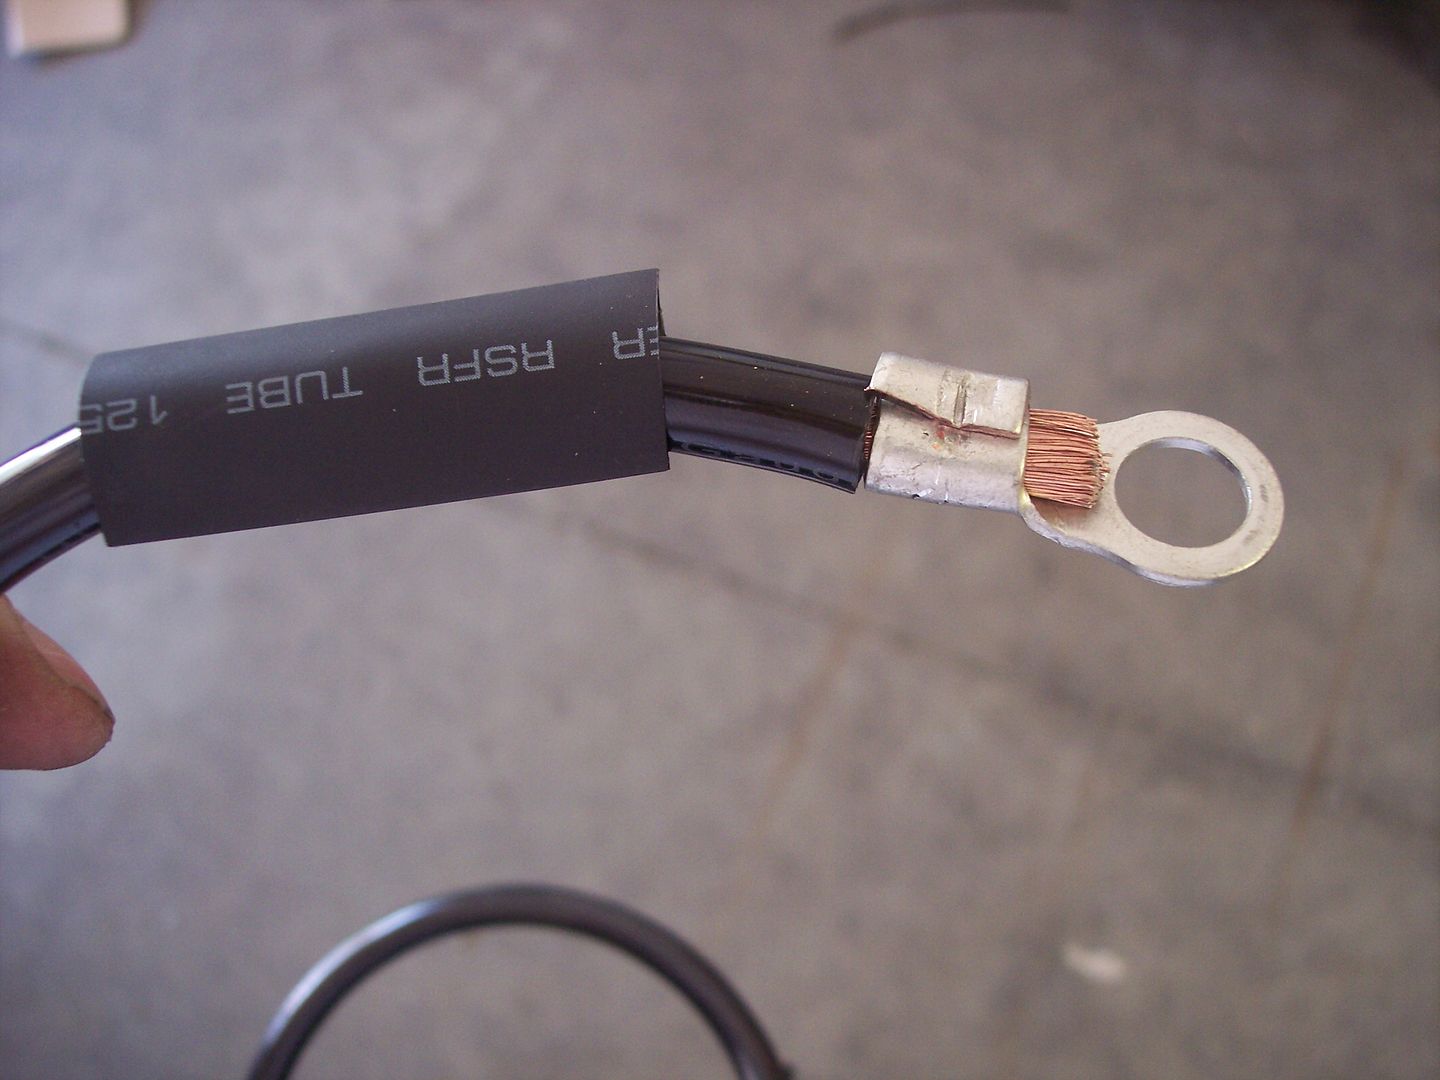
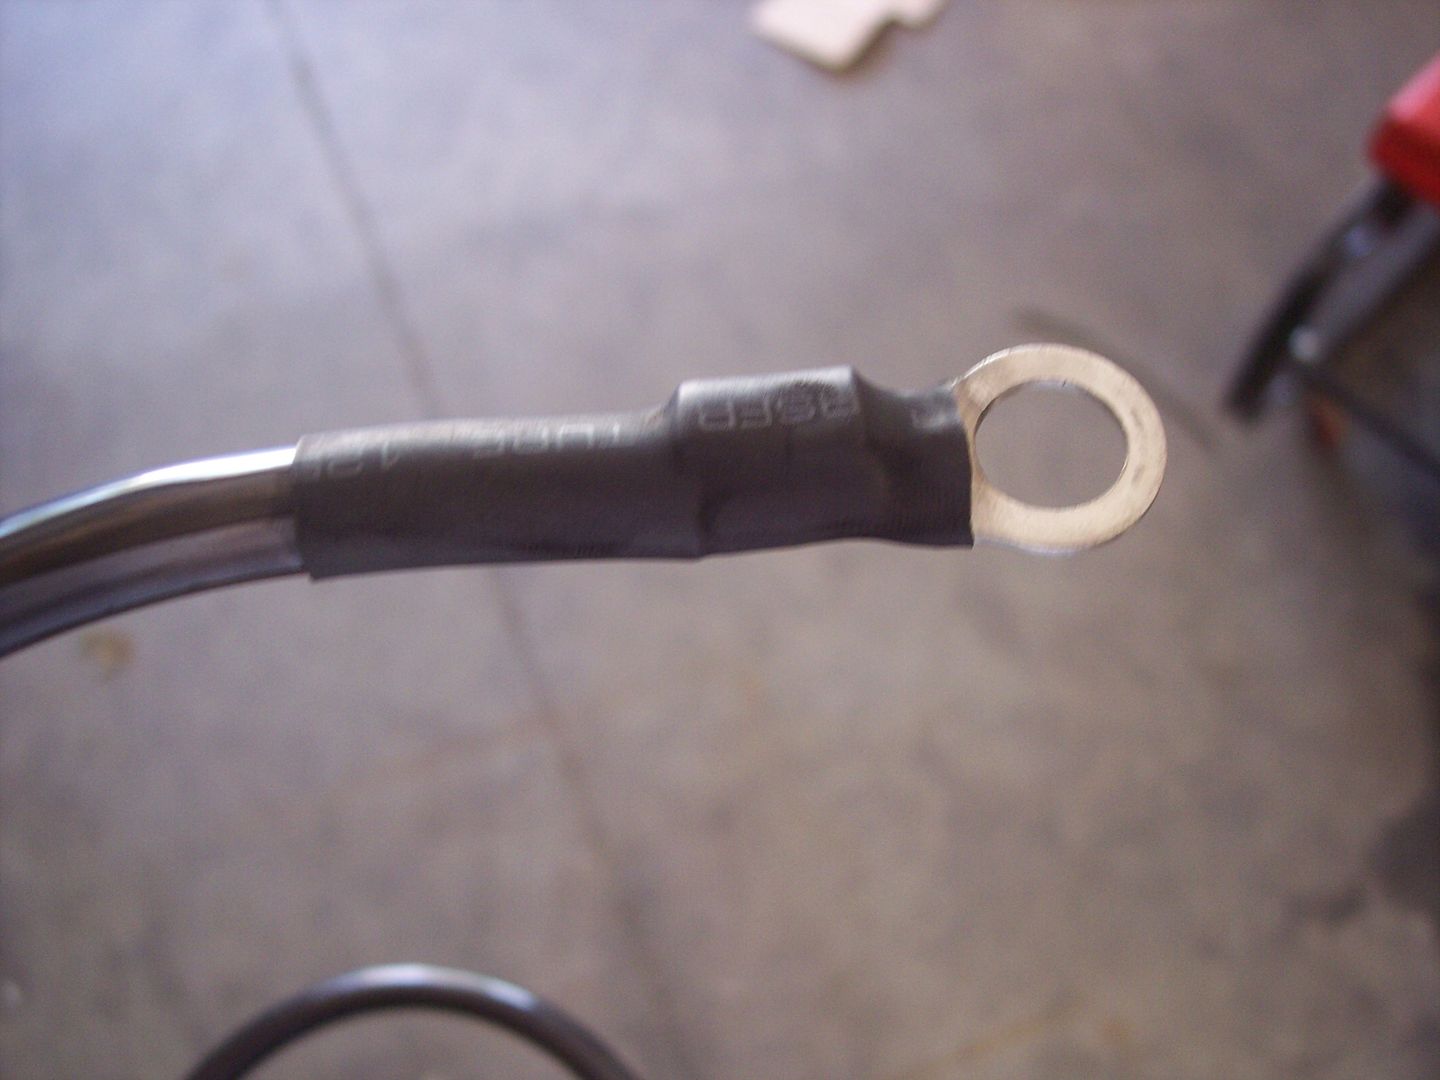
So I got two new pieces of battery cable. Didn't need to be long for what I was doing and put ends on them.
then use shrink tube to protect of course. These will be going under the switch
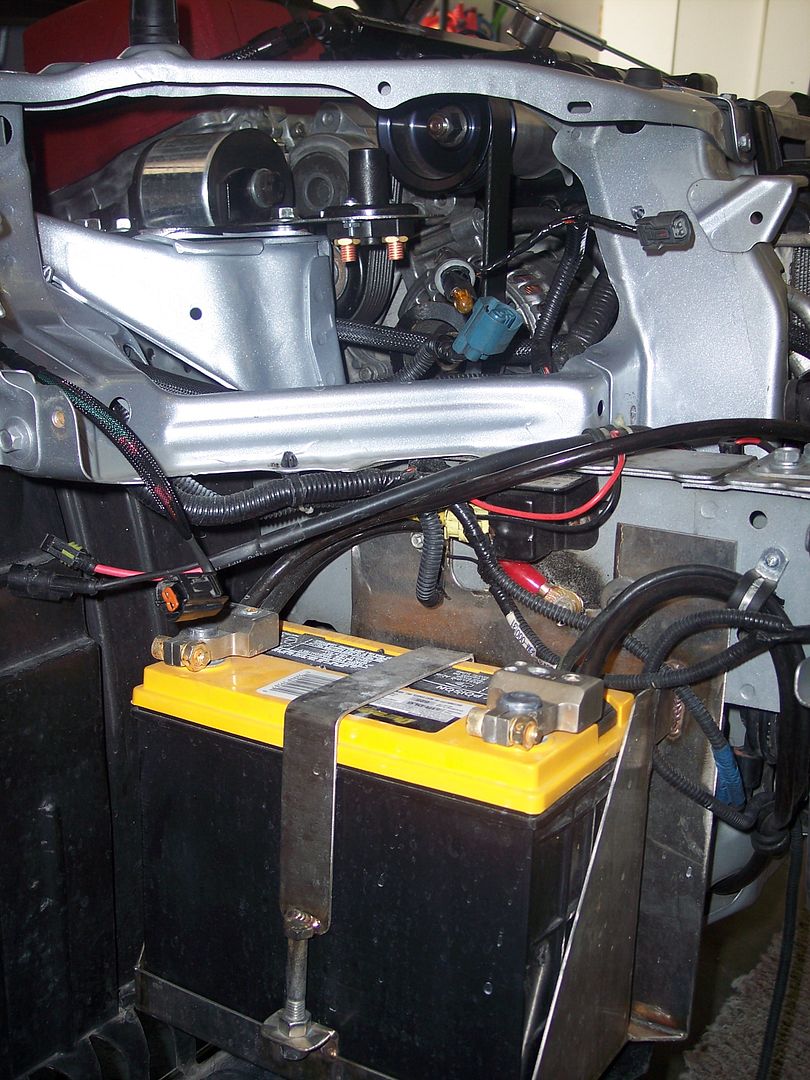
Then I disconnected the battery and pulled it out of the way... While doing so I took all the grounds off the connector
Now I ran my two new lines from the switch down to where the battery is
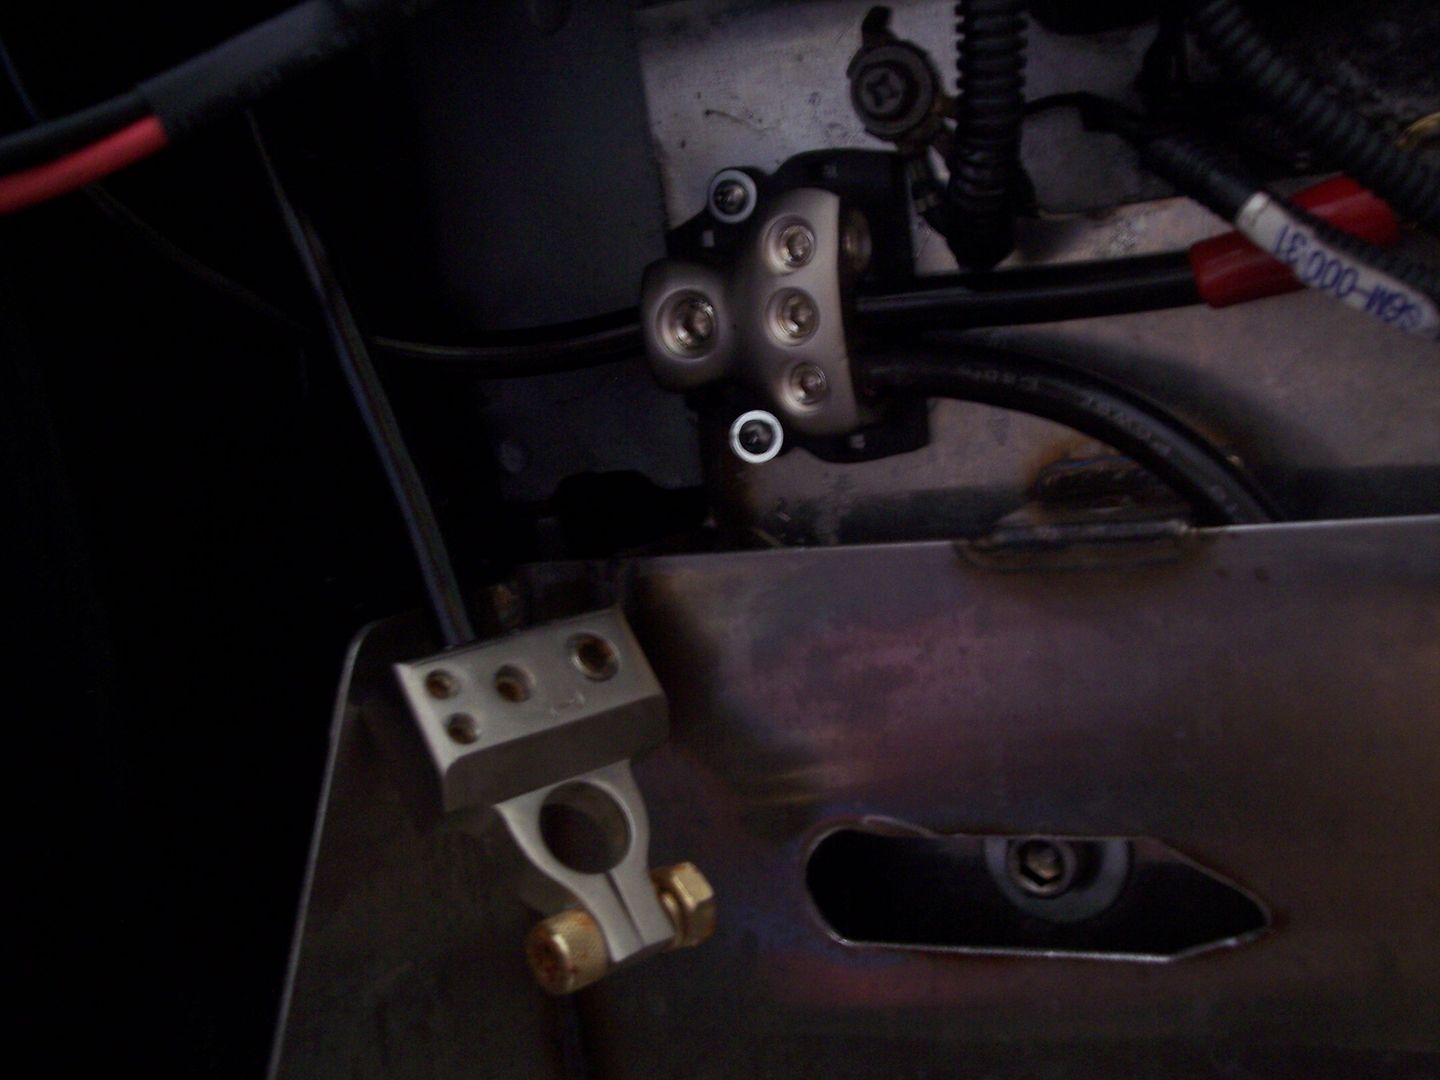
Ok so from here you will need a splitter. I decided to mount my splitter behind the battery on the frame. So I drilled in two self tapping screws. Then connected the old grounds into the splitter.
From there you cut the new cable from the switch to the length you need to the new splitter. You then do the same to add the other new cable to the original ground post.
Now I couldn't let me bracket look like shit.. so I sanded it, primed it, and painted it black. And now test it out. You should have no power with no key in and power with the key.


 Reply With Quote

Bookmarks