
 Reply With Quote
truthfully,Originally Posted by aLmk

the thought never crossed my mindBut now it's a good idea. I just ordered an oil filter sandwich I'm gonna eliminate the entire thing.


Why not use honda bond instead of teflon tape on those NPT threads?


truthfully,
the thought never crossed my mind
Available now are SPAZ APPROVED decals!!! Available in multiple colors!
Need parts?! Check out our eShop and let me know! We can help you out!
http://boostedk20.com/eshop/
:word: I only knew to do that because the service manual said so.
woohoo a couple parts came in today
Thanks to kseriesparts.com I got my new oil sandwich for my gauge install
And the first package arrived from JHPUSA
Rest should be here tomorrow
Available now are SPAZ APPROVED decals!!! Available in multiple colors!
Need parts?! Check out our eShop and let me know! We can help you out!
http://boostedk20.com/eshop/
ok plenty of updates.. loading photos now.
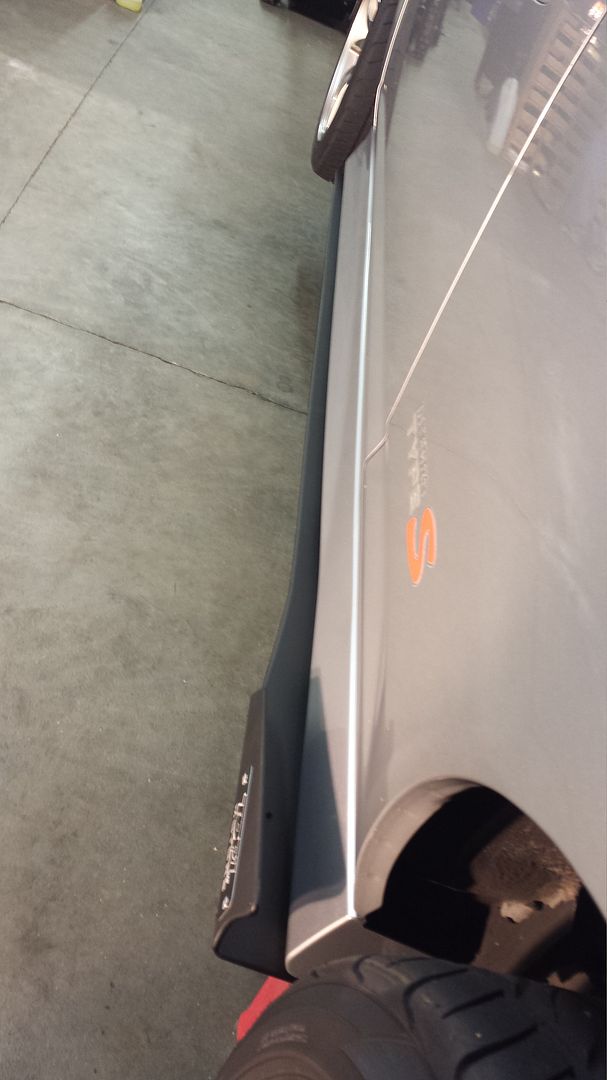
So I finally am starting to get the car back on the road. So I have a bunch of work ahead of me. So one of the items on my list was swap out my sideskirts to the new one.. but I must admit I am COMPLETELY DISSAPOINTED with the new TopOne products.
Anyways started taking off my sidekskirts
unbolting the old TopOne add on skirts
Here is the old verse the new.. the old one was HUGE compared to the new one. It was wider and more aggressive and the winglet was twice the size..
winglet comparison
None of the preholed bolt holes match up.. so I clamped them together and redrilled them
and then reinstalled
Here is a comparison of the old verse new.... not aggressive at all anymore...
and final look
Available now are SPAZ APPROVED decals!!! Available in multiple colors!
Need parts?! Check out our eShop and let me know! We can help you out!
http://boostedk20.com/eshop/


putting work in i see
Using promo code "SPOOLBUS" @ checkout when shopping in the eshop will save you money!!
so got most my parts in today but realized I forgot to order the damn hub...
NRG quick release
Personal Trophy Edition steering wheel
love it!
so started taking it all apart. Removed the covers
removed side pieces to expose bolts and srs
unplugged SRS
used Torx bit to removed
pulled airbag out
then used 14mm to remove steering wheel
Ok so I was searching around while installing my quick release steering wheel and everyone talked about breaking the clockspring to get it off. I didn't see why everyone struggled I figured it out right away how to take it off without busting it.. So I thought I would share
pull clock spring forward and out
This is the piece we are trying to remove without breaking
To do so just release the bottom clip with a flat head screw driver
Then the harder part everyone gets stuck on.. using a flat head push down here
As you can see it's just a push tab you need to push down on to release the clip
and now you've successfully removed the clock spring without breaking it.
but I forgot to buy the hub so I need to wait till that comes in the mail
Available now are SPAZ APPROVED decals!!! Available in multiple colors!
Need parts?! Check out our eShop and let me know! We can help you out!
http://boostedk20.com/eshop/
ok also pulled out my AC vent
finally swap out my home made black for a black vent
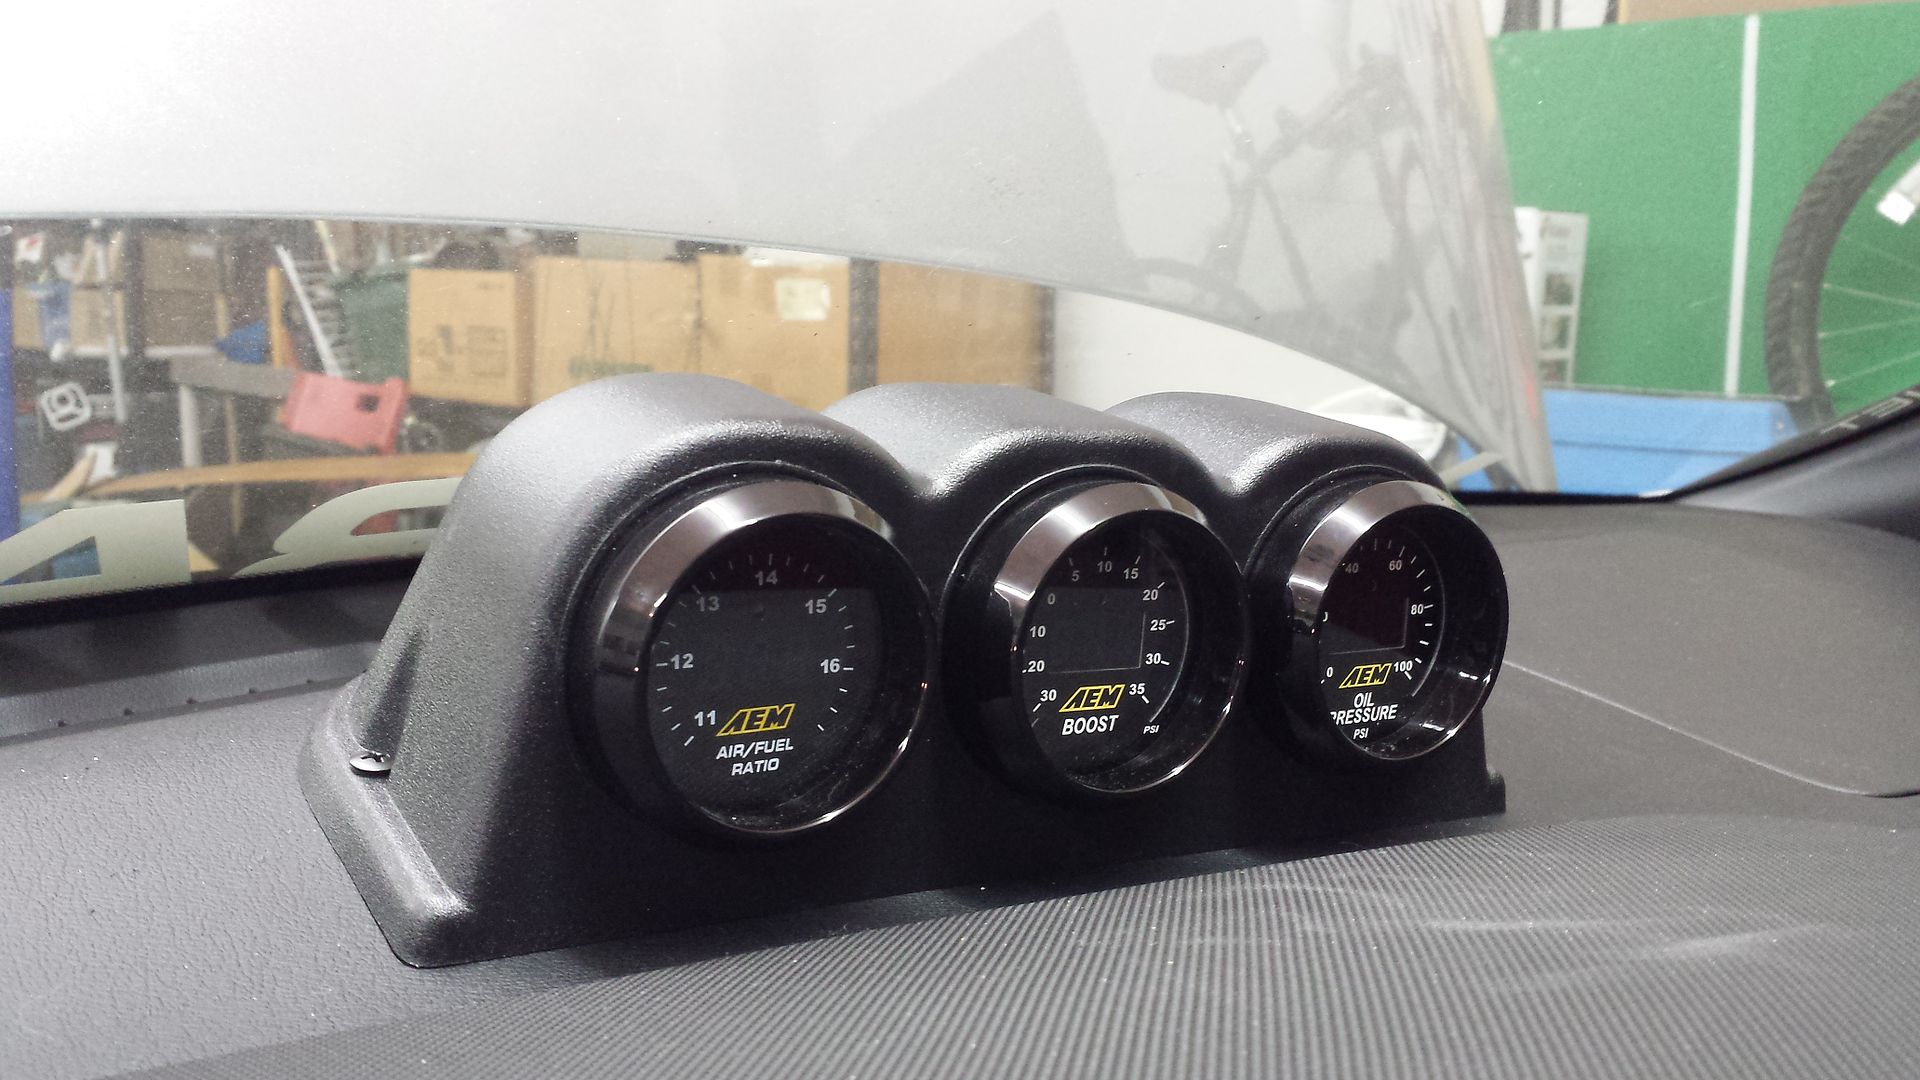
them pulled out my cluster so I could change out the wiring harness for my AEM boost gauge
old verse new... AEM things my harness went bad. So hopefully this fixes my boost issue
rewiring it back up
start putting back together
done
Available now are SPAZ APPROVED decals!!! Available in multiple colors!
Need parts?! Check out our eShop and let me know! We can help you out!
http://boostedk20.com/eshop/
here you go!
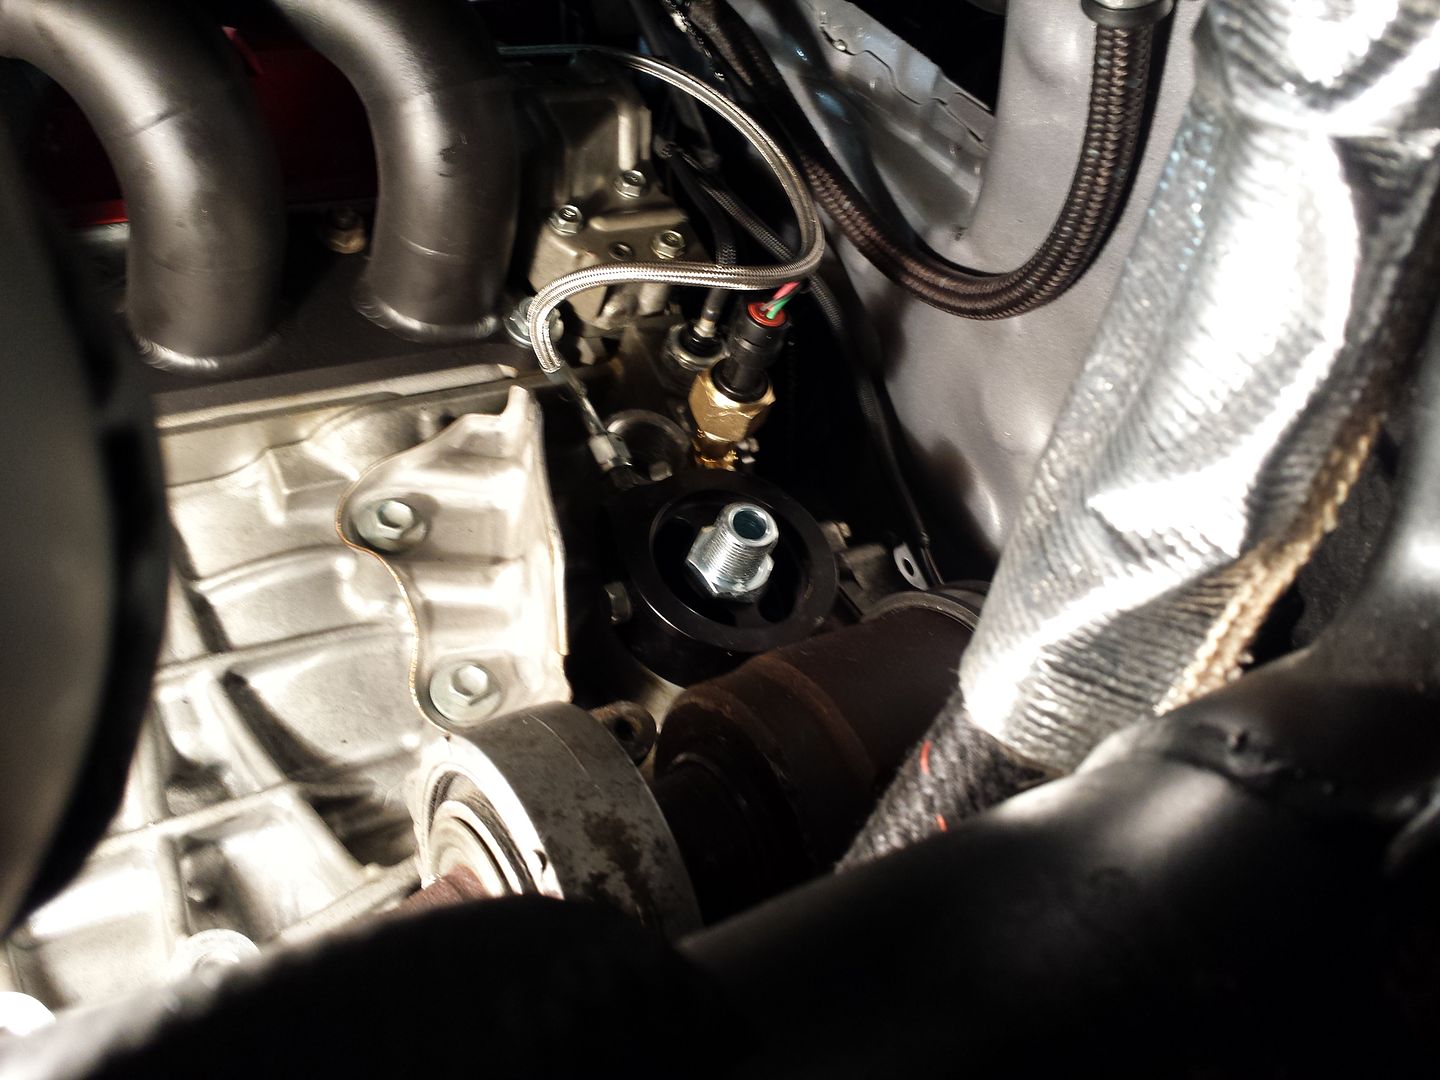
Redid the ghetto oil feed setup. This is what I removed compared to the new filter sandwich
this is what I will go with
instead of thread tape I am going with HondaBond
put all the fittings on
and final install. So much cleaner! Glad I went this route
Available now are SPAZ APPROVED decals!!! Available in multiple colors!
Need parts?! Check out our eShop and let me know! We can help you out!
http://boostedk20.com/eshop/
looks much cleaner! I had at some point read someone suggesting not to use a oil sandwich adaptor, but it looks like it's just easier and cleaner. Any idea why someone would suggest again it?
 Posting Permissions


Bookmarks