


 Reply With Quote
Any specific one?


Ima buy one ASAP.
Tapatalk FTMFW!
Tire slayer
Breaking everything since 2011

Any specific one?
"As I lay rubber down to street, I pray for traction I can keep. But if I spin and begin to slide, please oh please protect my ride."
One-off SRT Top Mount Manifold - GT3076R
My Ruckus Build
Just the smoked acrylic one with the brackets. And I gotta get side window visors too cuz my ac don't work to clear fog when it rains out.
Tapatalk FTMFW!
Tire slayer
Breaking everything since 2011


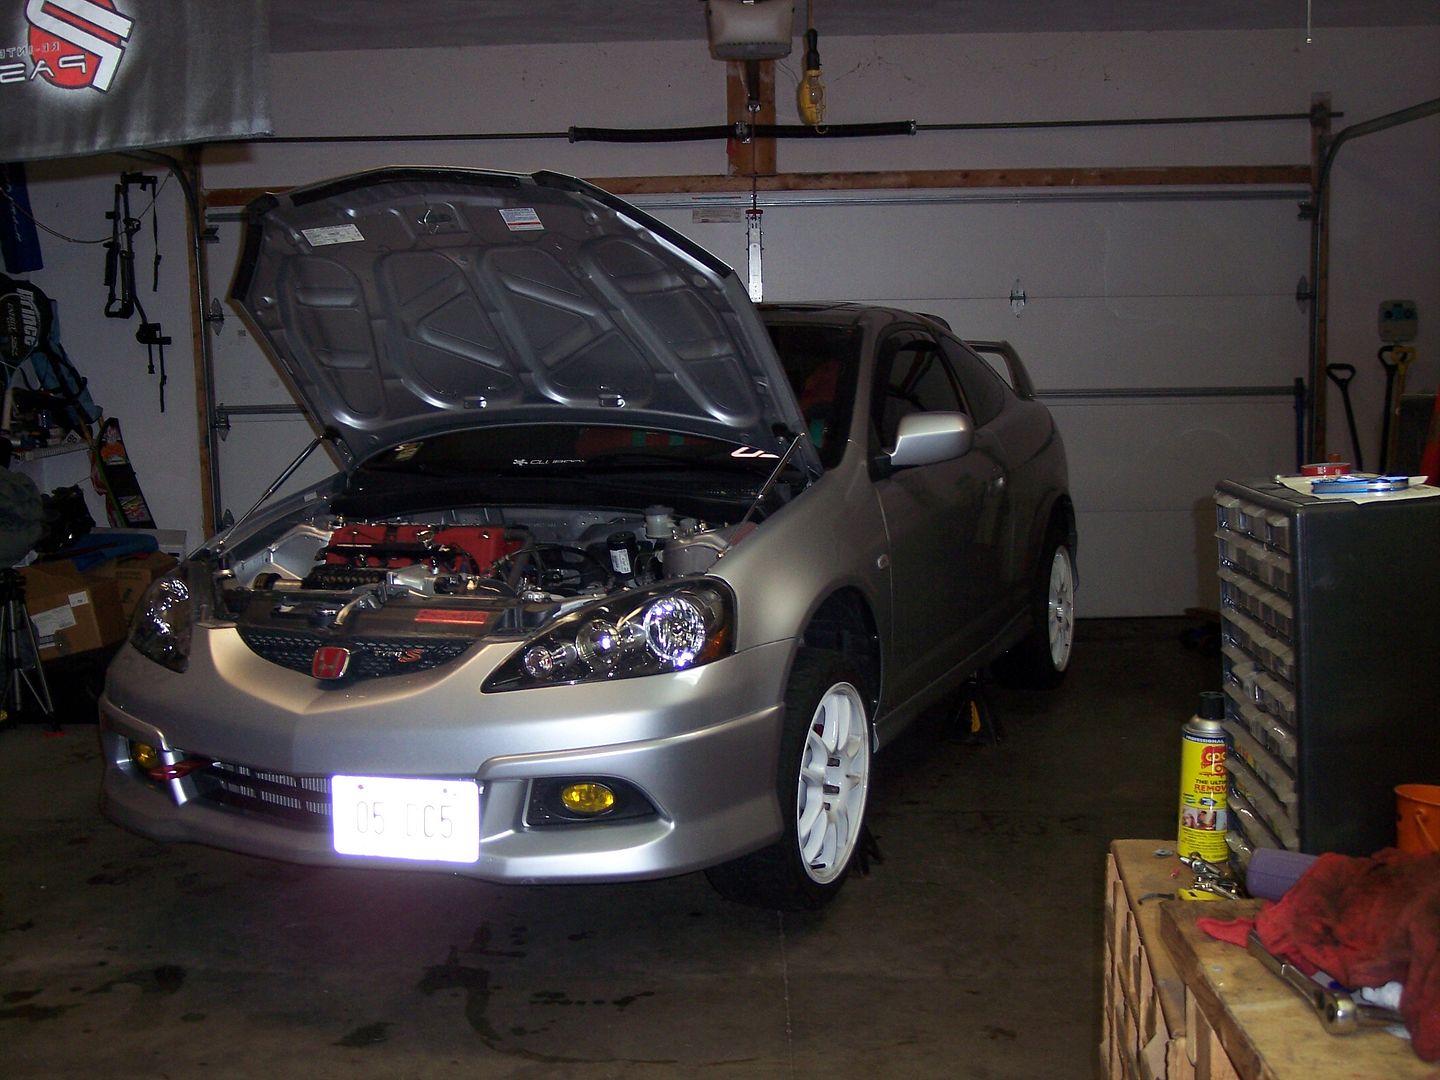
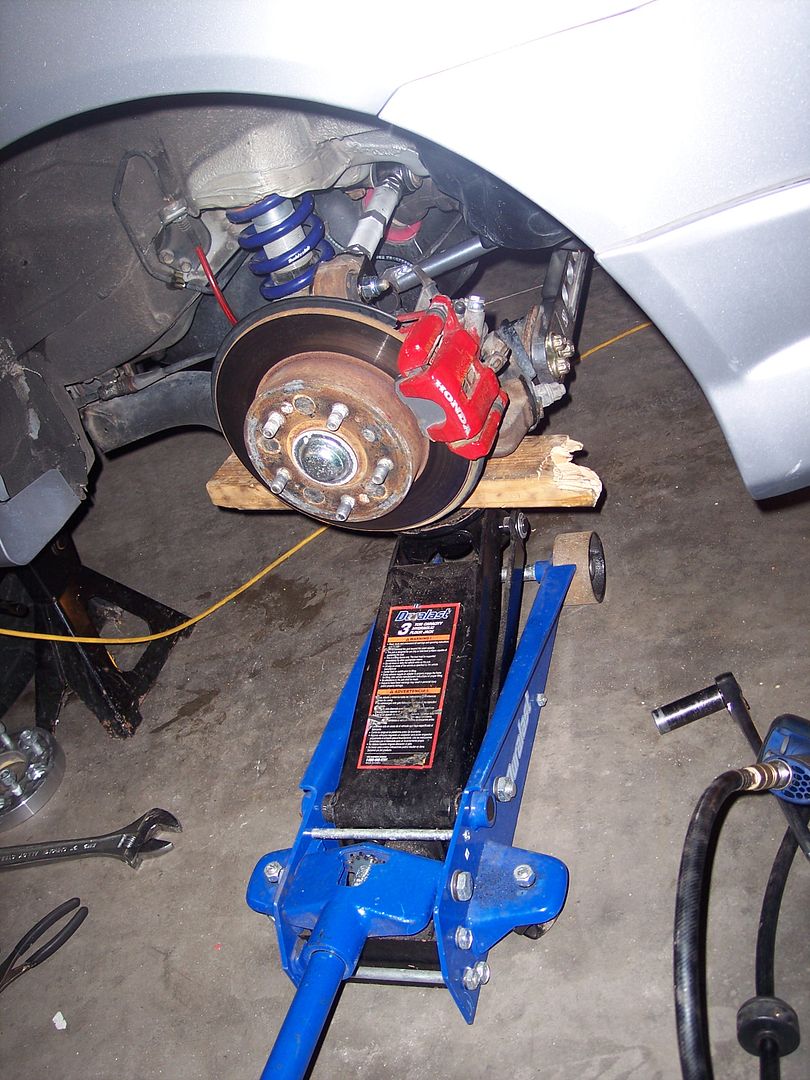
Did a quick suspension swap. So I thought I would make my version of the DIY....
First step break loose your lug nuts
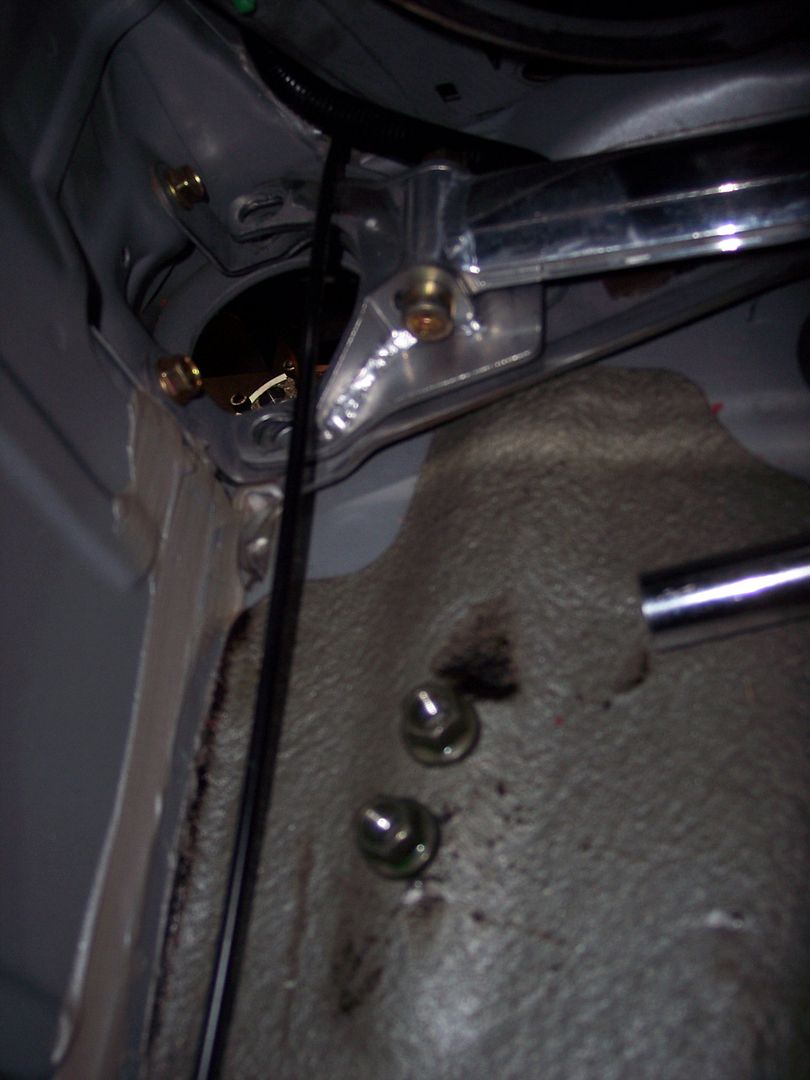
next while the car was lower I decided to pull out the trunk parts so you can get to the rear strut bolts.
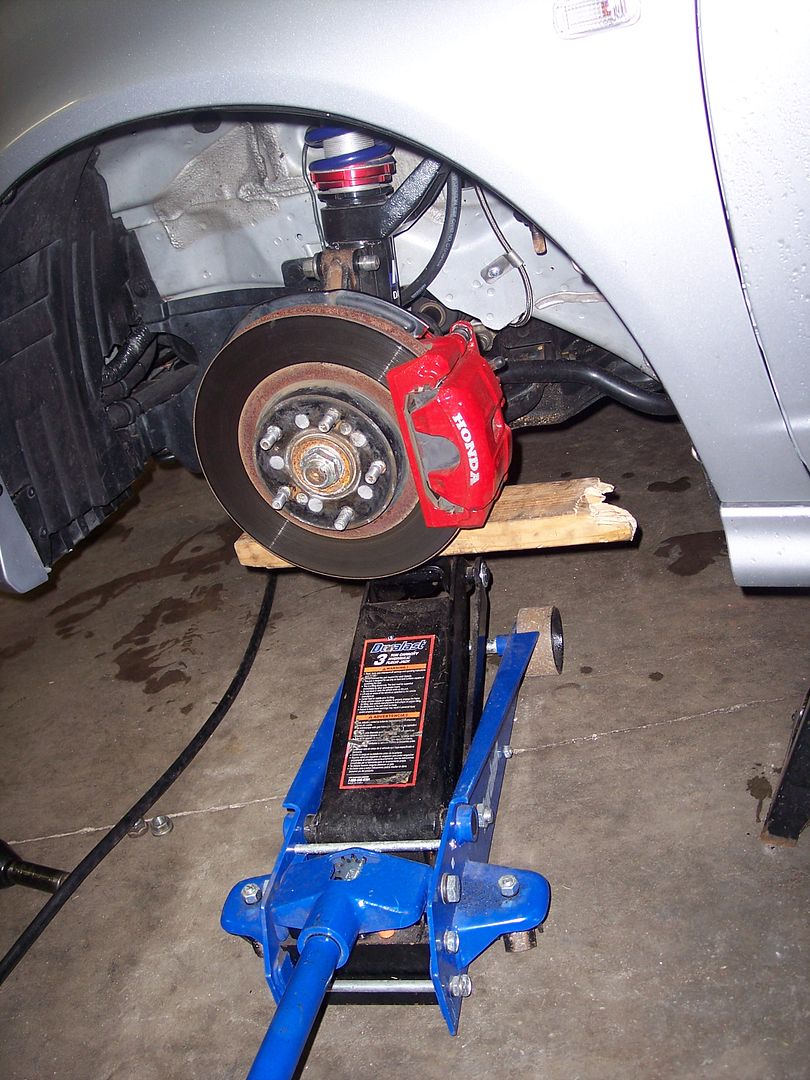
Now go ahead and jack her up and put her on stands
I started with the front. So first I loosened up the top bolts and removed the strut bar
then so the strut doesn't just fall out later put one of the nuts back on
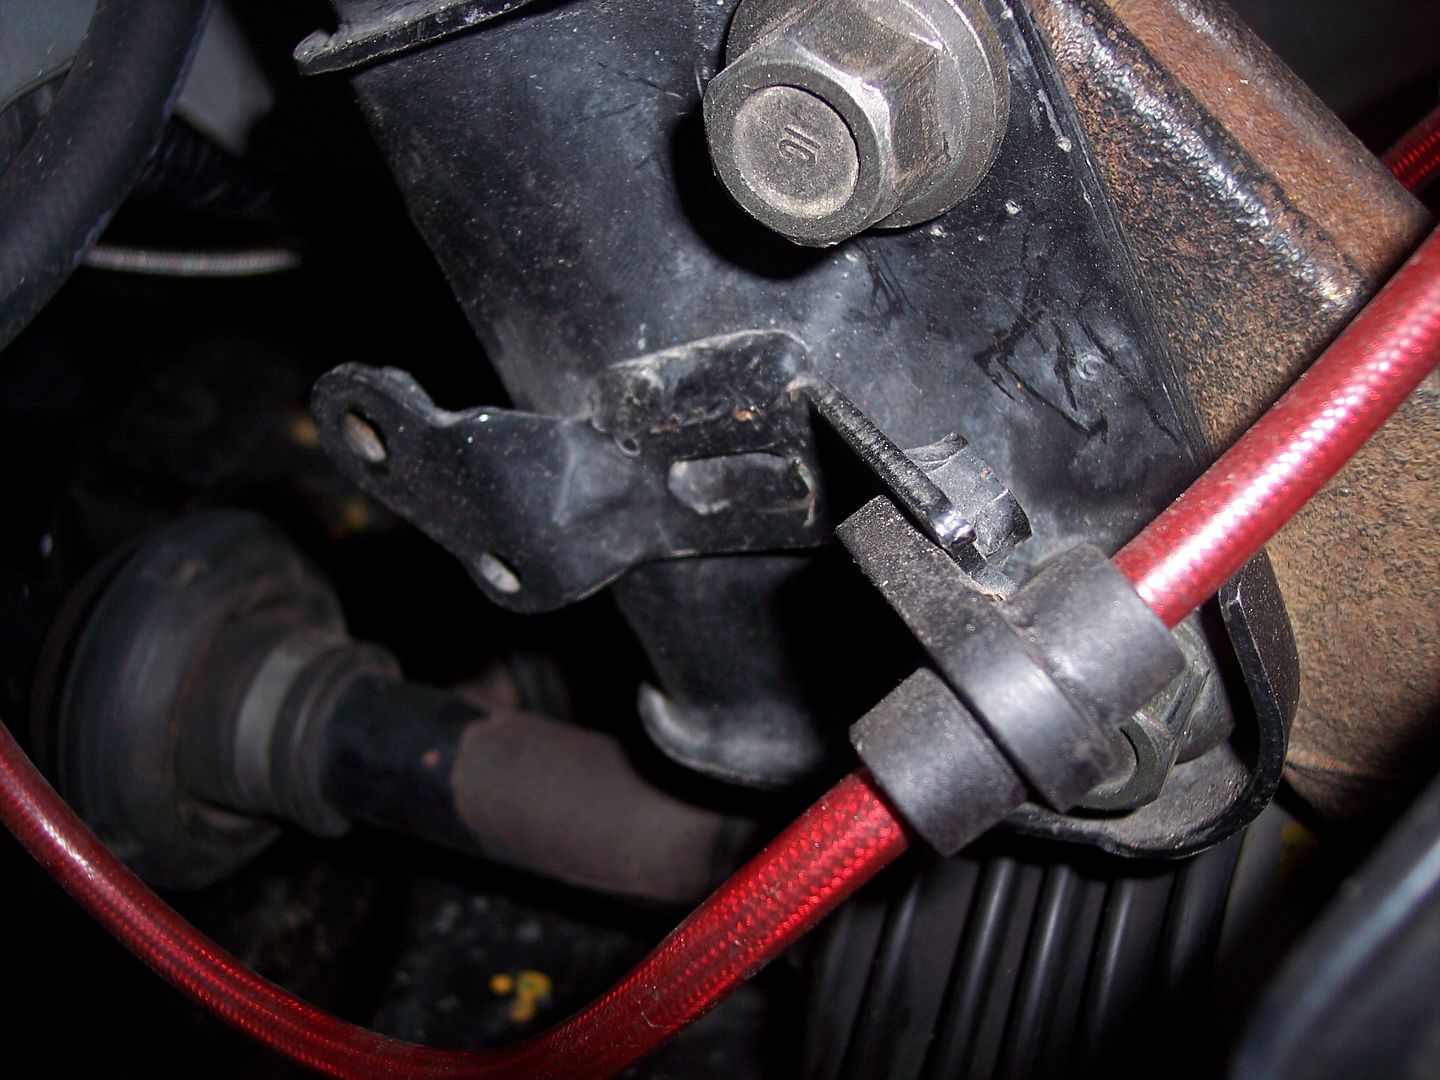
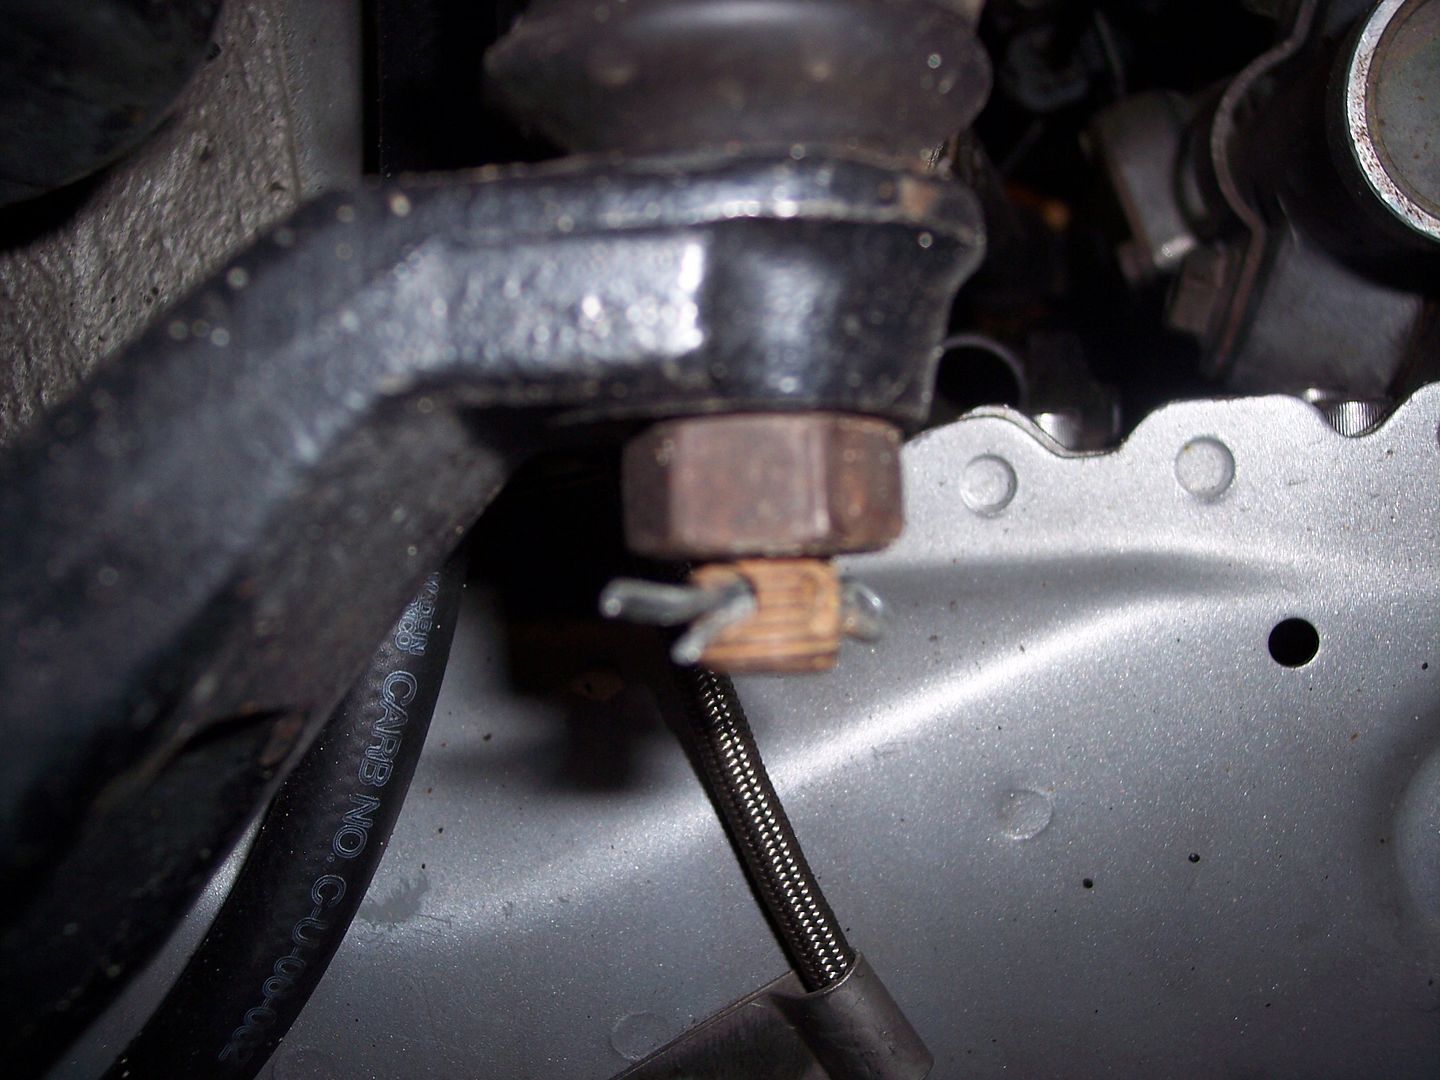
Now take off the tire and lets get to work. Remove the 10mm ABS bracket bolt(i don't have ABS so none shown) and the 12mm brake line bracket bolt.
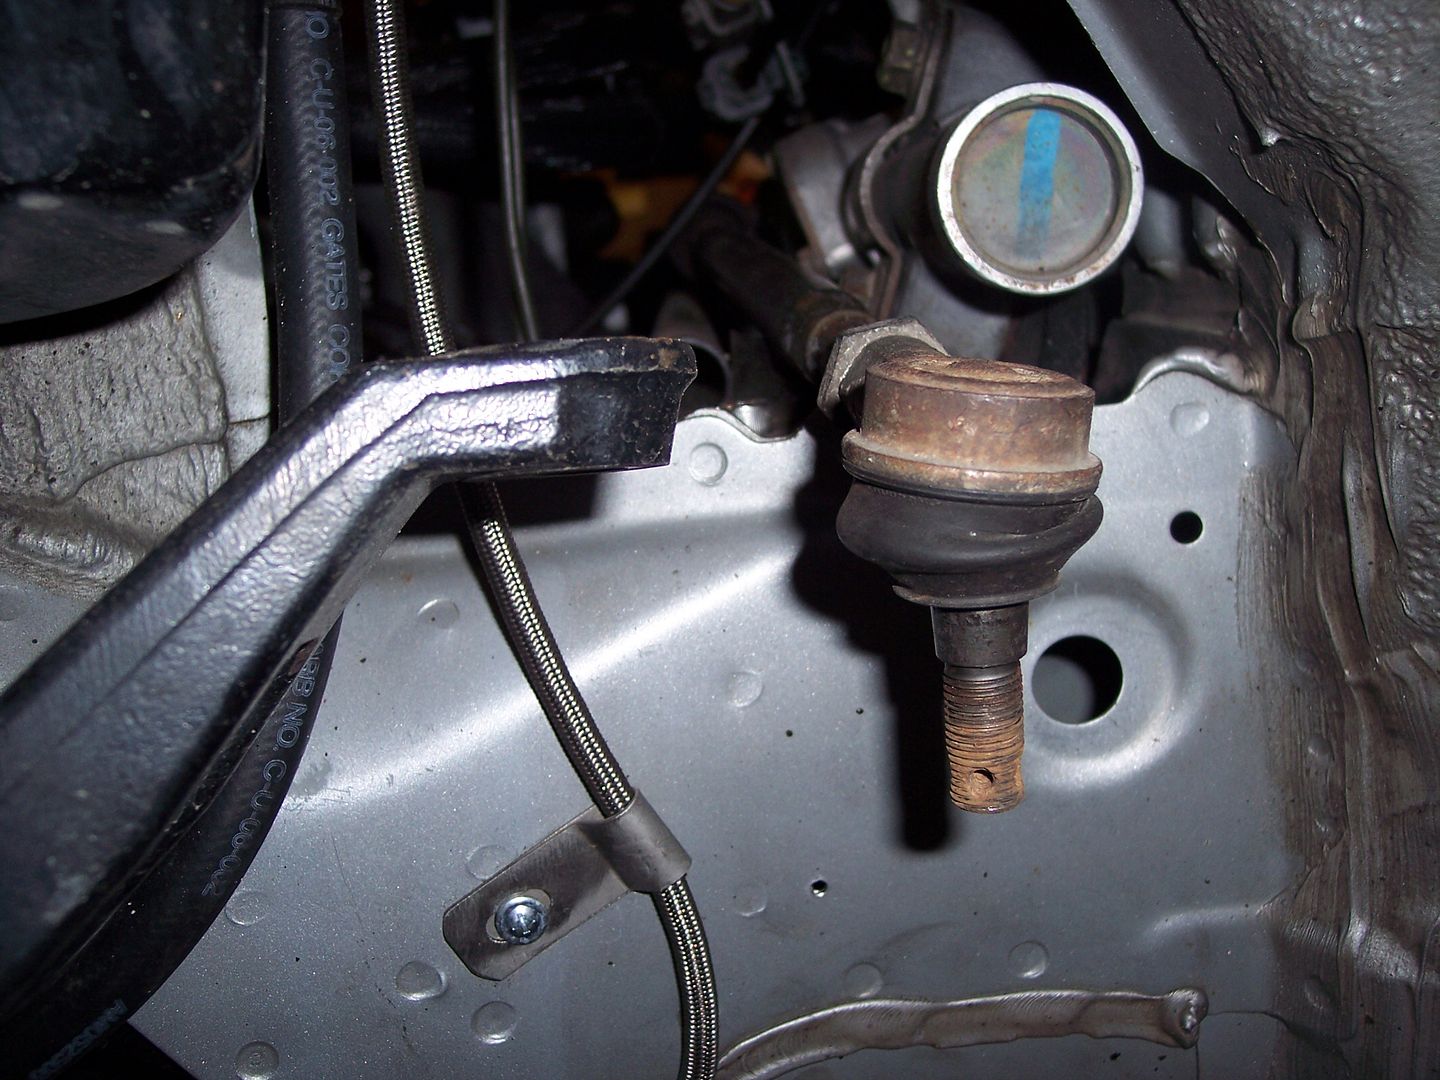
Now go ahead and take off the tie rod end. Remove the cotter pin then use a 19mm socket
pop her on out
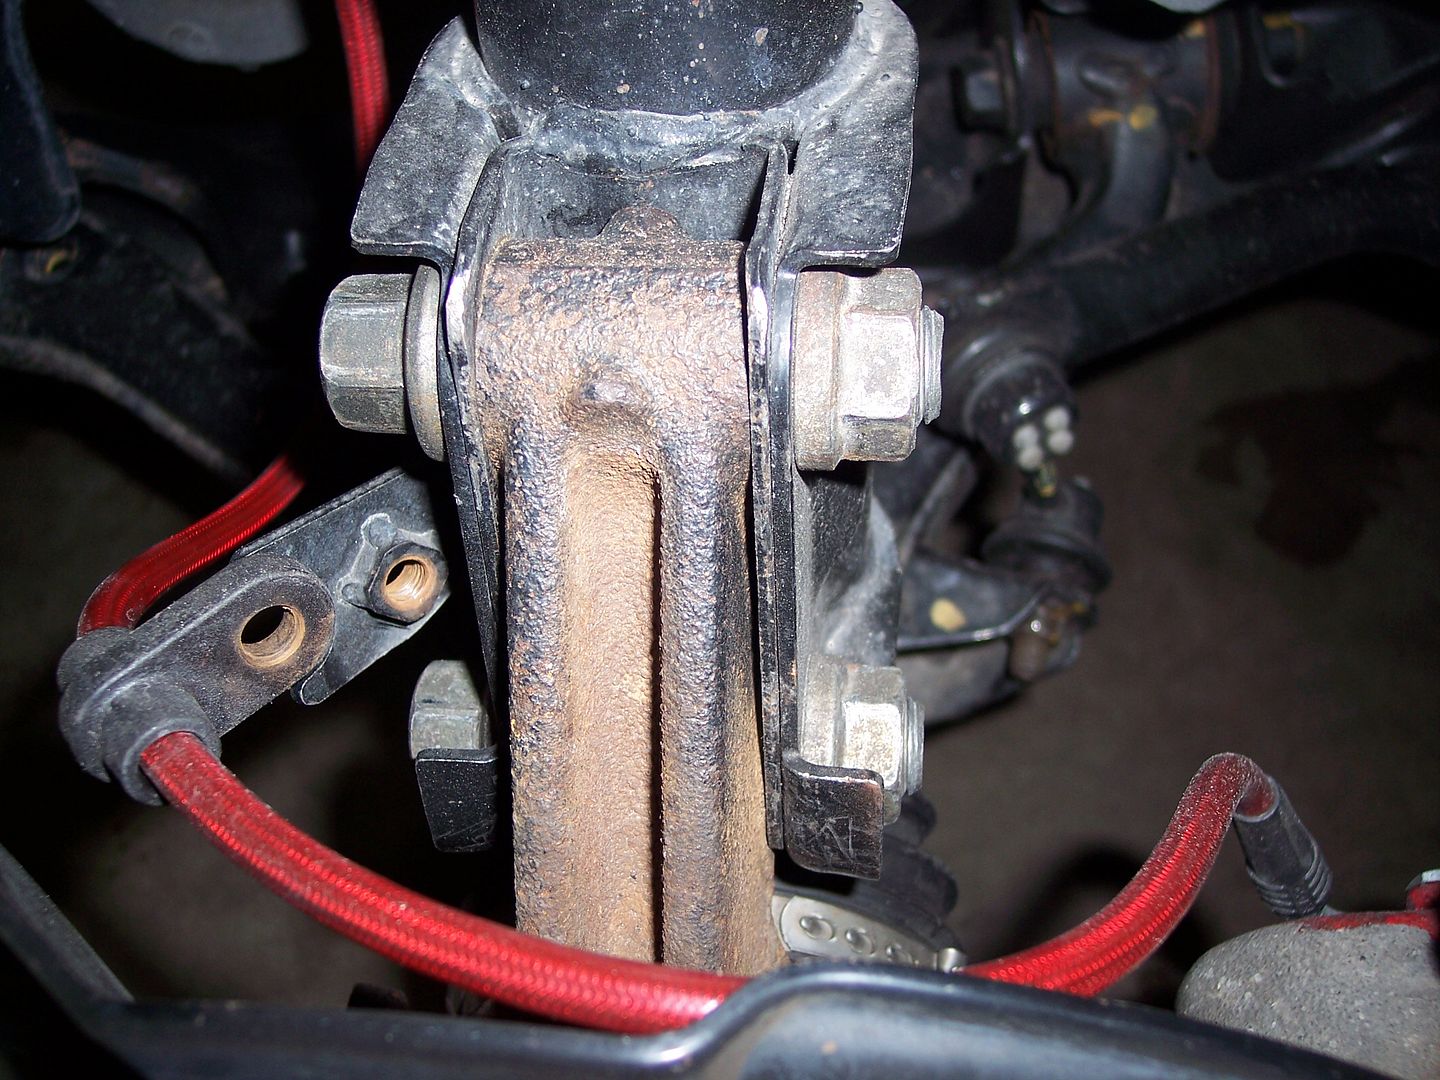
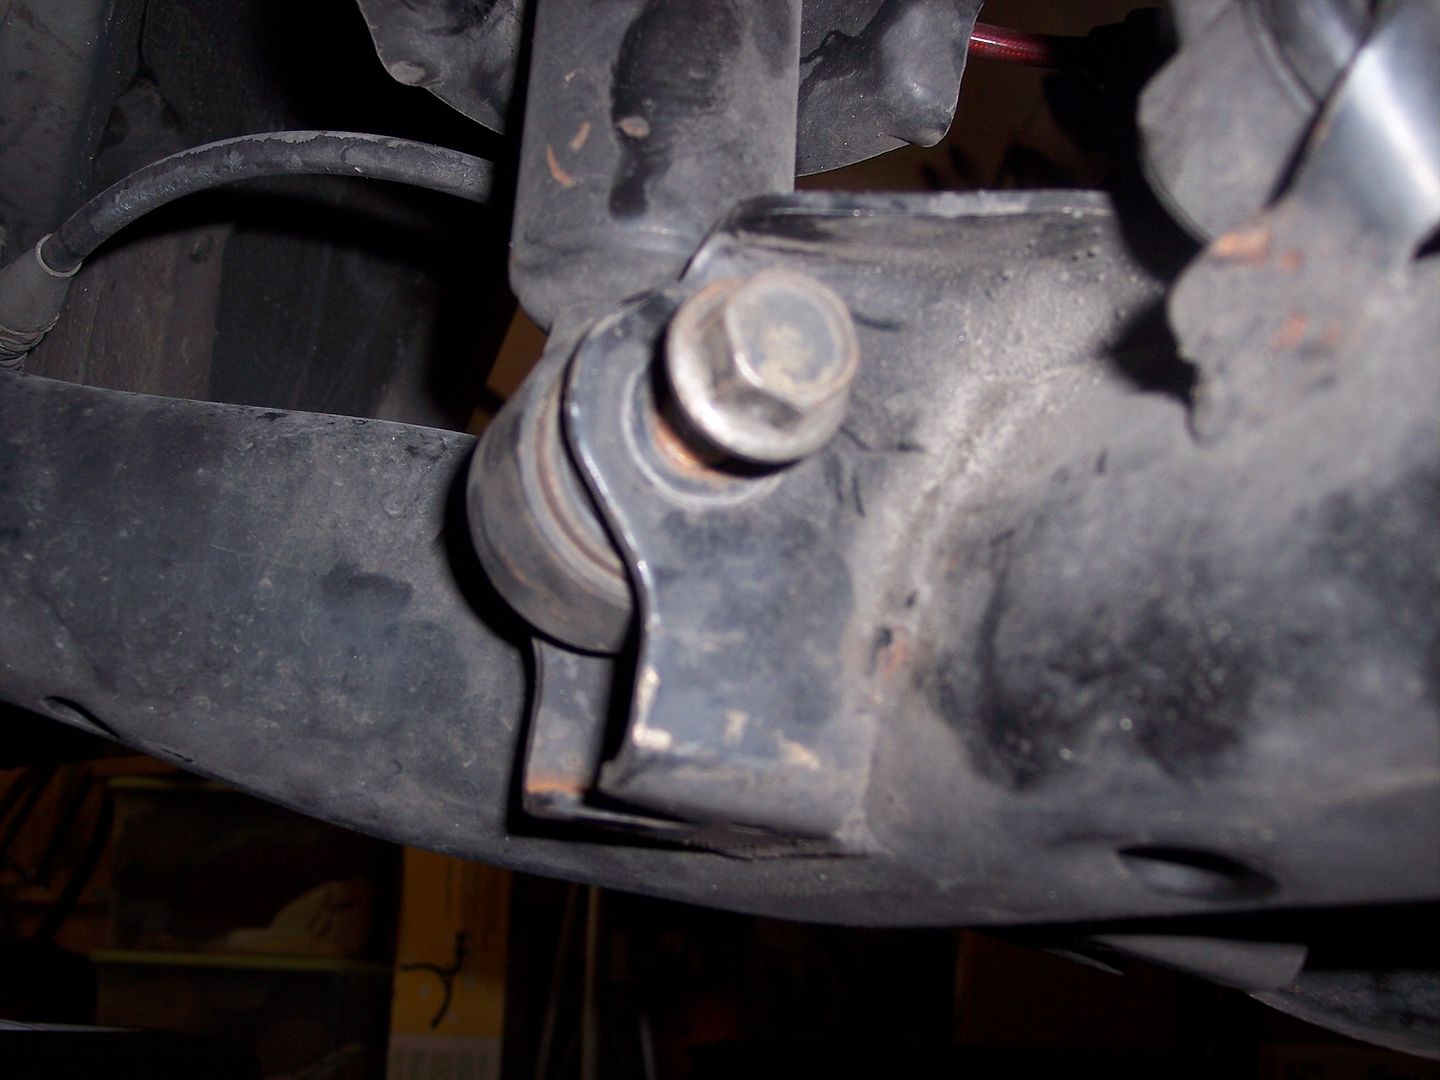
Now time to take off the big bolts. 19mm and 23mm
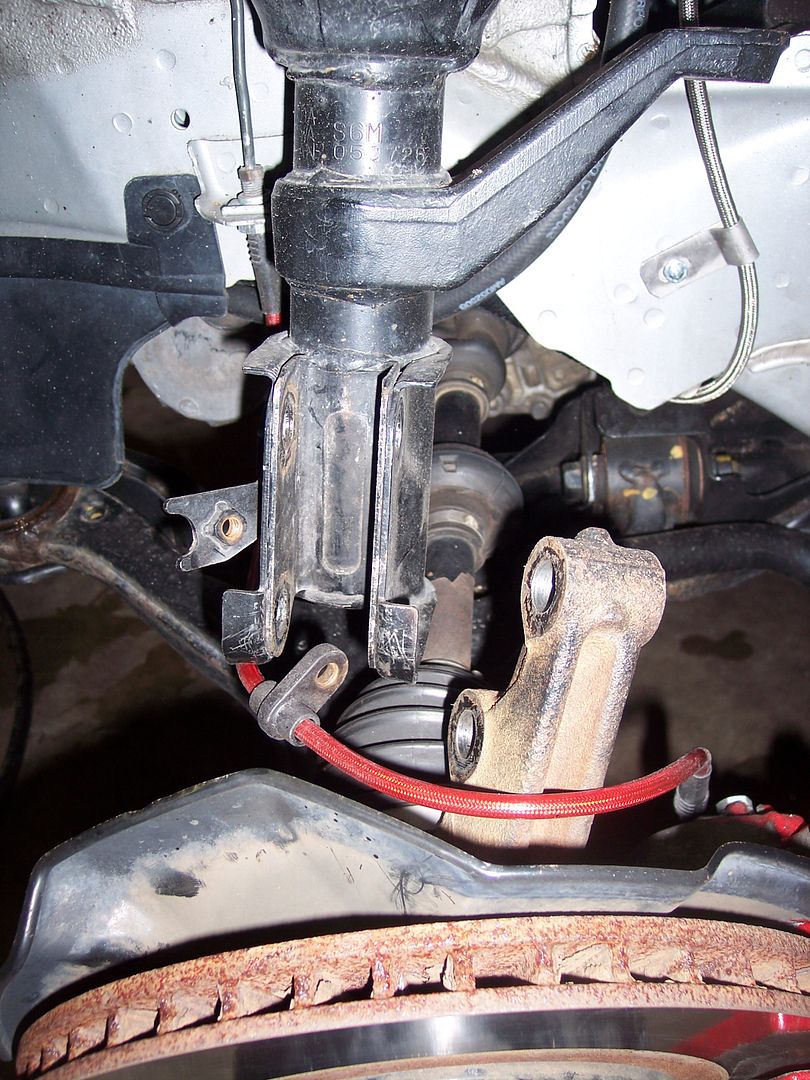
once those are out the hub will fall forward
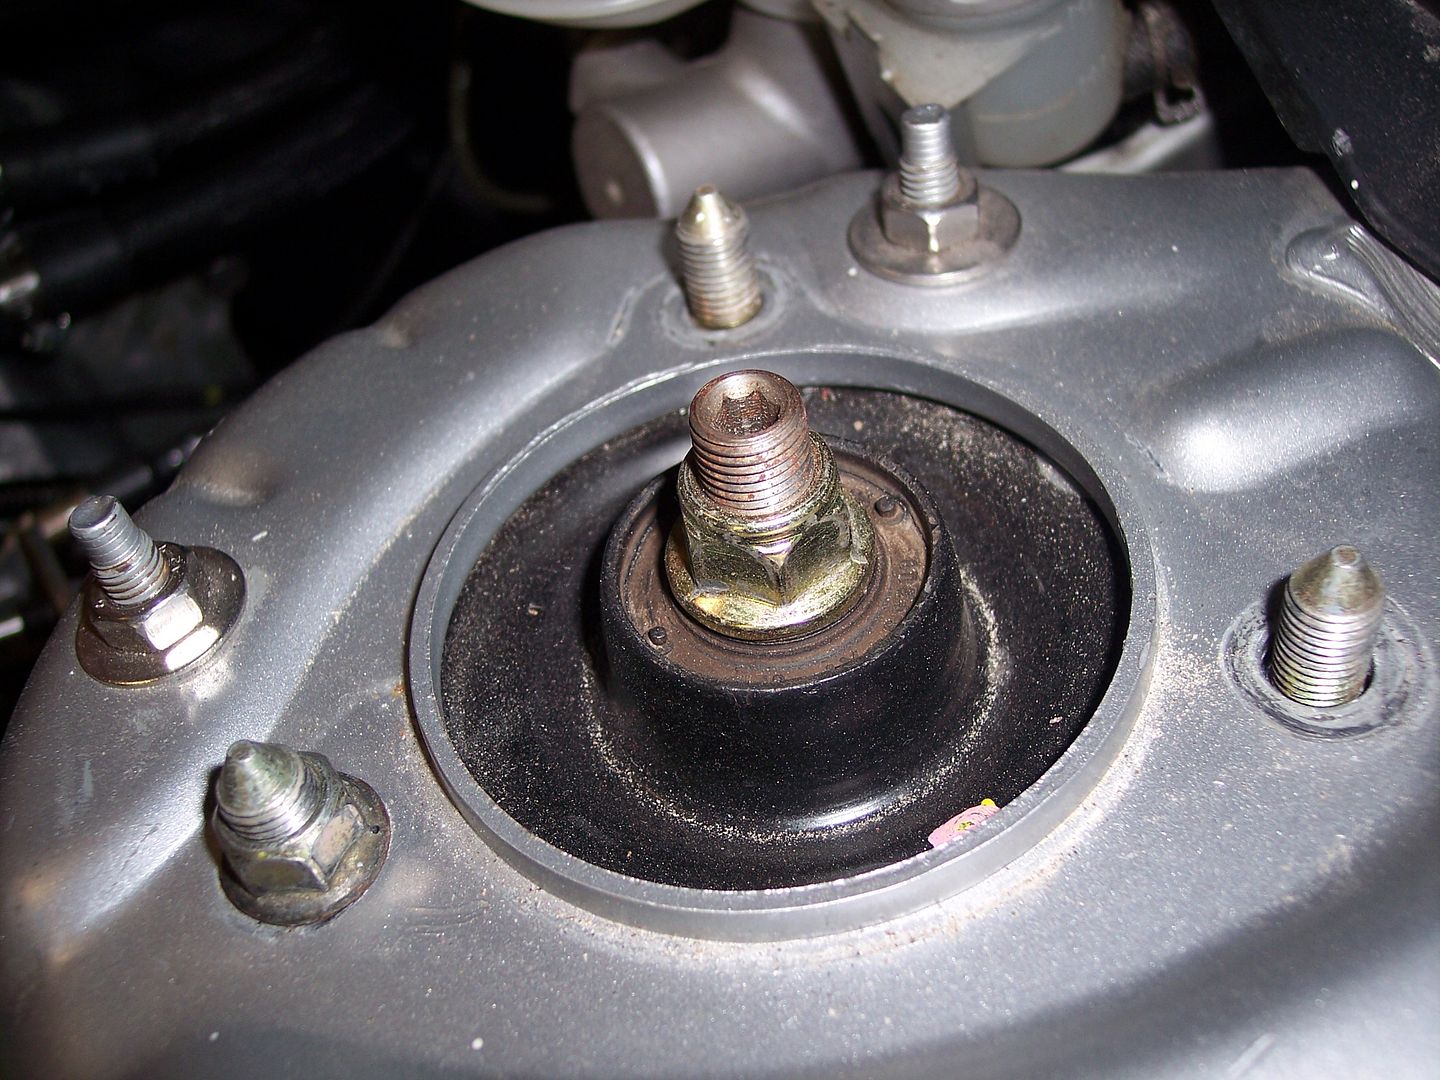
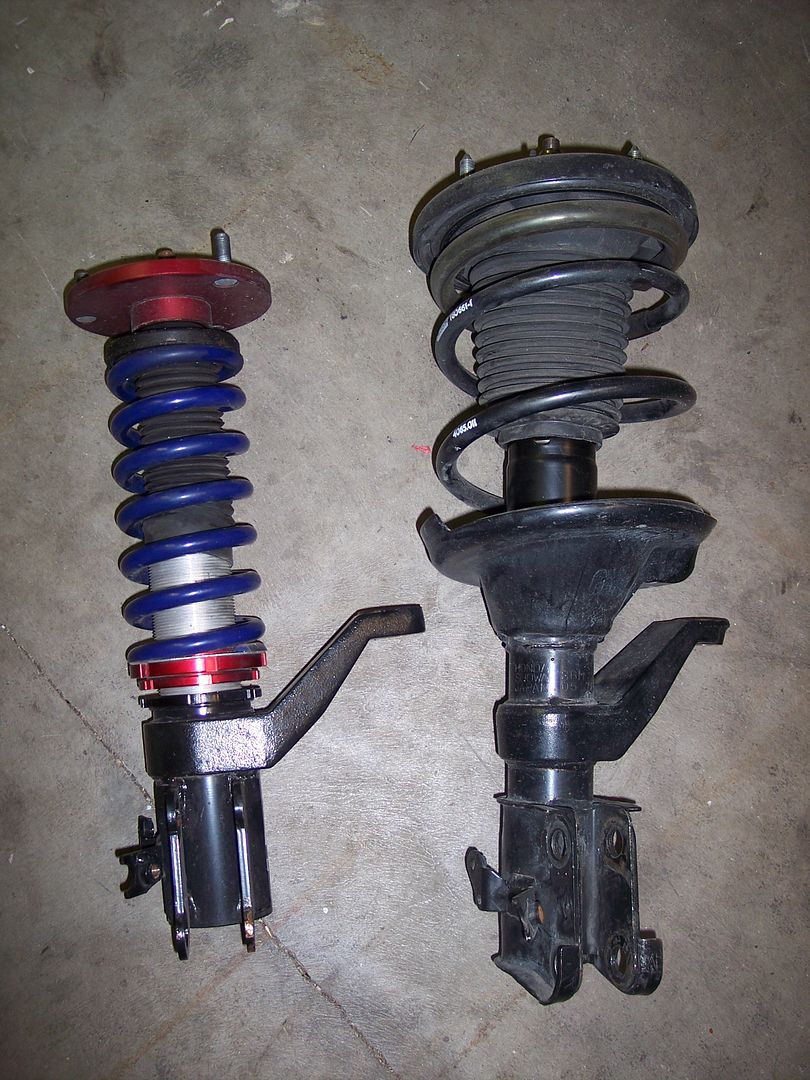
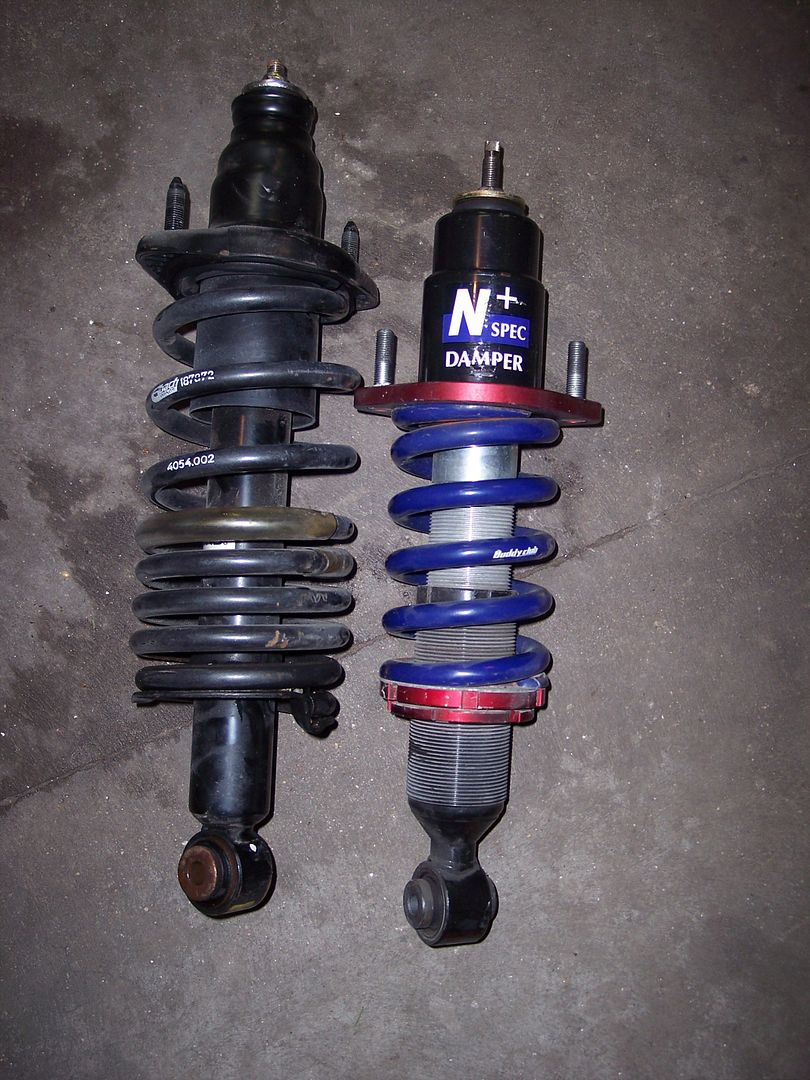
Go ahead and take off the one nut on top holding the strut in and pull her out. Now compare... stock struts with Eibach springs compared to Buddy Club N+
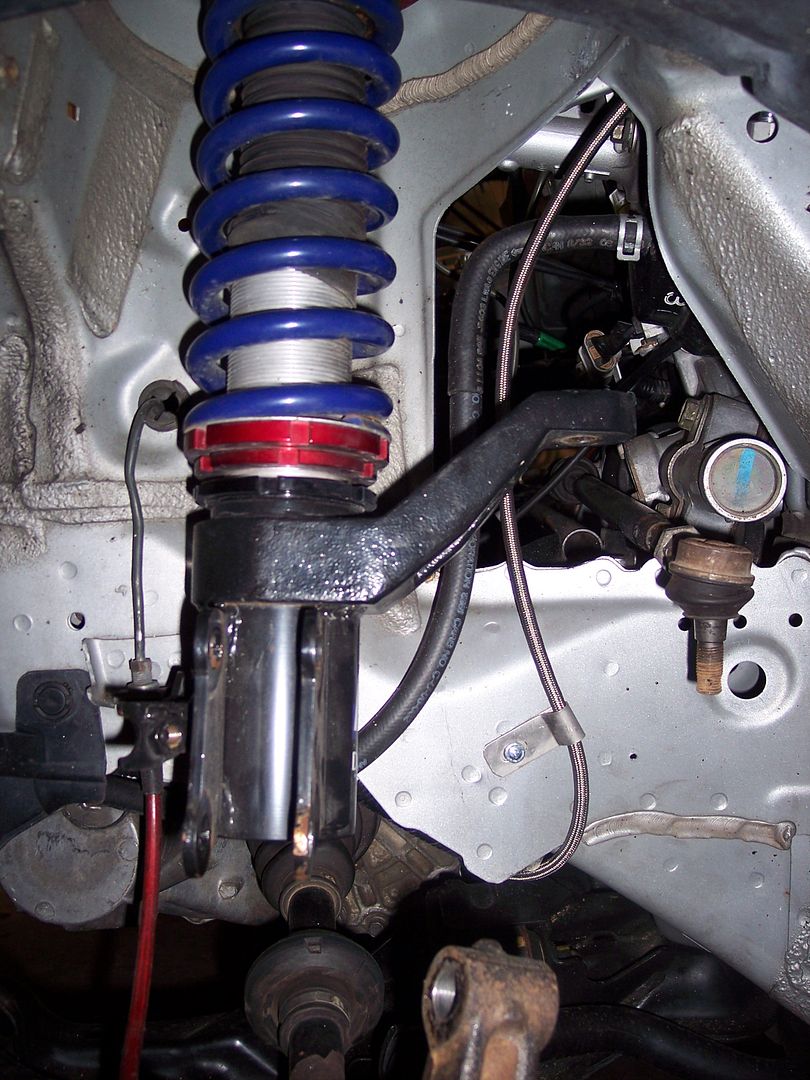
and instal in reverse order of course
This will help you instal the front. Use a jack to push up on the control arm so you can get the bolts threw
now time for the rear....
start buy loosening up the rear strut bolts on the top. I actually take off the back one since its a pain to get to. 14mm
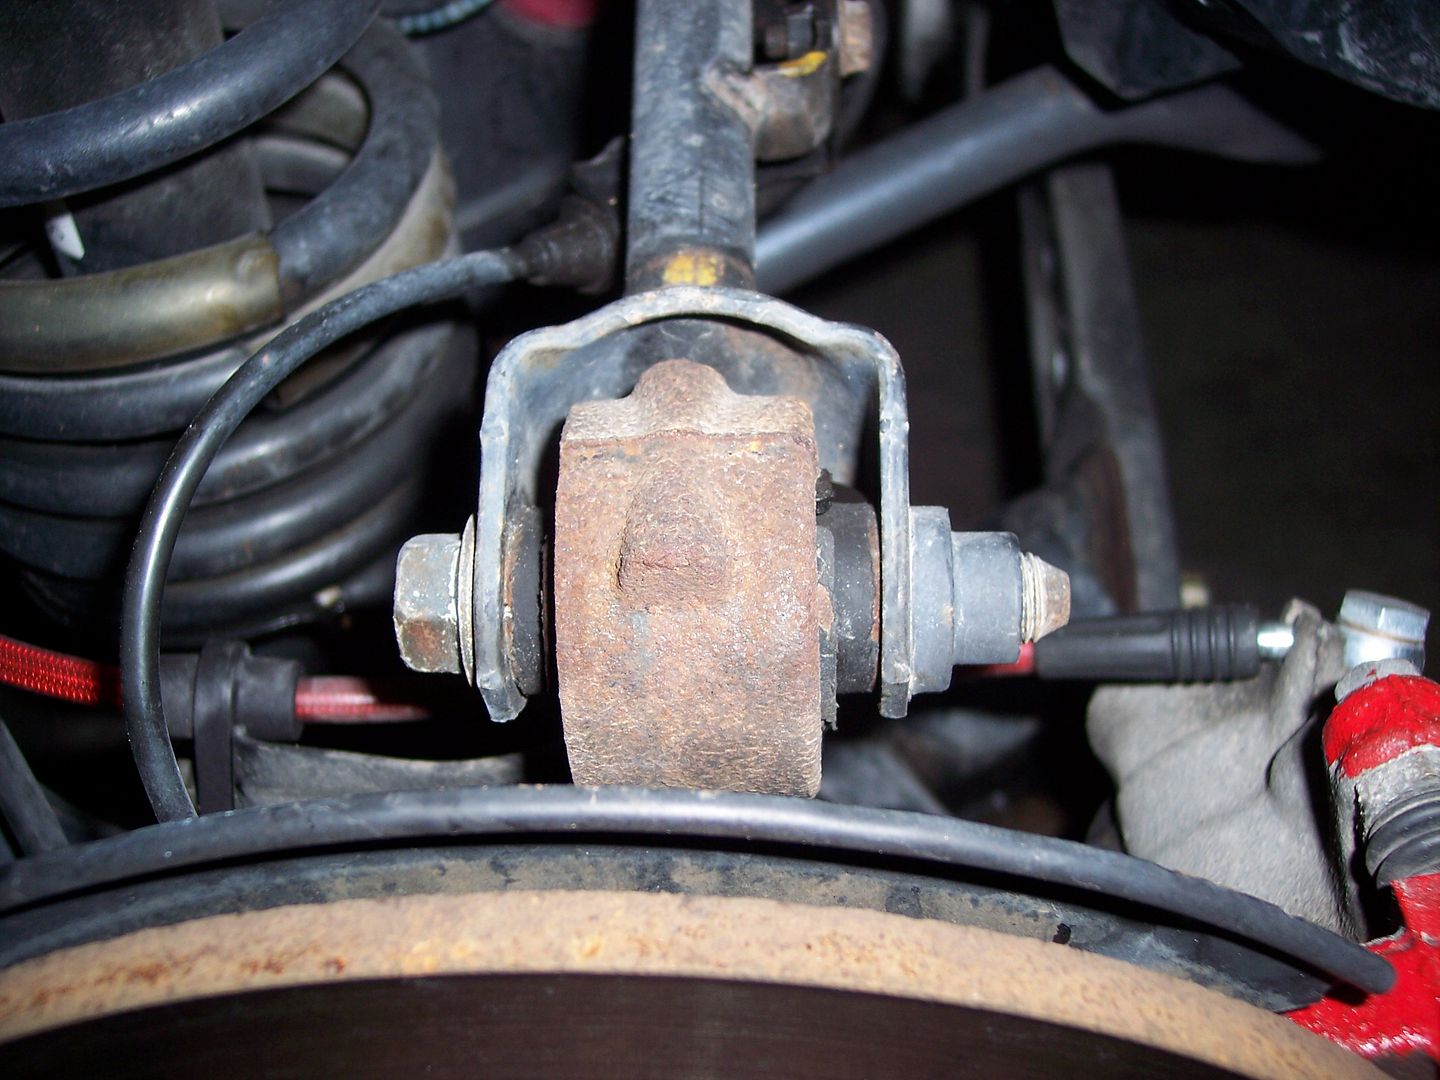
then go underneath and take out the bottom main strut bolt 19mm
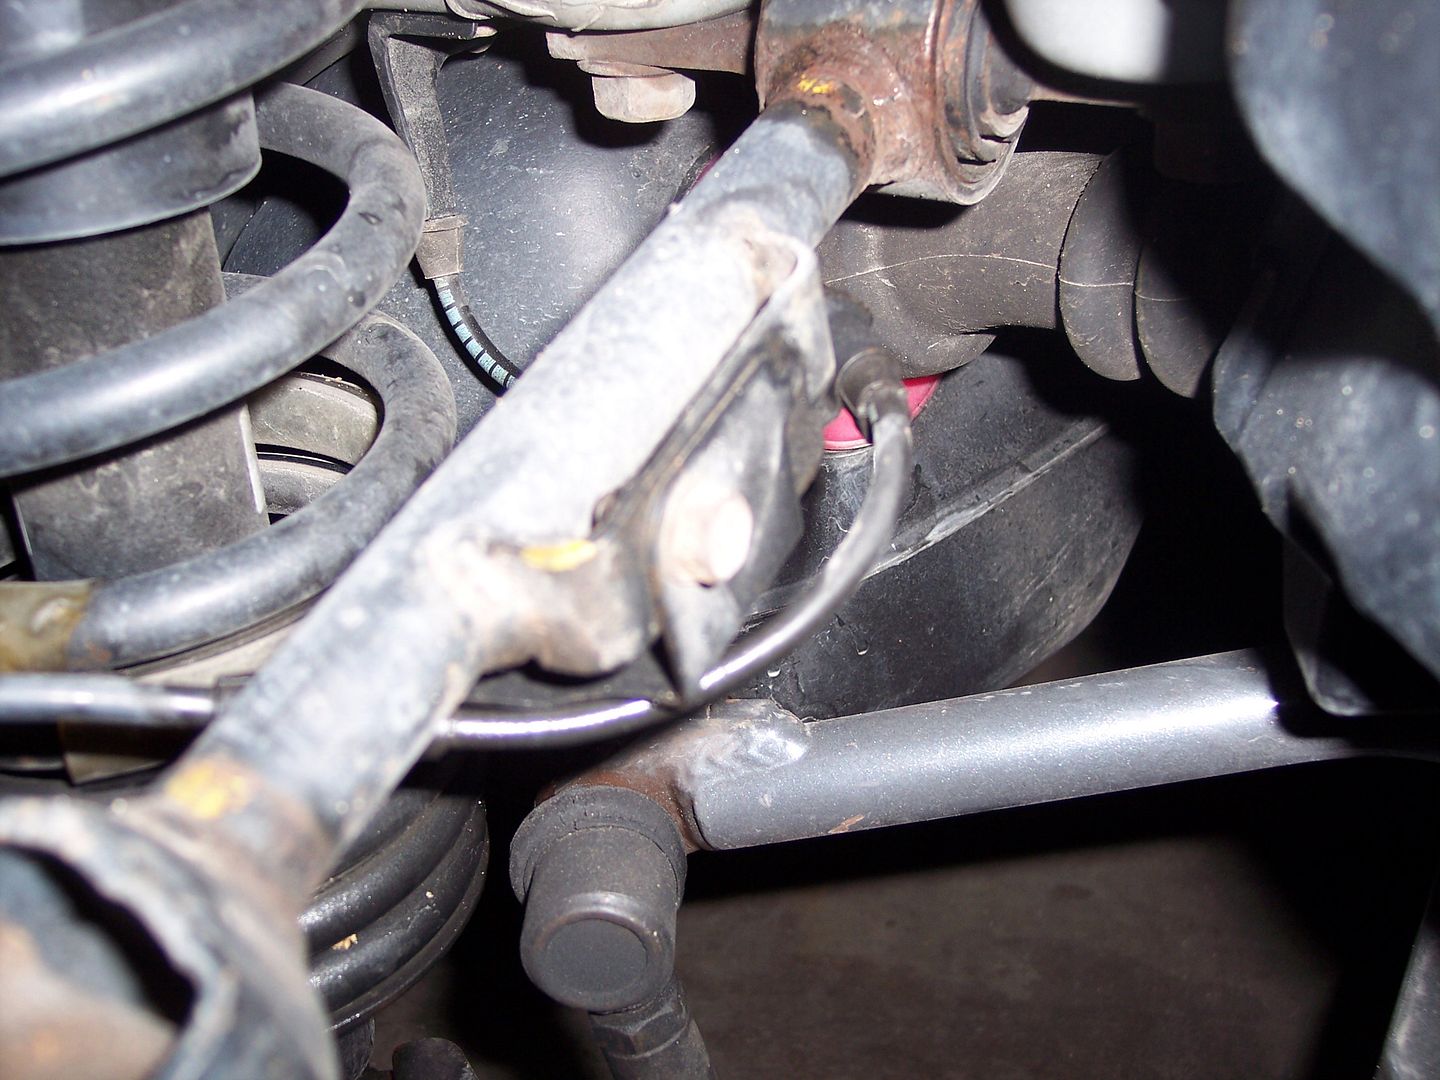
now we are also installing a camber kit. So pop off the 17mm on top arm
Then pull out strut because the control arm will lower
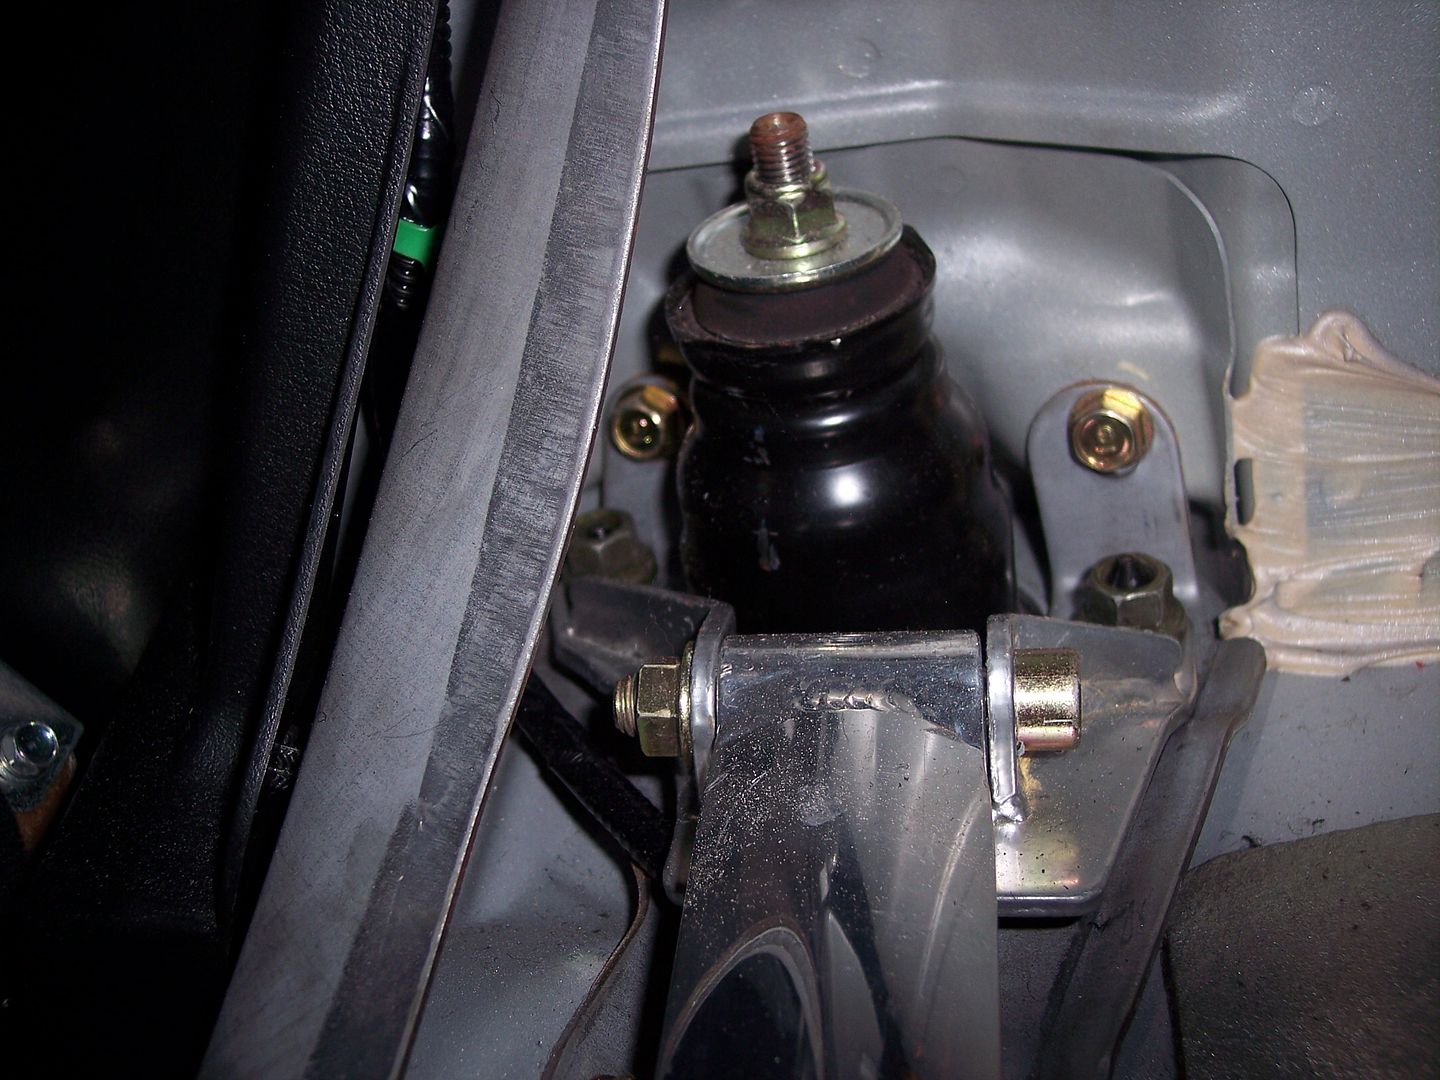
Remember to pull off the one nut left on top
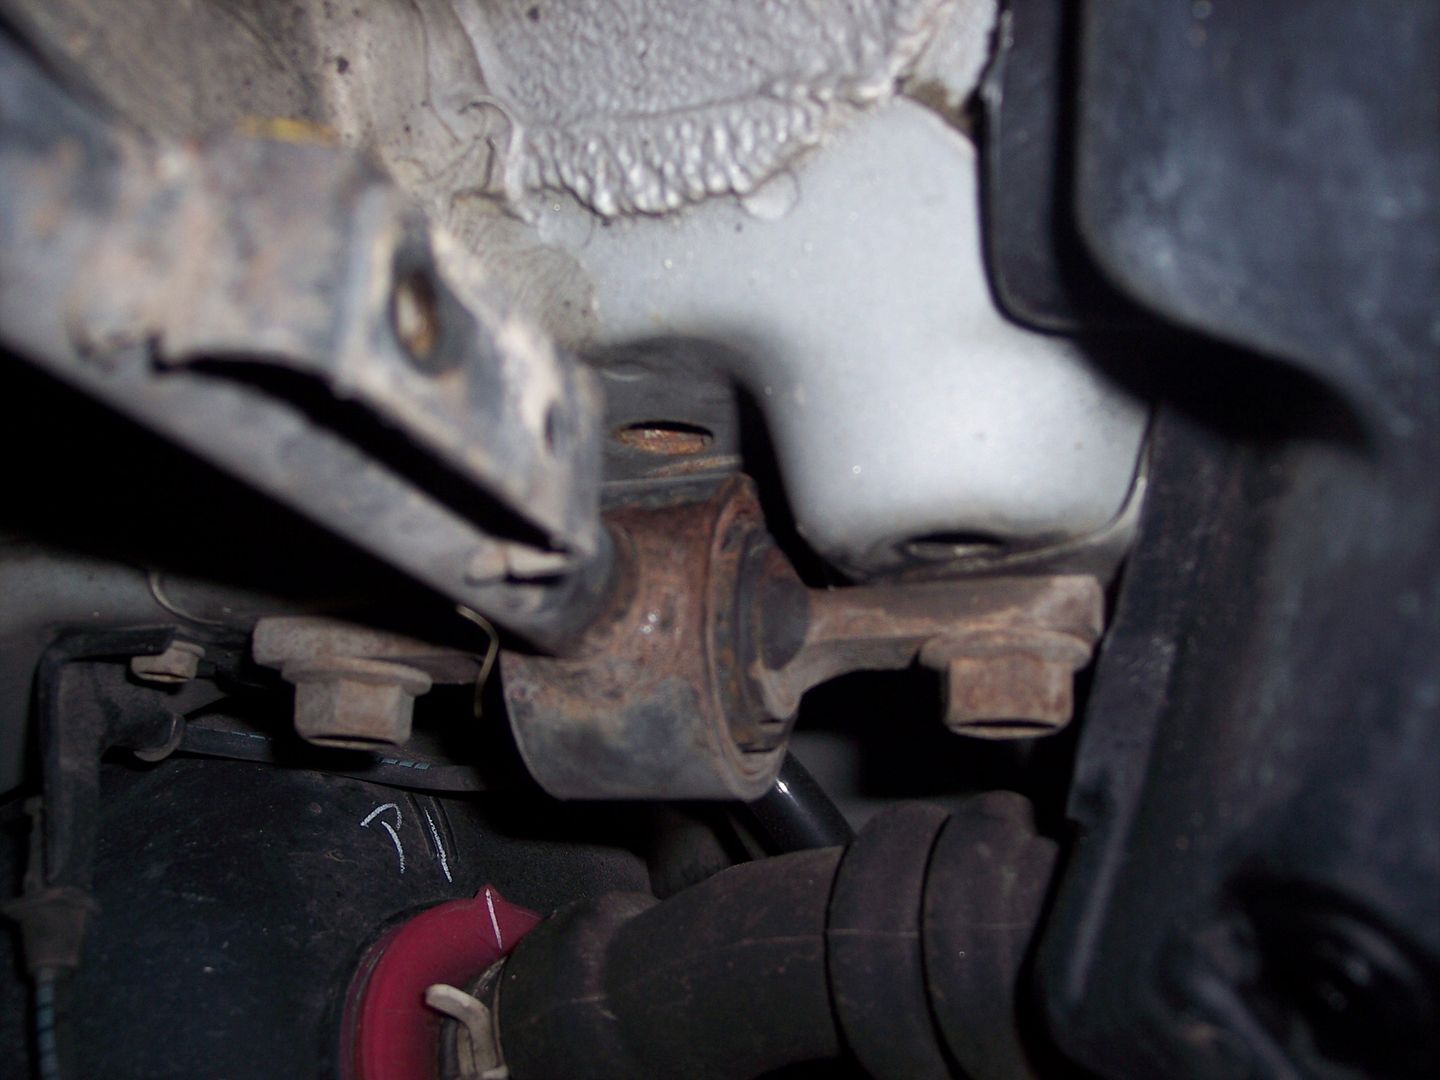
Now use a 17mm and remove the two top bolts for the camber arm and a 10mm to remove ABS line
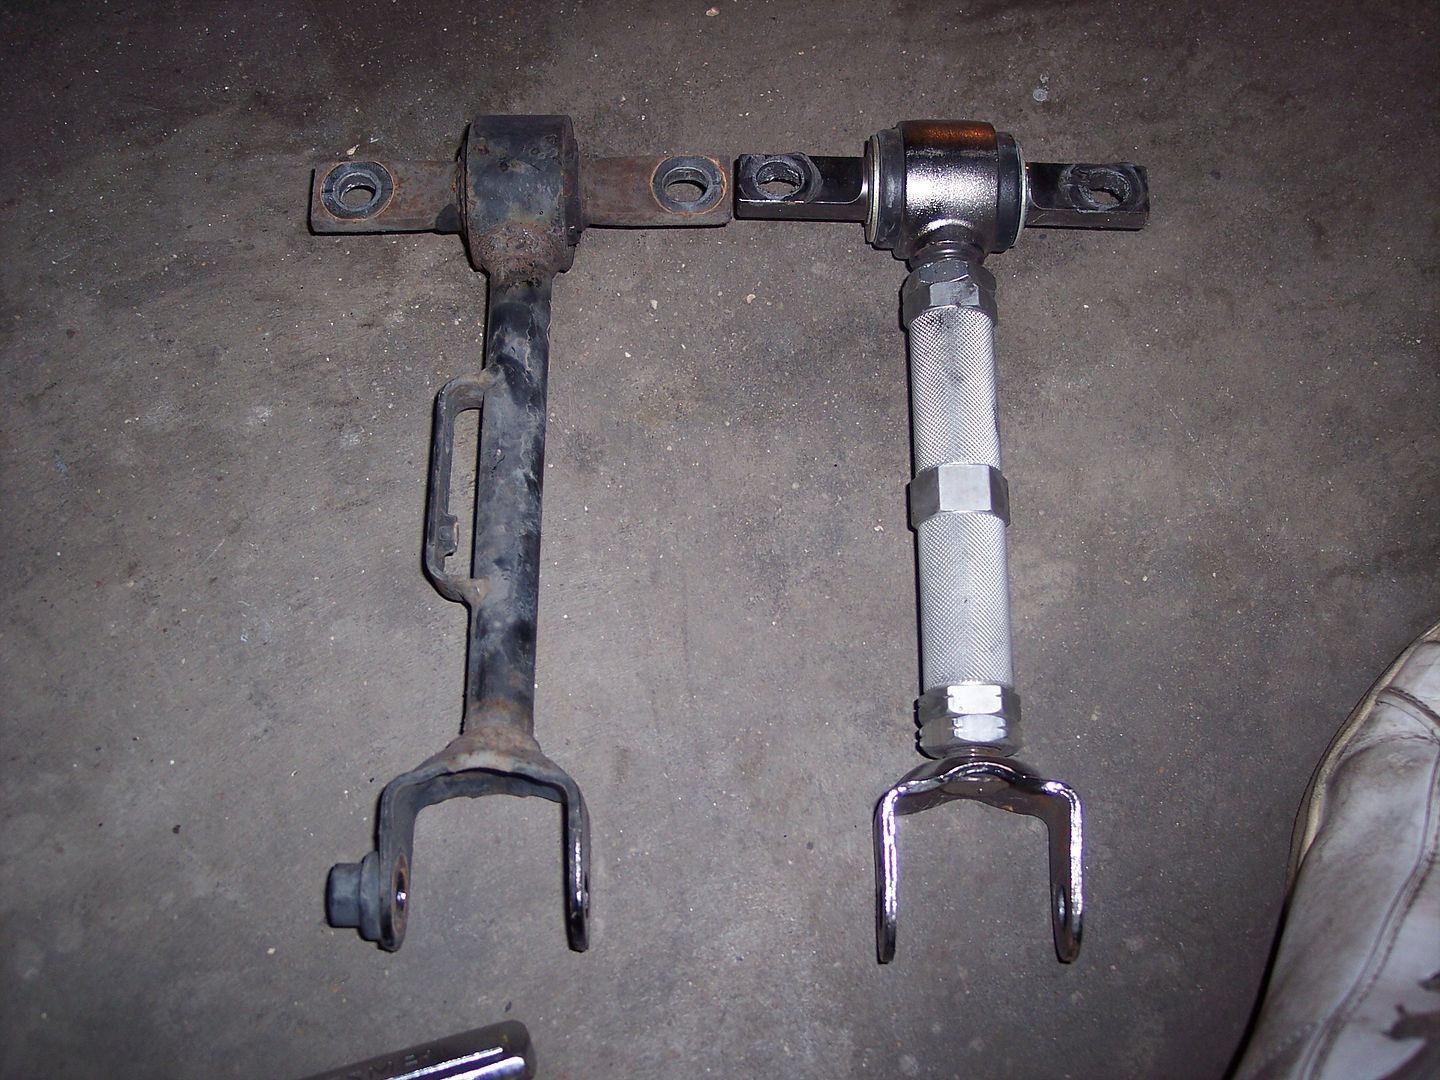
heres the camber kit
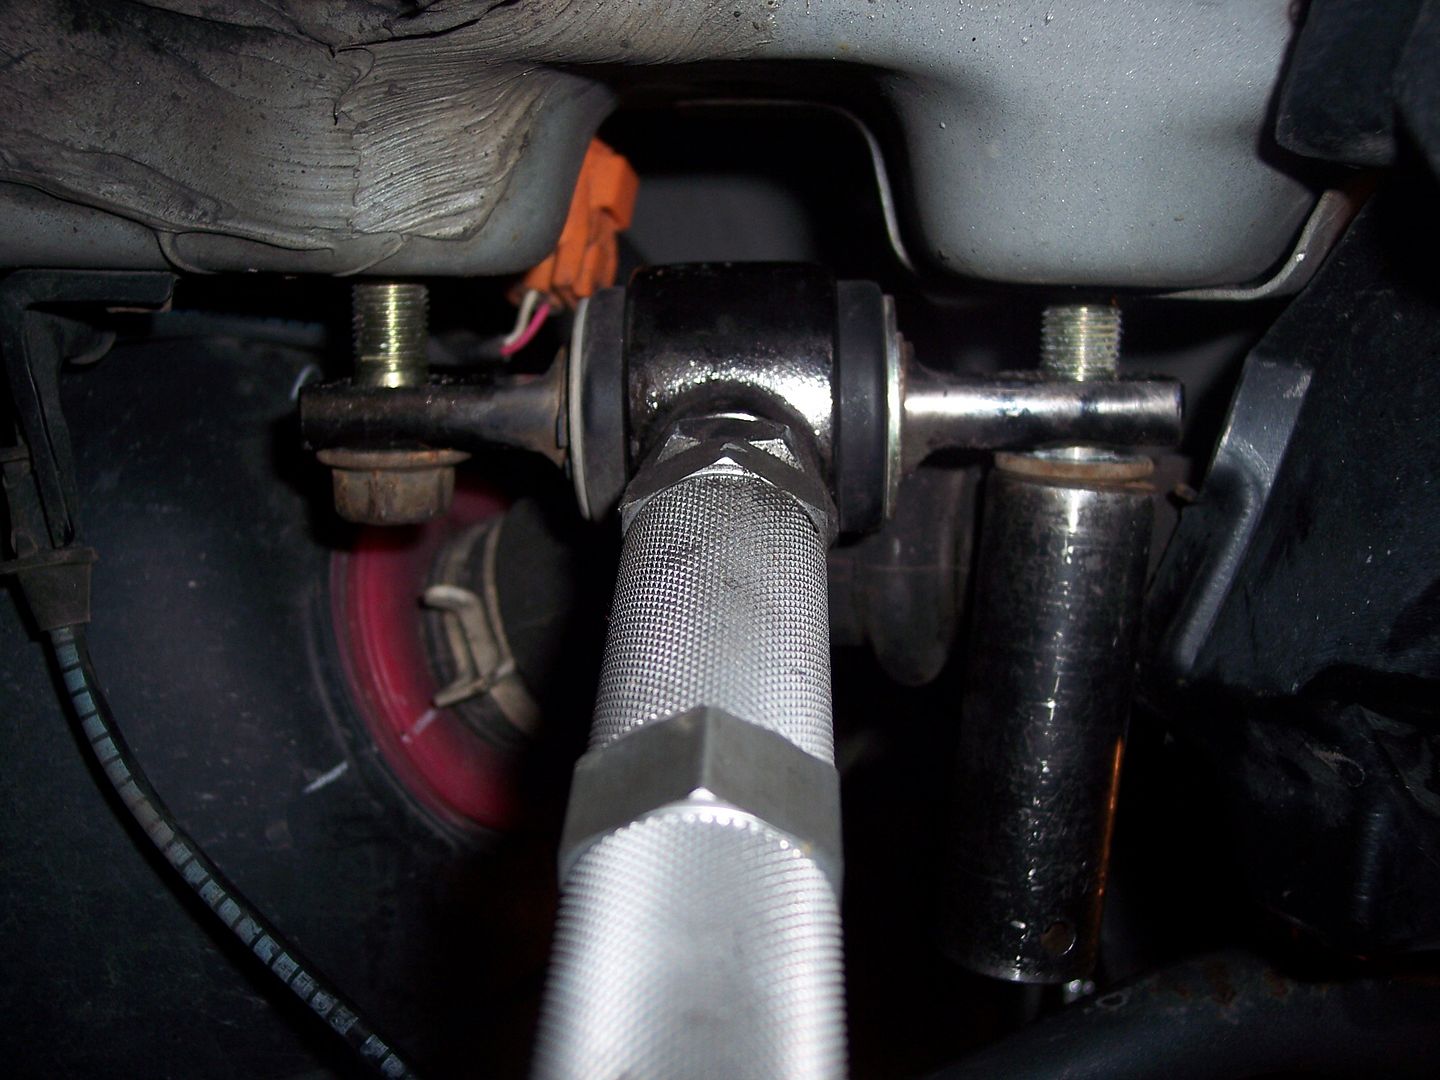
now instal both strut and camber kit
and just like front use a jack to lift control arm to help instal
now do the other sides and you are done! Enjoy...
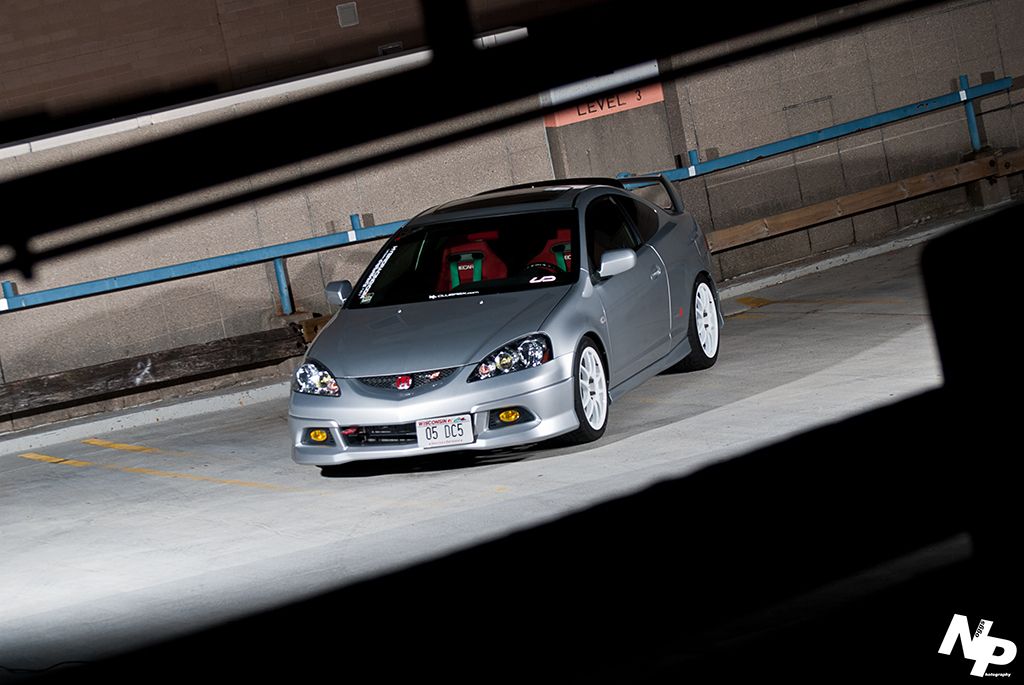
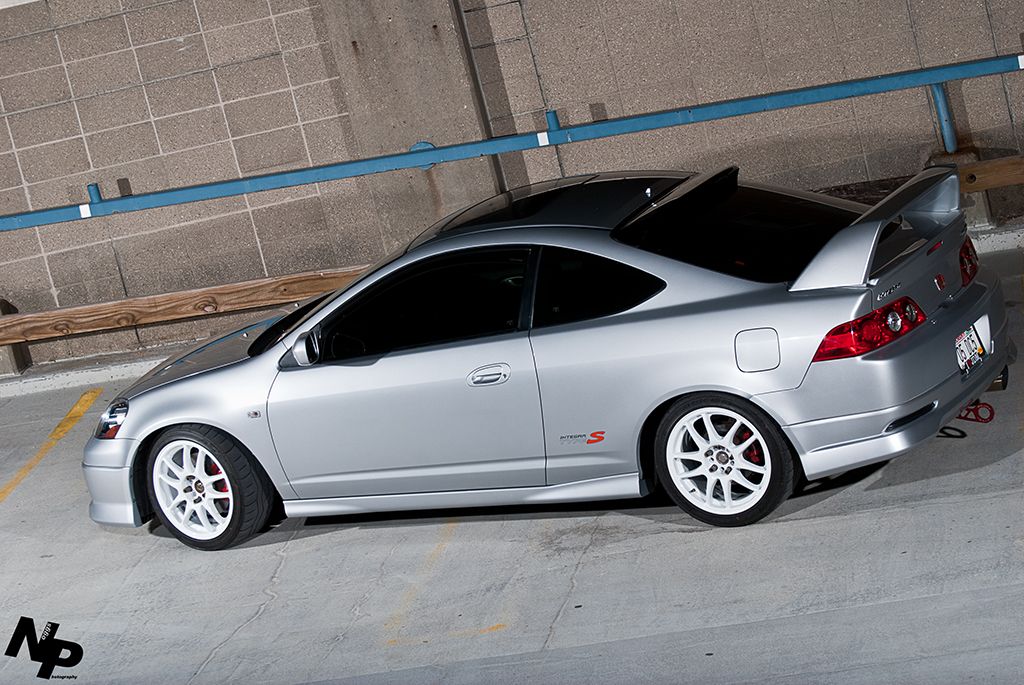
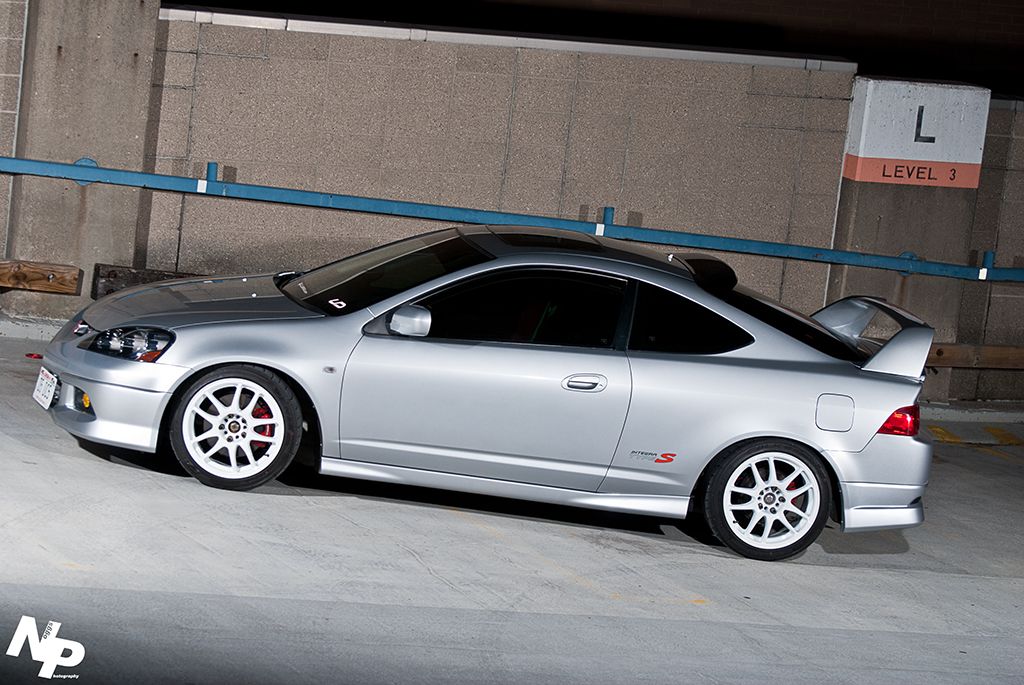
I bought mine used and they were already set. I will lower them later.
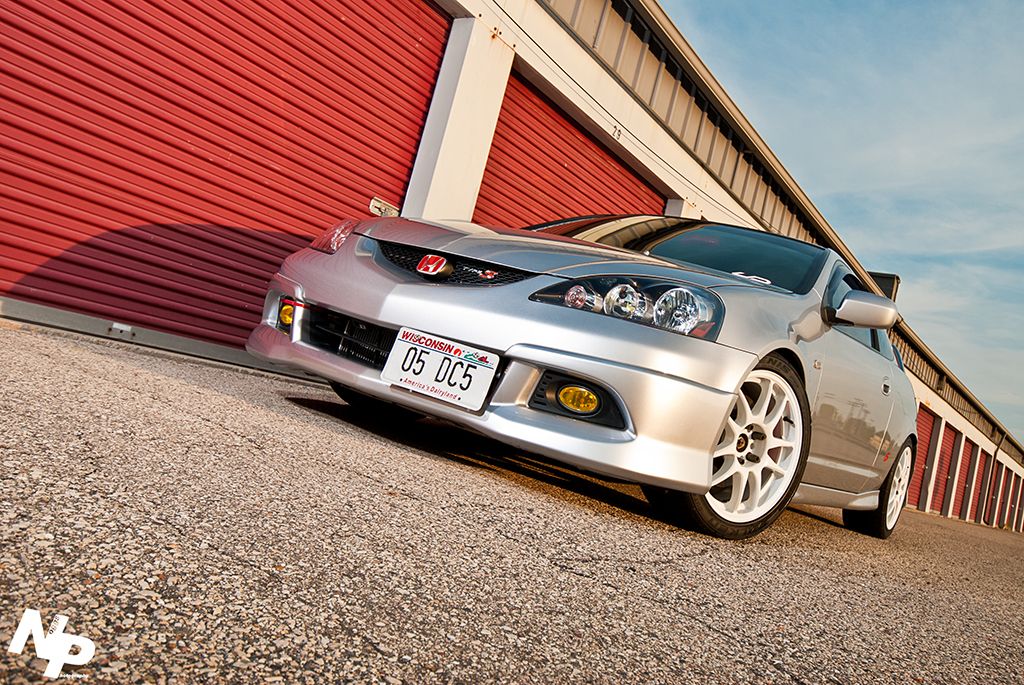
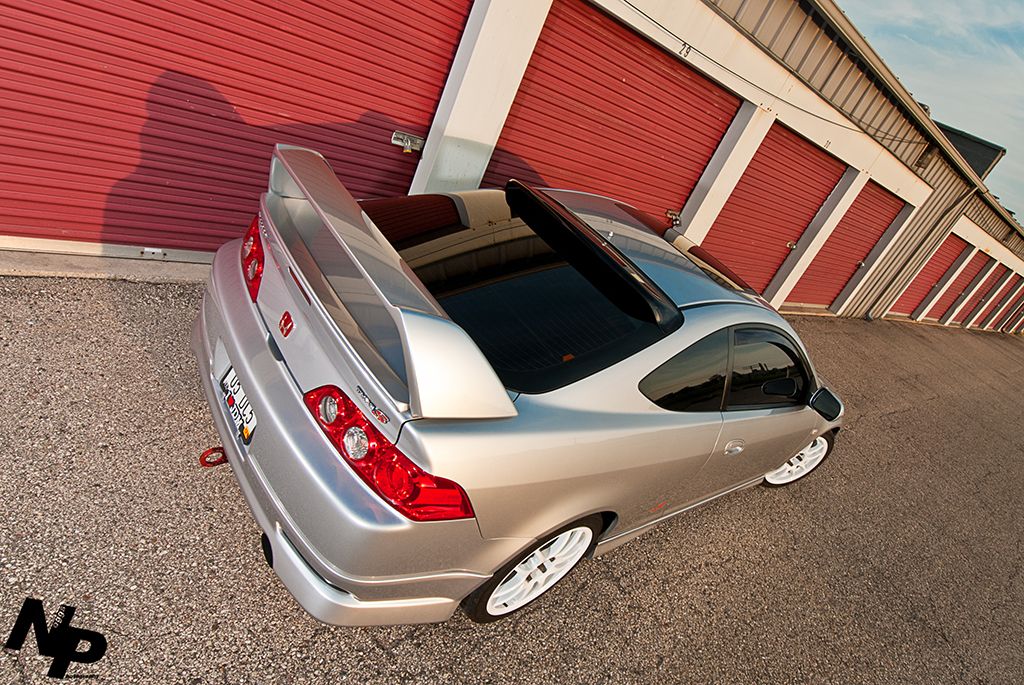
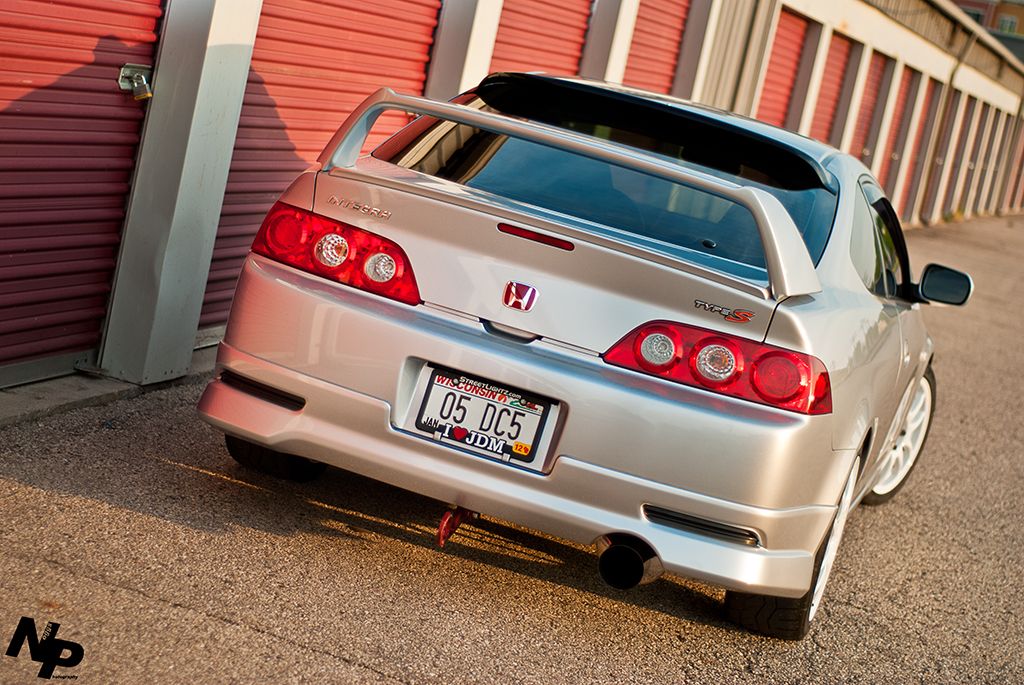
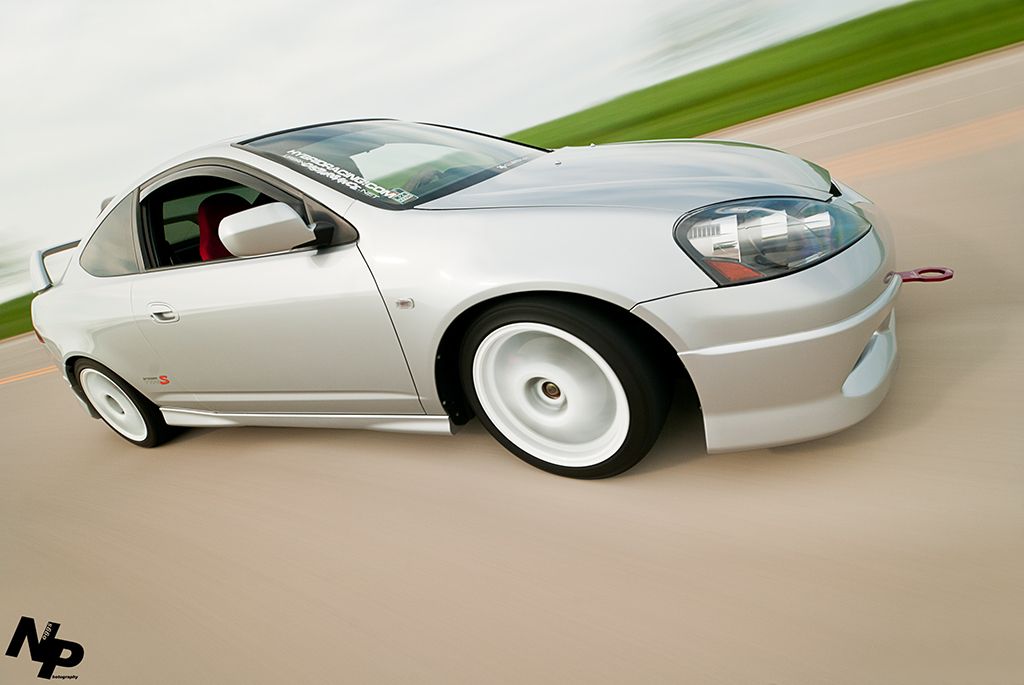
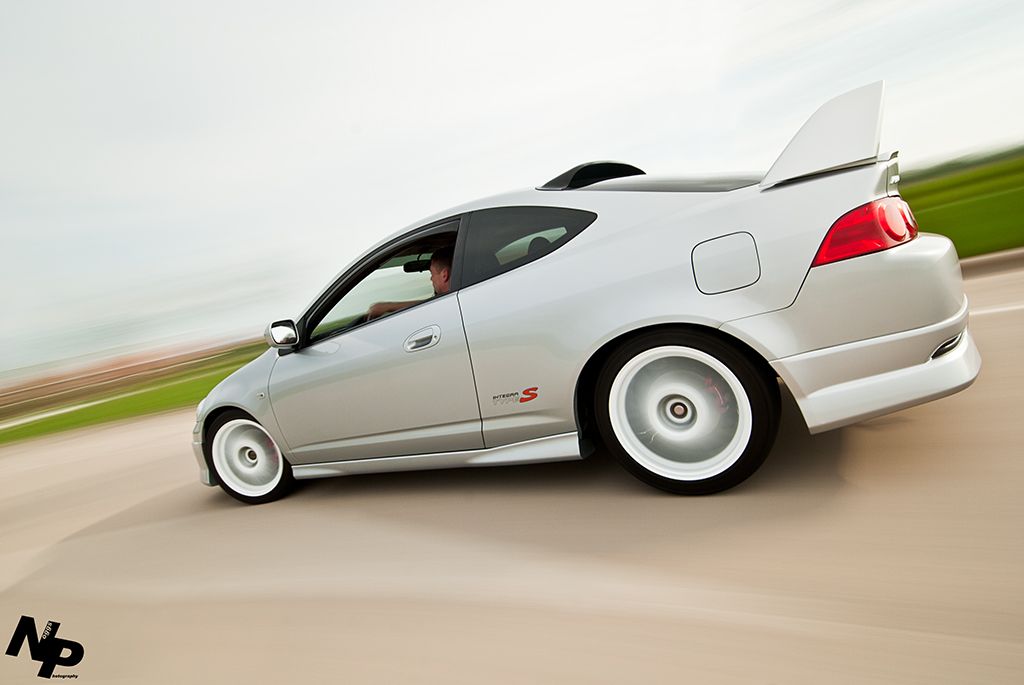
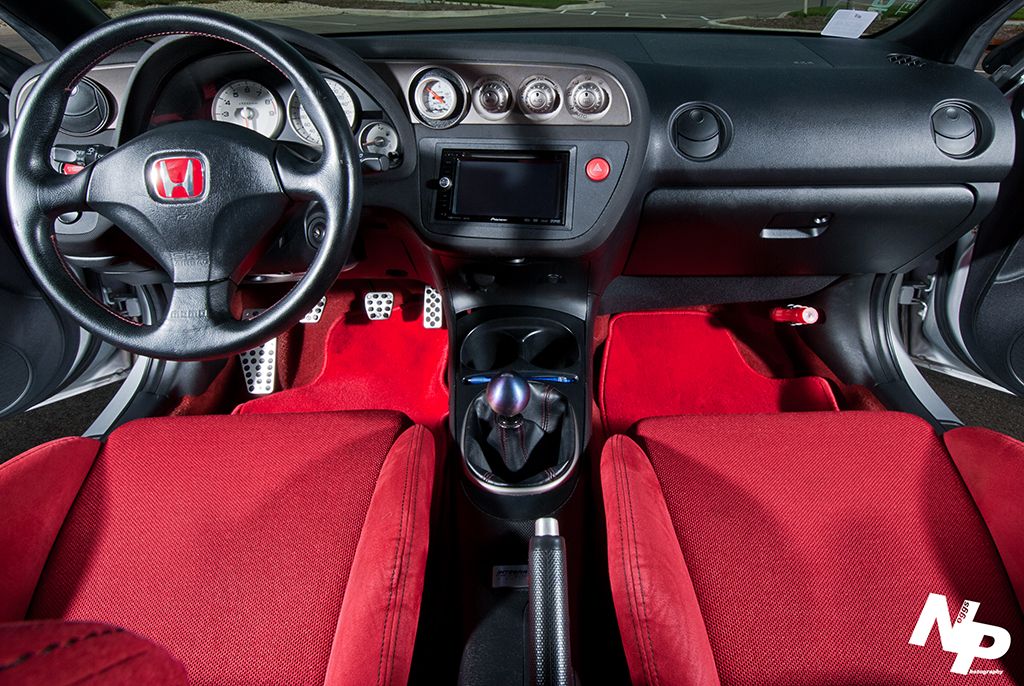
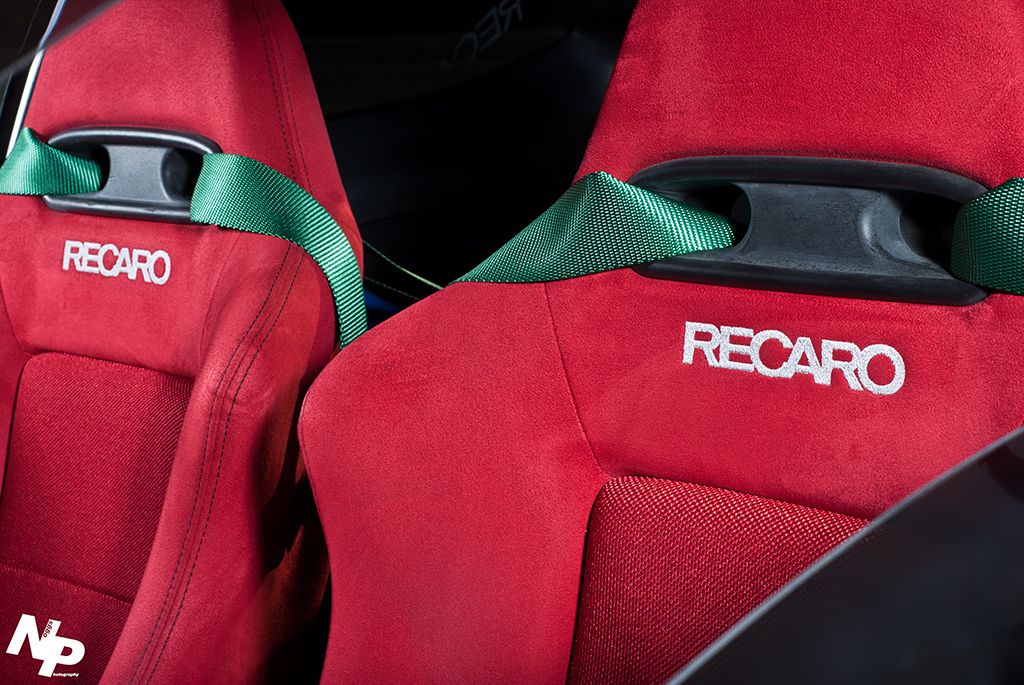
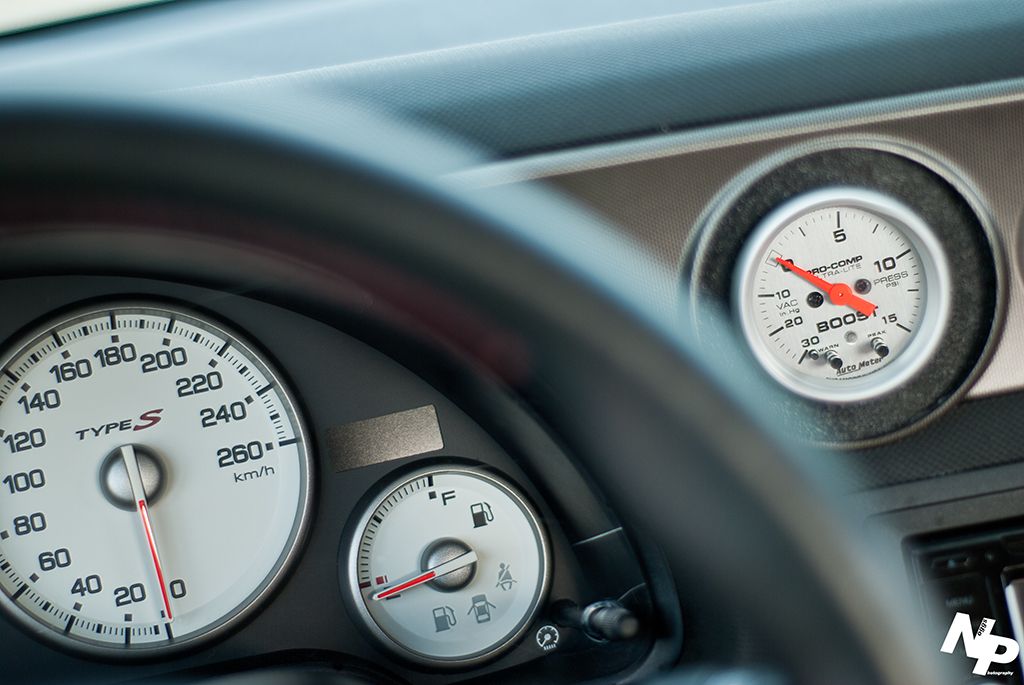
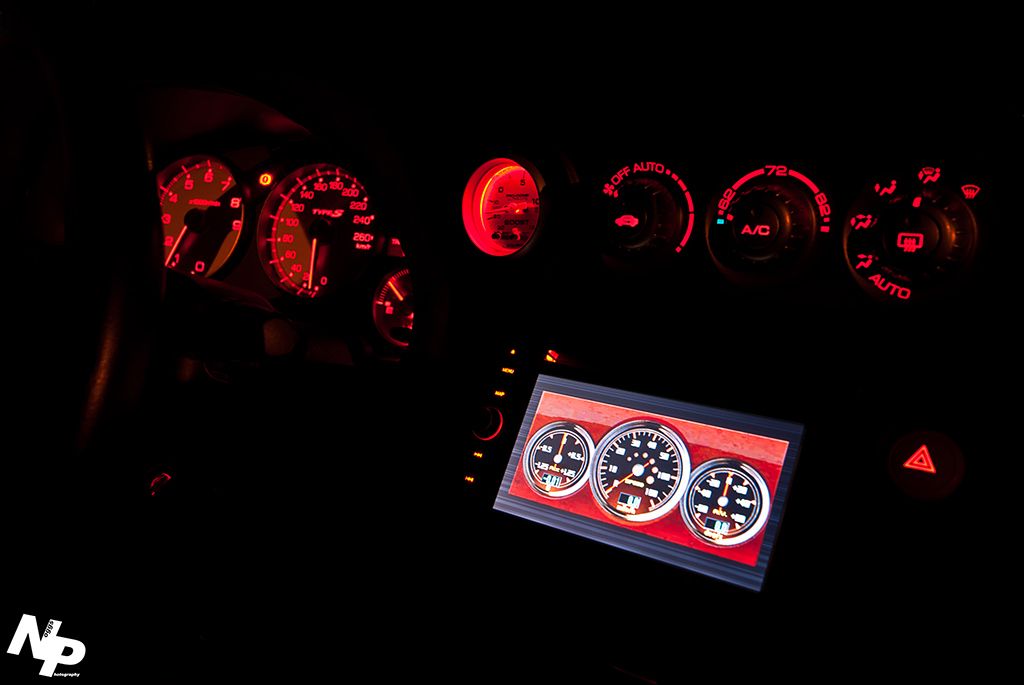
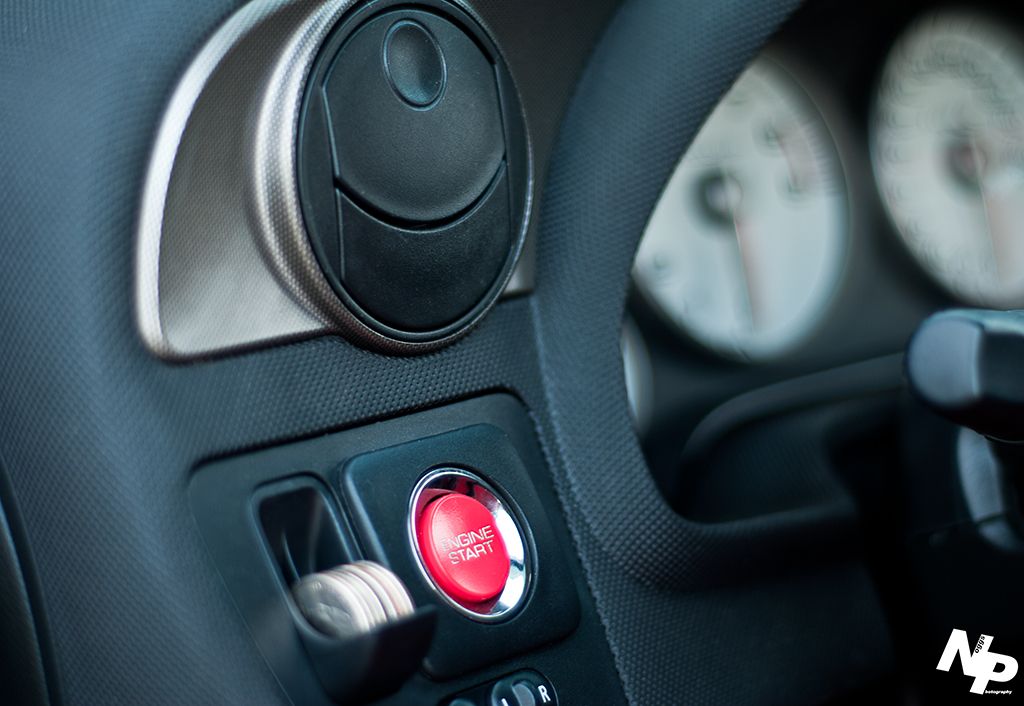
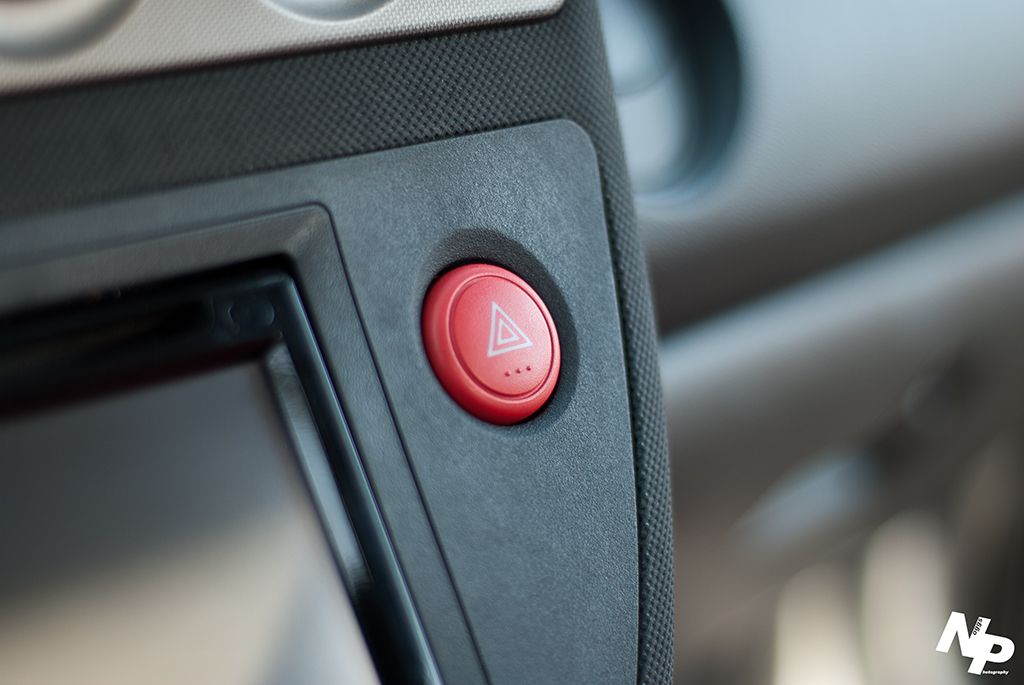
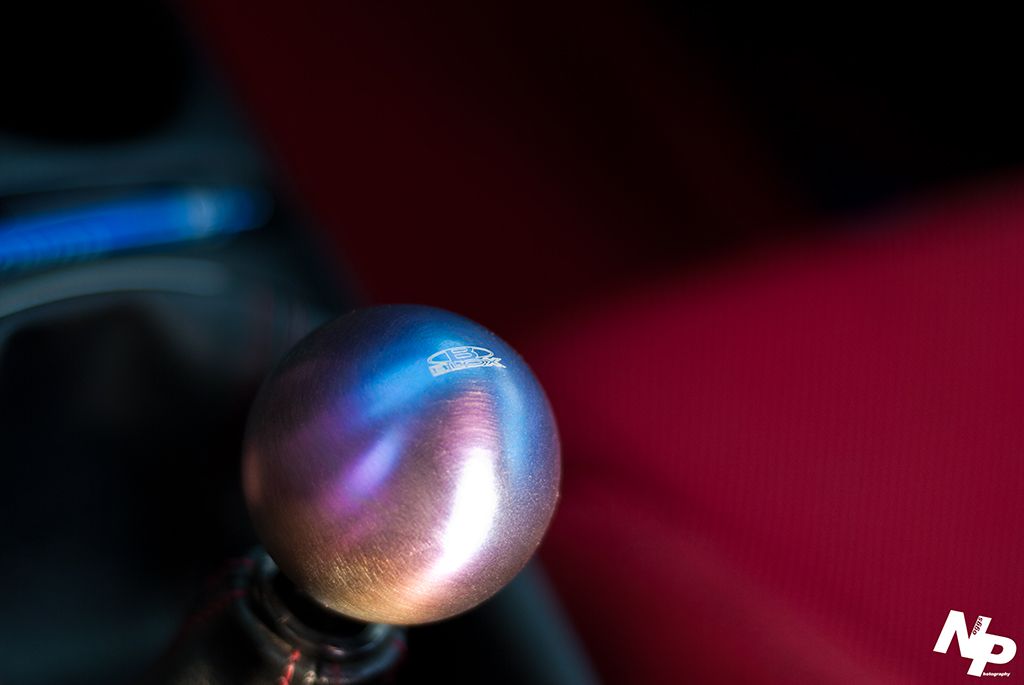
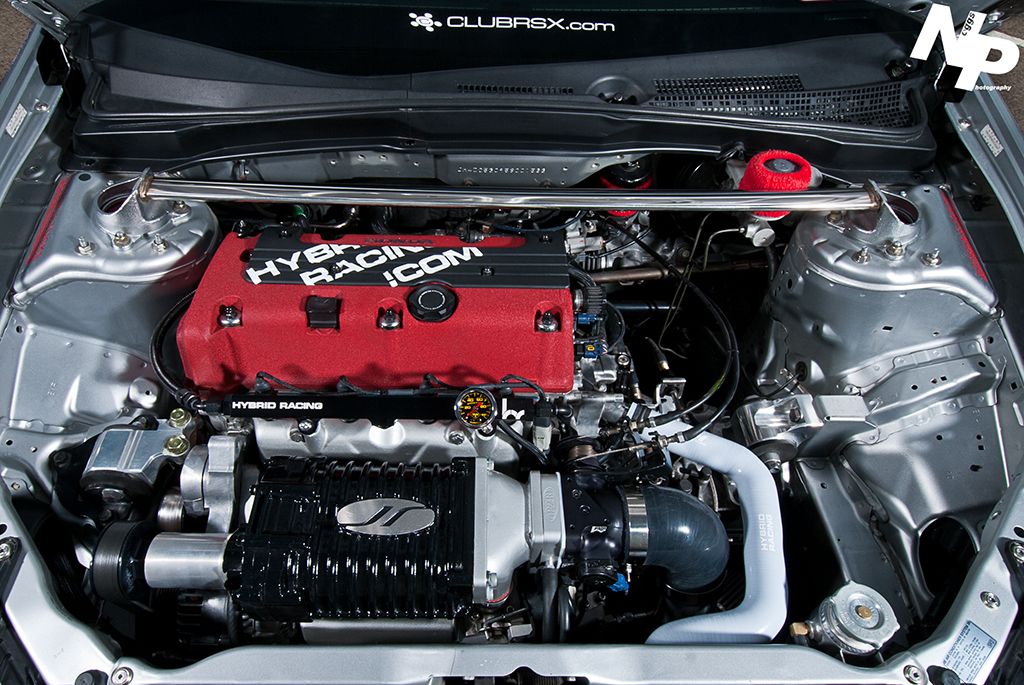
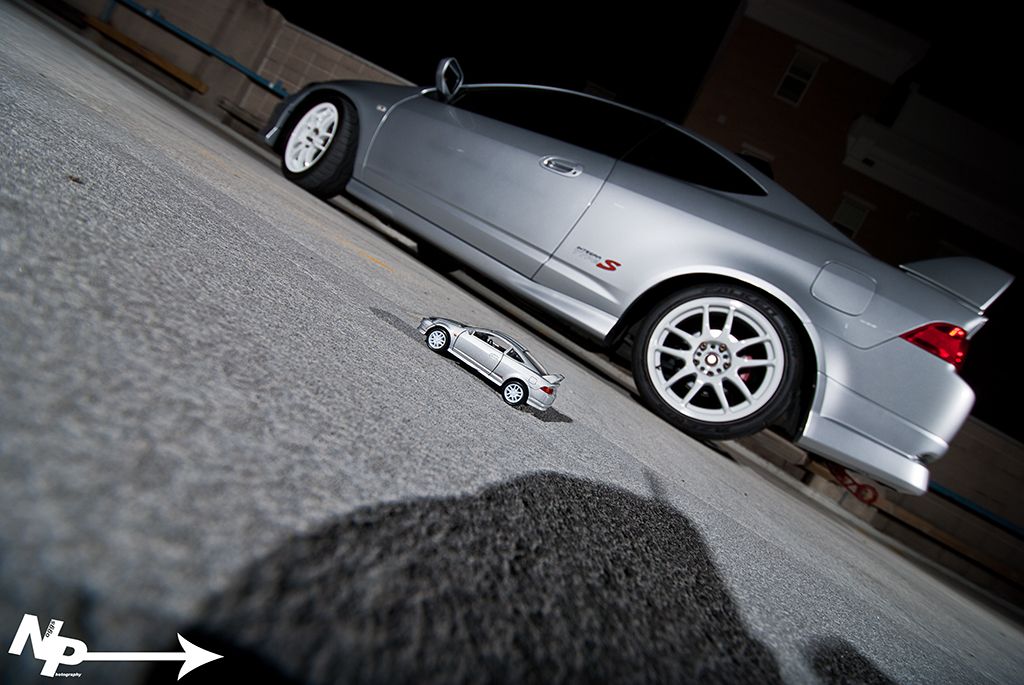
I can't thank Andy Noggle enough of Noggs Photography! His work is clean and amazing! He's great to work with and this has been something I have needed for a long time so I'm glad I could finally get real photos taken of my baby! You can find him on Facebook. NoggsPhotography
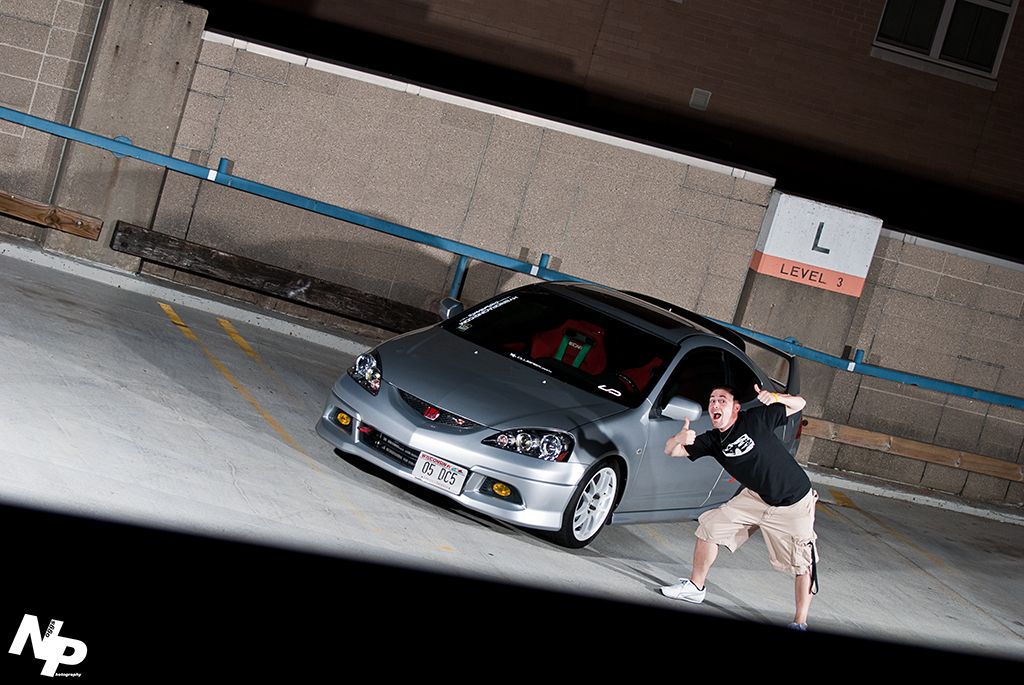
If you like his photos please visit us on his facebook and let him know! Give him a like or a comment!!!
http://www.facebook.com/pages/NoggsP...2474117?ref=ts
Damn those photos are amazing.
Tapatalk FTMFW!
Tire slayer
Breaking everything since 2011
Adam I think you're the only one on this forum most of the time lol
I think you are correct lol. Having tapatalk just makes it so easy to jump forums on my phone. Lol
Tapatalk FTMFW!
Tire slayer
Breaking everything since 2011
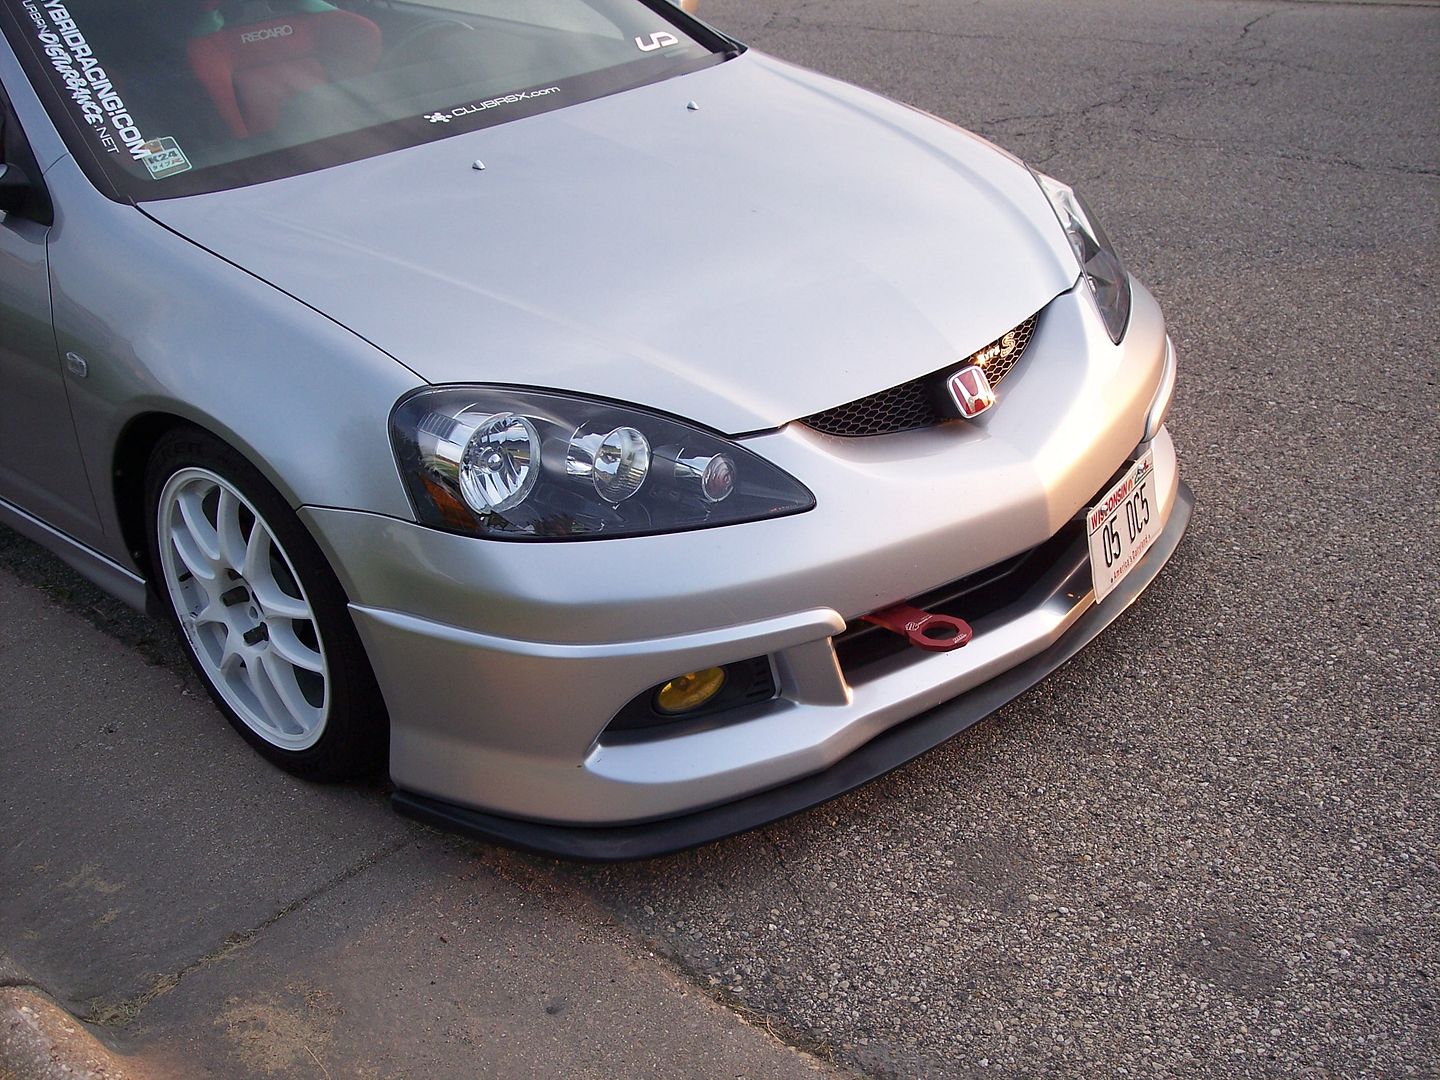
I decided to try out a new lip today....

 Posting Permissions


Bookmarks